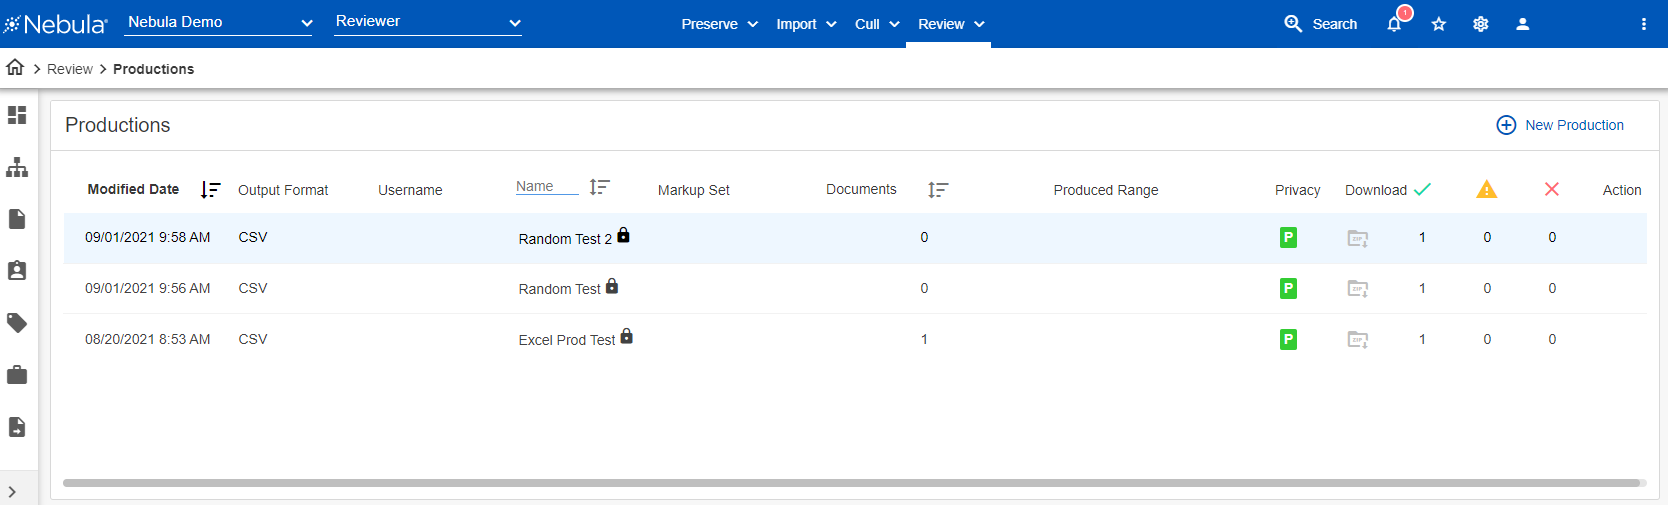
Productions
The Nebula Productions page displays the collections promoted to Production. Collections can be downloaded as a zip file.
For more information about the production process, see the Creating a Nebula Production Set.
To view the Productions page
- Click Review > Productions & Exports > Productions.
Action icon
- Details: Opens the Export Details page.
- View Documents: Opens the documents in the productions in the Review Documents List.
- Edit: Opens the Edit Production dialog box.
- Clear: Opens the Clear Production dialog box..
- Delete: Opens the Delete Export dialog box.
- Export Production: Opens the Export Productions dialog box.
- Lock: Opens the Lock Production dialog box. Available only for unlocked productions. (When a production is locked, the Action icon reduces to Details, View Documents, Unlock, and Refresh)
- Unlock: Opens the Unlock Production dialog box. Available only for locked productions.
- Create ZIP: Generates a zip file of the documents in the production.
- Object Security: Opens the Object Security dialog box.
- Burn Excel Redactions: Opens the Burn Excel Redactions dialog box.
- Burn Media Redactions: Opens the Burn Media Redactions dialog box.
- Refresh: Updates the Productions list.
To add a production
- Click Review > Productions & Exports > Productions.
- In the Productions menu bar, click New Production.
- On the New Production dialog box, do the following:
- Enter a production Name (for example, Prod001, Prod002, ...)
- Select the Markup Set for the production.
- Enter aDescription for the production.
- Select the level of Privacy for the production.
- Public: All users.
- Custom: A group of predefined users.
- Owner: Only the user who created the production.
- Click Save.
To view the details of a production
- Click Review > Productions & Exports > Productions.
- On the Productions page, locate and double-click the production set with the details you want to view.
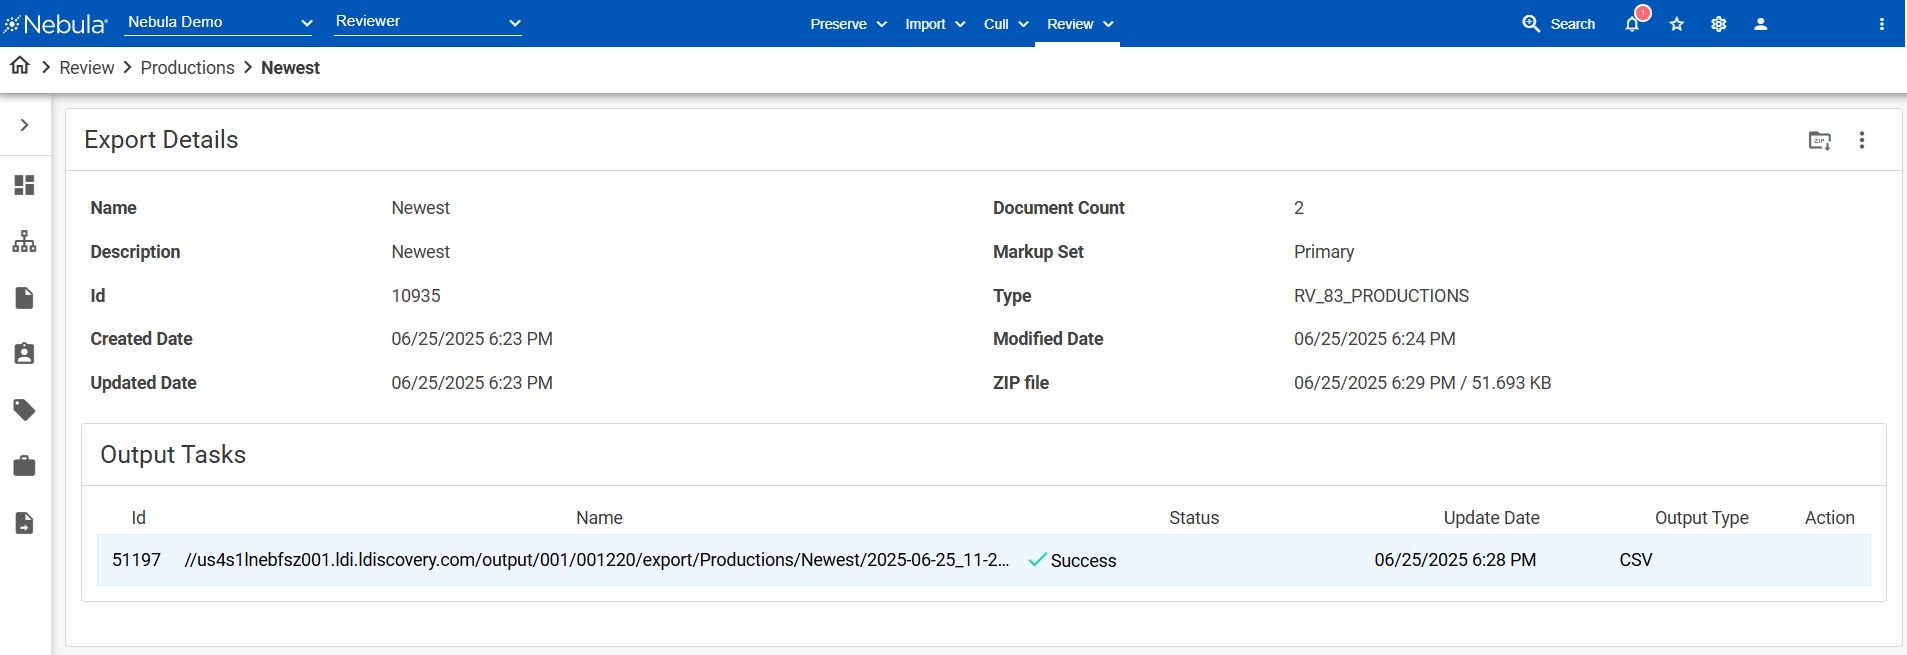
- On the Export Details page, view the following:
- Name
- Description
- Id
- Type
- Created Date
- Updated Date
- Document Count
- Markup Set
- Type
- Modified Date
- ZIP file
- In the Output Tasks list, view the following:
- Id
- Name
- Status
- Update Date
- Output Type
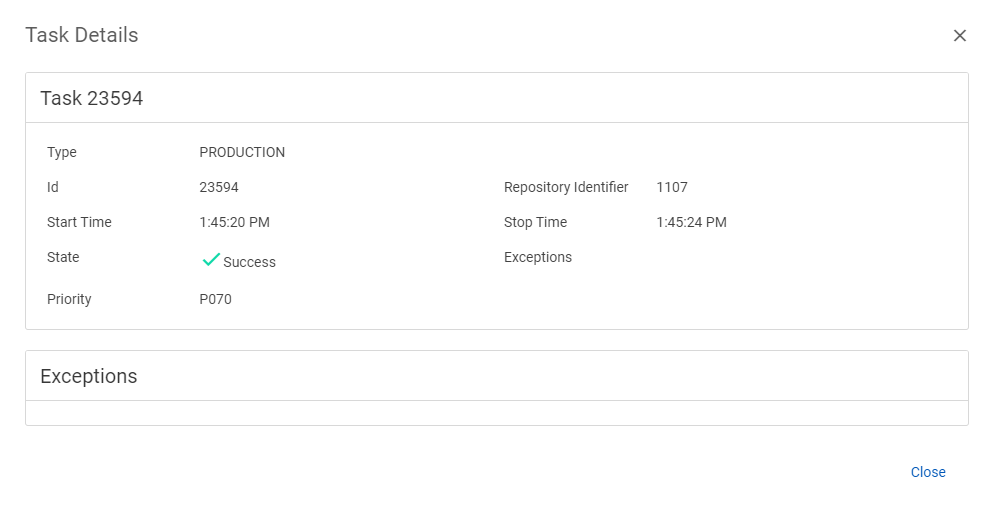
- Details: Opens the Task Details dialog box.
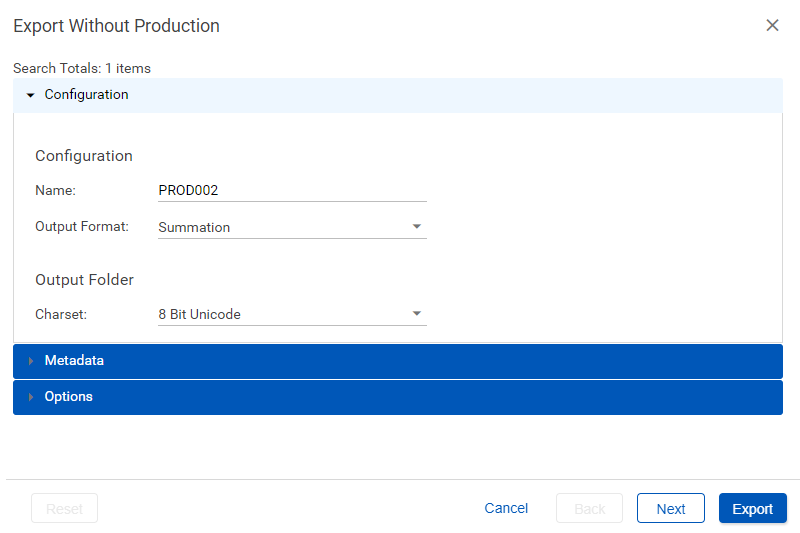
- Download Metadata: Opens the Export Without Production dialog box.
Action icon
- Delete: Opens the Delete Output Task dialog box.
- Restart: Opens the Export Productions dialog box.
- Refresh: Update the Output Tasks page.
To edit a production
- Click Review > Productions & Exports > Productions.
- On the Productions page, locate the production set with the details you want to edit, click its Action icon
 and select Edit.
 - In the Edit Productions dialog box, edit the Name, Markup Set, and Description as necessary.
- Click Edit.
To clear the documents from a production
- Click Review > Productions & Exports > Productions.
- On the Productions page, locate the production set with the documents you want to clear, click its Action icon and select Clear.
- In the Clear Production dialog box, click Clear.
To delete documents from a production
- Click Review > Productions & Exports > Productions.
- On the Productions page, locate the production set with the documents you want to delete, click its Action icon and select Delete.
- In the Delete Export dialog box, click Delete.
- Click Review > Productions & Exports > Productions.
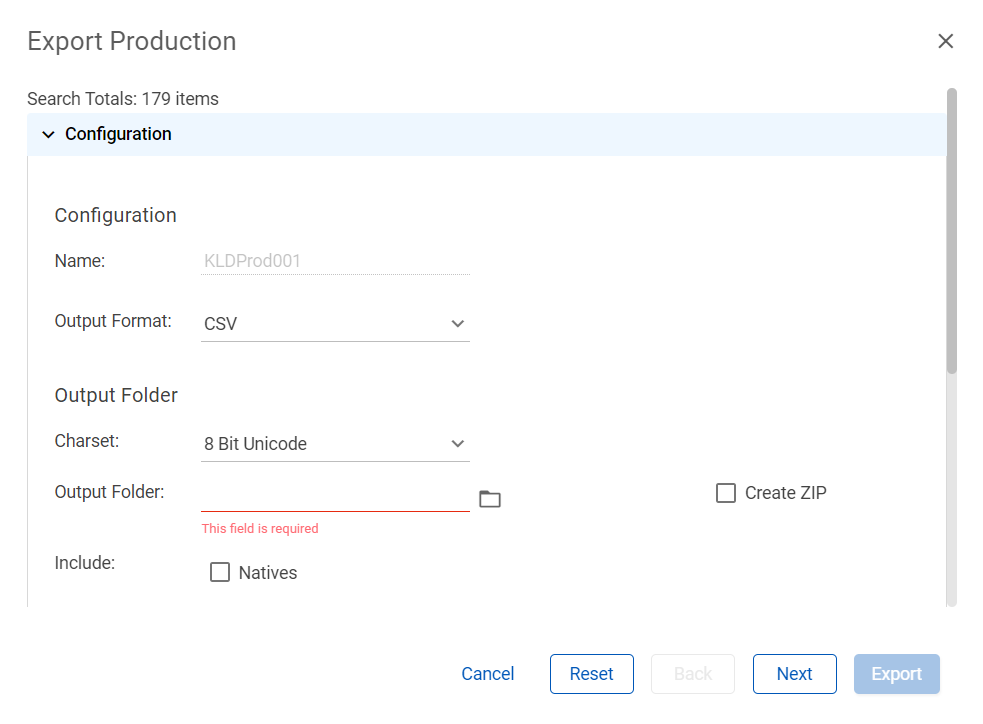
- On the Productions page list, locate the production set with the documents you want to export, click its Action icon and select Export Production.
- On the Export Production dialog box, in the Configuration section, enter the Name of the production.
- Select the Loadfile Format ( CSV, Concordance, or Summation).
- Select the Charset.
- Choose file types to Includein the production (optional):
- Natives (for all Native files)
- Text
- Images
- Export as PDF
- Select the Endorsement Profile.Enter the name of the Output Folder. (We generally recommend creating a folder called Productions in the Output location.)
- Select the Markup Set.
- If you want to include highlights in images, select IInclude Highlights.
- To download the production set, select Create a Zip file of the Production. (After the production is exported, its Download icon
 is available on the Productions page.)
 - Open the Renumber section.
- If custom numbering is desired, clear Use Control Number and specify the Sort By, Bates Prefix, Bates Start, and Number of Digits and to sort by either Ascending or Descending order.
- Open the Metadata section.
- Define metadata fields for exported load file. Fields are template based; there will be several default templates to choose from, or a new template can be created from scratch or by cloning a default template.
- Enter a Name for the new profile.
- In the Scope drop list, select the scope.
- Select from the AVAILABLE FIELDS list the metadata to include in your profile view using the following:
- Arrange the order of metadata according to the sorting order you want used on the Document List with the following:
- Rename fields as necessary by clicking the NAME of a field.
- Open the Options section.
- Select the Date Format, Time Format, and Time Zone.
- Select or clear to Distribute Exports.
- Select how to Save Export Image.
- Select or clear Save Exported Images.
- Click Export.
![]() : Add to display
: Add to display
![]() : Add all to display.
: Add all to display.
![]() : Remove from display.
: Remove from display.
![]() : Remove all from display.
: Remove all from display.
![]() : Move selected metadata up a row.
: Move selected metadata up a row.
![]() : Move selected metadata to the front of the list.
: Move selected metadata to the front of the list.
![]() : Move selected metadata down a row.
: Move selected metadata down a row.
![]() : Move selected metadata to the end of the list.
: Move selected metadata to the end of the list.
To lock a production
- Click Review > Productions & Exports > Productions.
- On the Productions page, locate the production set you want to lock, click its Action icon and select Lock.
- On the Lock Production dialog box, click Lock.
To unlock a production
- Click Review > Productions & Exports > Productions.
- On the Productions page, locate the production set you want to unlock, click its Action icon and select Unlock.
- On the Unlock Production dialog box, click Unlock.
To create and download a ZIP file of the documents in the export
- Click Review > Productions & Exports > Productions.
- In the Productions list, locate the export with the files you want to zip, click its Action icon and select Create Zip.
- To view the status of the task, click the Notifications icon
 and view the Zip Export.
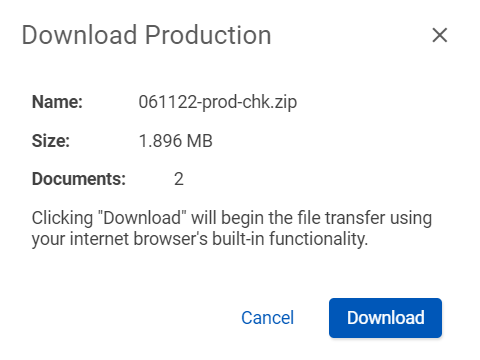
 - In the Productions list, locate the export you zipped and click its Download icon .
- On the Download Production dialog box, click Download.
Note: Zip files can also be downloaded from the Details page by clicking the Download icon ![]() in the header.
in the header.
To download a ZIP file from Notifications
- In the Nebula tool bar, click the Notifications icon .
- On the Notifications dialog box, locate the Zip Export and click the Download icon
 .
. - On the Task dialog box, in the Download Items section click the Download icon .
To recreate a ZIP file of the documents in the export
- Click Review > Productions & Exports > Productions.
- In the Productions list, locate the previously zipped production you want to work with, click its Action icon and select Recreate Zip.
- On the Recreate ZIP dialog box, click Proceed.
- To view the status of the task, click the Notifications icon and view the Zip Export.
To set the object level security for a production
- Click Review > Productions & Exports > Productions.
- On the Productions page, locate the production set you want to work with, click its Action icon and select Object Security.
- Complete the Object Security dialog box.
To refresh a production
- Click Review > Productions & Exports > Productions.
- On the Productions page, locate the production set you want to refresh, click its Action icon and select Refresh.