Creating a Nebula Production Set
Creating a Nebula production set entails finding all document required to meet the production requirements.
The following outline provides the general steps involved with creating a production set in Nebula.
A. Create your Production Universe
Work with your project manager to set up the following:
- Create a saved search to isolate all documents in the review matter to be EXCLUDED from production. This may include:
- Privileged documents
- Non Responsive documents
- Full families
- Documents with other criteria excluding them from production
- Create a saved search to gather all documents in the review matter to be INCLUDED in the production. This may include:
- Responsive documents
- Families
- Document with other criteria to be included in production
Best Practice: When saving this search, name it Exclusion Universe.
Note: Include a filter for Saved Searches: Does not Equal: Exclusion Universe.

Best Practice: When saving this search, name it Production Universe.
B. Determine the application types in your Production Universe that may require special handling when converting images
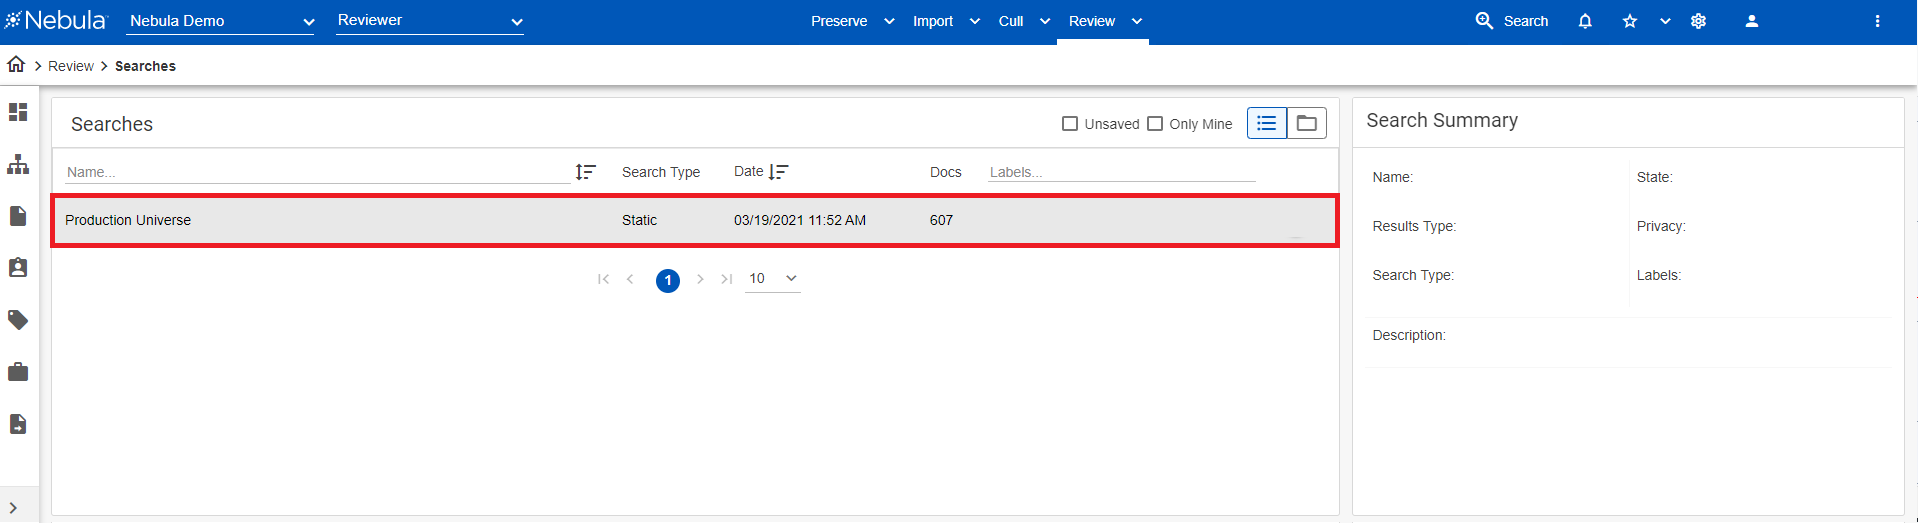
- Click Review > Searches.
- On the Searches list, double-click the Production Universe.
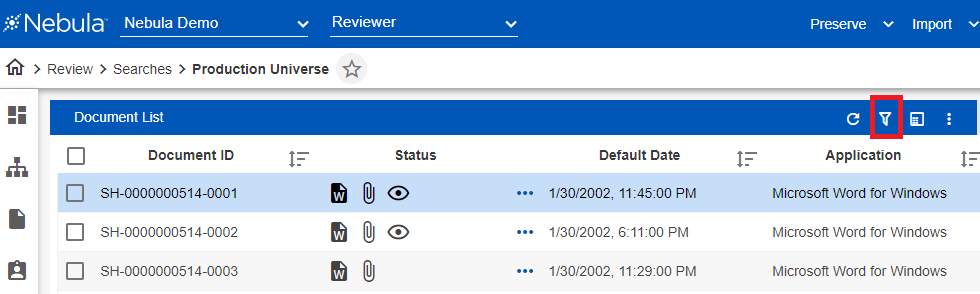
- On the Production Universe Document List, click Show/Hide Facet Explorer.
- Click Filter.
The Facet Explorer displays how many documents of each file type exist. For example, in the screen shot below, note there are Excel spreadsheets (.xls) which you may want delivered in native format rather than as an image. This view can assist when determining which files need to be converted to images and which files should be delivered natively.
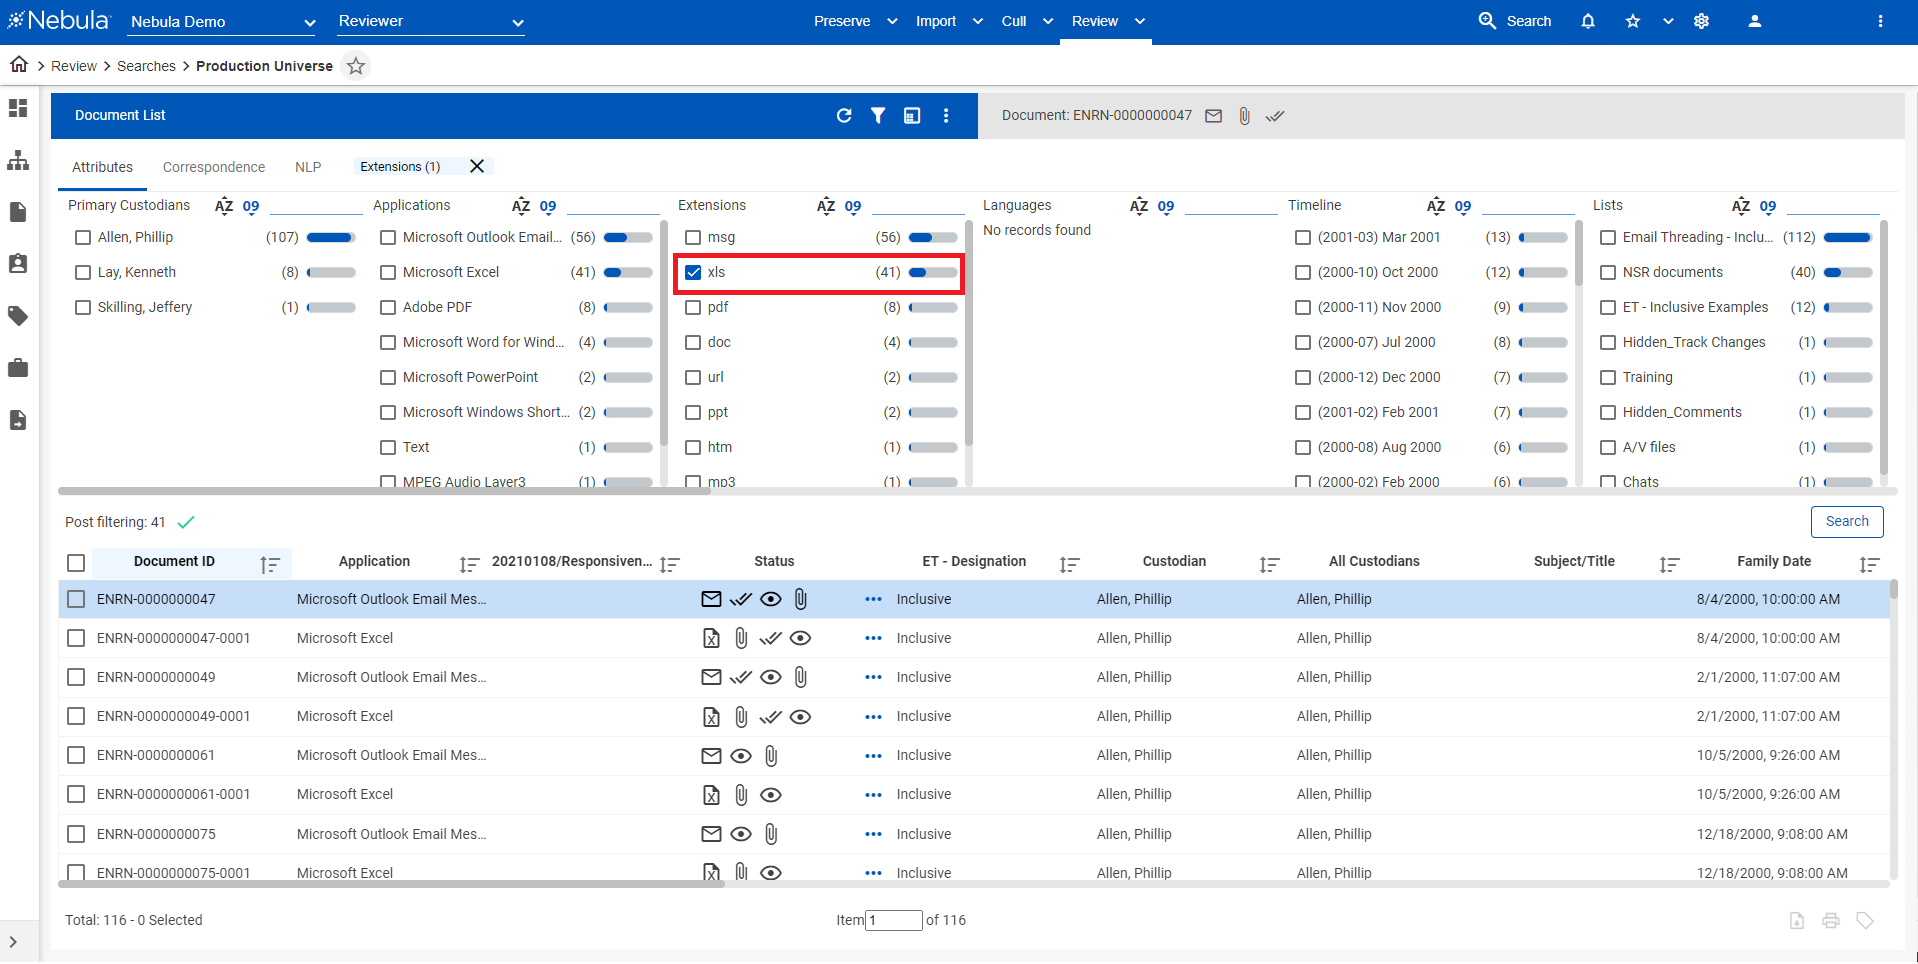
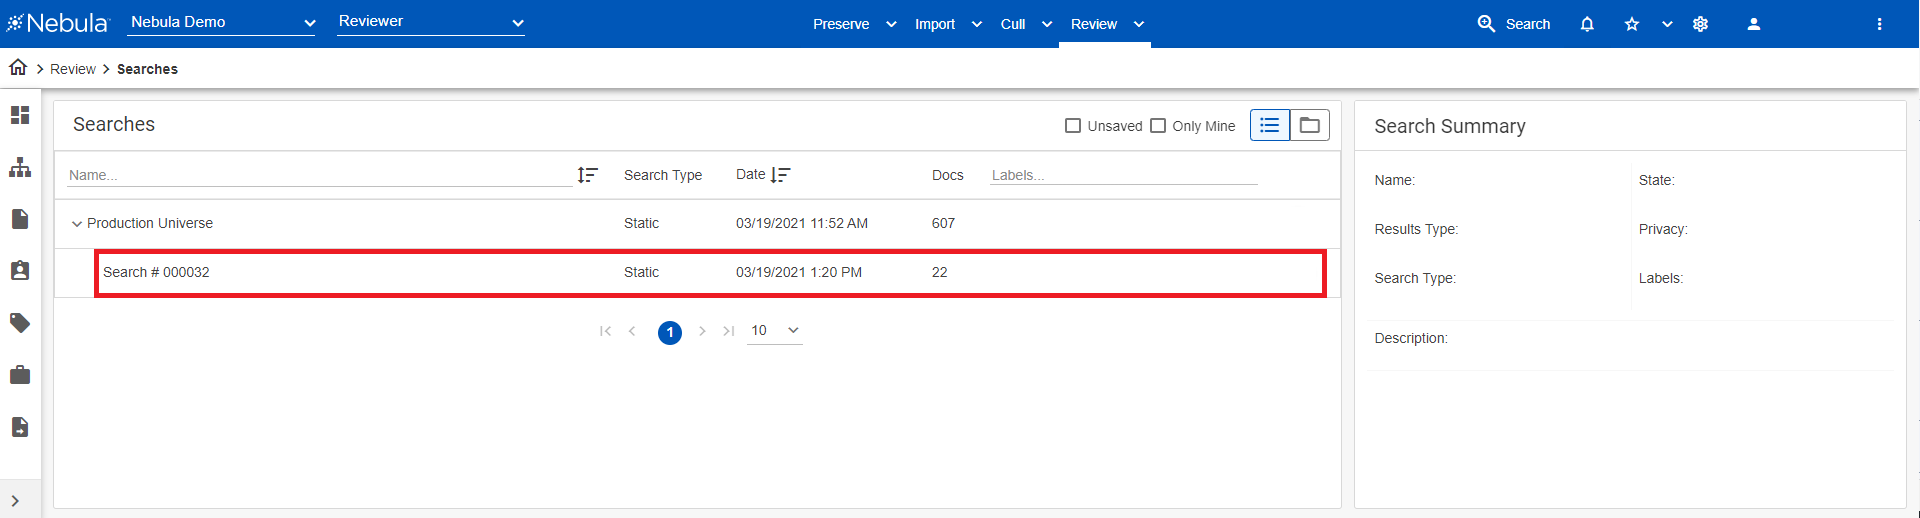
The filtered results are available as a subset to the Production Universe search.
C. Create the production
- Click Review > Production & Exports > Productions.
- In the Productions menu bar, click New Production.
- On the New Production dialog box, enter a production Name (for example, Prod001, Prod002, ...), a Description, and its Privacy level, then click Add.
- Click Review > Searches and in the Searches section, double-click the Production Universe search.
- On the Document List for the Production Universe, do the following:
- Select the Select All check box.
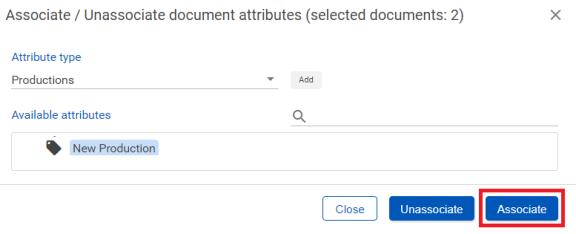
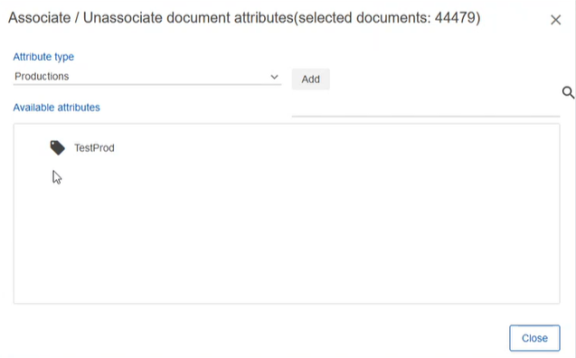
- Click the Associate/Unassociate attributes with selected documents icon.
- On the Associate/Unassociate document attributes (selected documents: #) dialog box, in the Attribute type drop list, select Productions.
- In the Available attributes list, select the production.
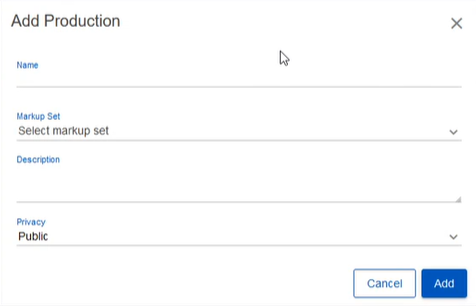
- To create a new production set, click Add and do the following:
- On the Add Production dialog box, enter a Name for the production.
- Select the Markup Set for the production.
- Enter a Description of the production.
- Select the Privacy of the production.
- Click Add.
To add the documents to the production set, click Associate .
D. Prepare the Image Profile
- Use the Image Profiles page to define the settings used when converting a native image to an image.
E. Convert images
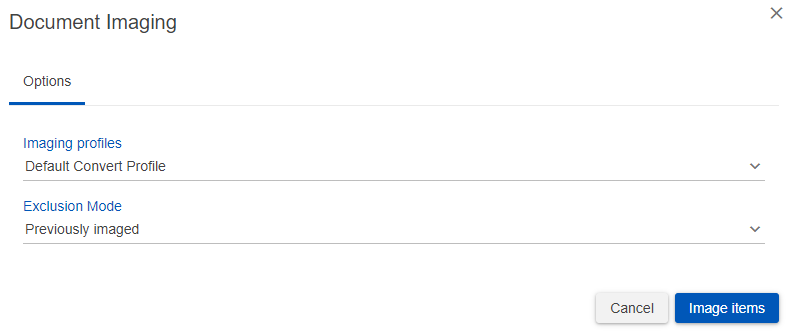
- Click Review > Searches.
- In the Searches list, double-click the Production Universe saved search.
- On the Document List, click the Action icon
 and select Image Conversion.
 - On the Document Imaging dialog box, on the options tab, select the Imaging profiles set up to for production imaging.
- Select the Exclusion Mode to ensure documents with images are not re-imaged.
- To start the converting images, click Image items.
- On the Tasks page (Review > Admin > Tasks), track the status of the IMAGING job
Note: If you select None, all documents will be re-imaged.
WARNING: Re-imaging documents will result in deleting annotations and redactions.
F. Create a new endorsement profile
Endorsement Profiles are used to control branding on a production. This is typically a Bates Number and occasionally a Confidential designation; however, the settings can be used to generate a variety of static and/or dynamic branding.
Note: When receiving an incoming production, special characters in Bates Numbers are not accepted.
- Use the Endorsement Profiles page (Review > Productions & Exports > Endorsement Profiles) to set the default values for the appearance of endorsements.
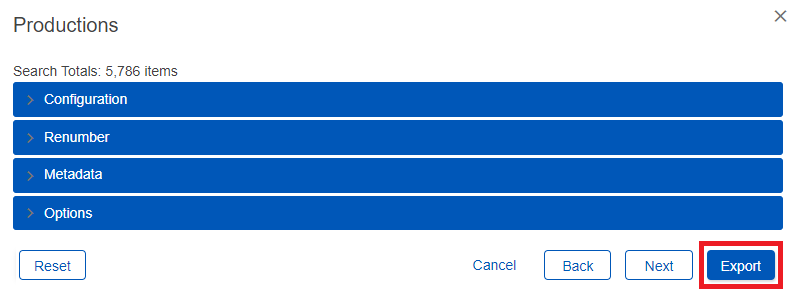
G. Export the production
- Click Review > Production & Exports > Productions.
- On the Productions list, locate and double-click the production set to export. On the Export Details page click its Action icon and select Export Production.
- On the Productions dialog box complete the following sections.
- select the Output Format ( CSV, Concordance, or Summation).
- Use the Output Folder section to configure the output location and create a folder location on the KLDiscovery network by doing the following.
- Select the Charset.
- Enter the name of the Output Folder. (We generally recommend creating a folder called Productions in the Output location.)
- Choose file types to Include in the production:
- Natives (for all Native files)
Note: If exporting Natives, select the Export Natives - Application Categories. - Text
- Images
- Export as PDF
- Select the Endorsement Profile.
- Select the Markup Set.
- If you want to include highlights in images, select Include Highlights.
- If custom numbering is desired, clear Use Control Number and specify the sorting method, prefix, starting number, and number of digits.
- Define metadata fields for exported load file. Fields are template based; there will be several default templates to choose from, or a new template can be created from scratch or by cloning a default template.
- Enter a Name for the new profile.
- In the Scope drop list, select Matter.
- Select from the AVAILABLE FIELDS list the metadata to include in your profile view using the following:
- Arrange the order of metadata according to the sorting order you want used on the Document List with the following:
- Rename fields as necessary by clicking the NAME of a field.
- Click Save.
- Select the Date Format, Time Format, and Time Zone.
- Click Export.
Configuration
Renumber section (Numbering options)
Metadata section
![]() : Add to display
: Add to display
![]() : Add all to display.
: Add all to display.
![]() : Remove from display.
: Remove from display.
![]() : Remove all from display.
: Remove all from display.
![]() : Move selected metadata up a row.
: Move selected metadata up a row.
![]() : Move selected metadata to the front of the list.
: Move selected metadata to the front of the list.
![]() : Move selected metadata down a row.
: Move selected metadata down a row.
![]() : Move selected metadata to the end of the list.
: Move selected metadata to the end of the list.
Options section
Delivery and Support
As your production begins the build process, Nebula provides a status of the progress. Once a production completes (with or without errors) please contact your Project Manager and/or the Nebula support team at nebulatechq@kldiscovery.com to gain access through FTP or alternative delivery options.
Any errors encountered or questions with the production should be directed to your Project Manager and the Nebula support team.
You can access the production images in the database with Document Viewer (Reviewer) on the Image tab drop list.