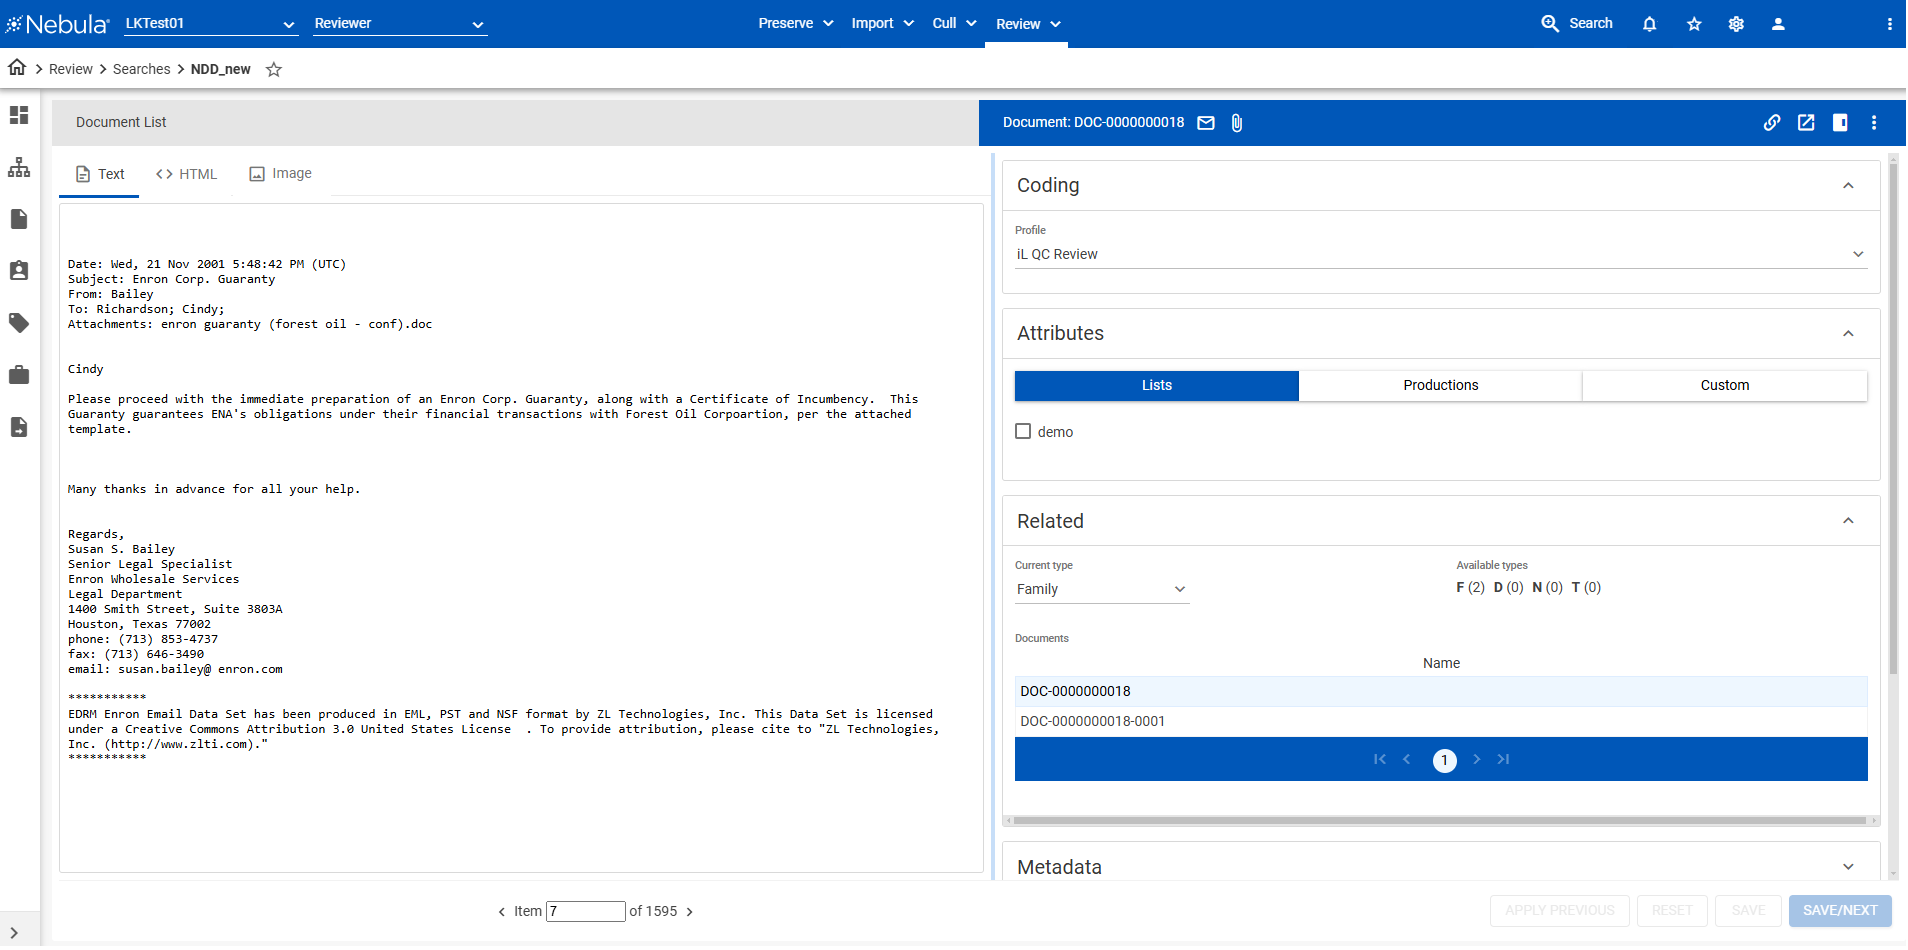
Document Viewer
The Document Viewer displays different views of the document selected from the Document List and enables you to review and annotate documents.
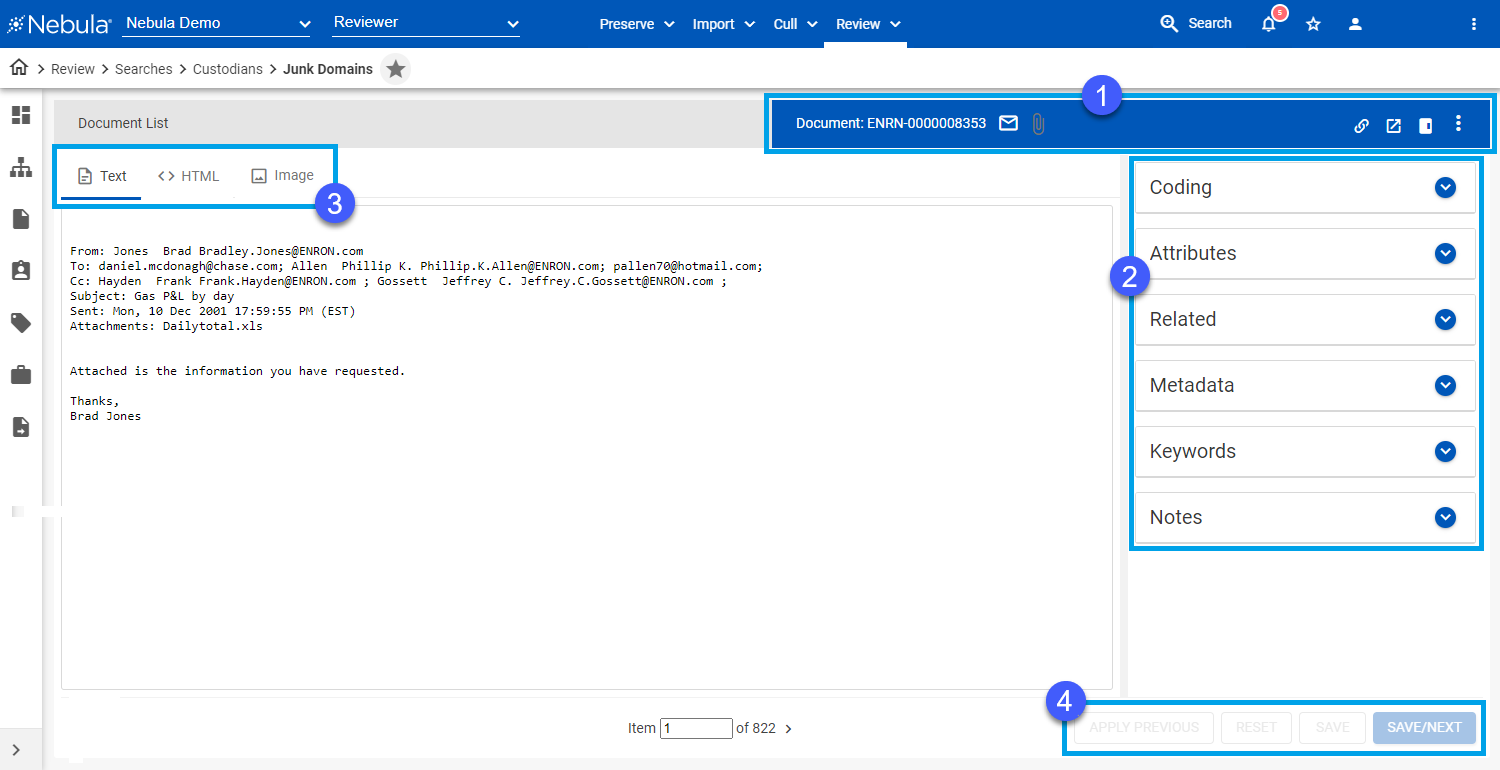
- Menu bar: View Document ID and document type on display and navigate the Review Document List.
- Coding pane: Choose Coding profiles (tags for specific reviewing tasks), apply Attributes, view Related documents, Metadata fields, and Keywords, and enter Notes.
- Viewing tabs: Choose to view document as:
- Command buttons: Coding options
- APPLY PREVIOUS to apply the coding selection of the most recently saved document.
- RESET to undo any coding changes you have made without saving.
- SAVE to submit your coding selection and remain at the current document.
- SAVE/NEXT to save your coding selection and load the next document on the Document Viewer.
| Icon |
Description |
|---|---|
Application identifier: Indicates the type of document displayed in the Document Viewer (examples,  Microsoft Outlook Email Message, Microsoft Outlook Email Message,  Microsoft Word for Windows, Microsoft Word for Windows,  Jpeg Image, Jpeg Image,  Microsoft Excel). Microsoft Excel). |
|

|
Document is attachment, has attachment, is embedded, or has embedded |

|
Hidden content detected: Indicates the documents contains hidden content that may not properly display in the Document Viewer, such as comments on a Word document or hidden rows. columns, slides, and speaker notes in an Excel document. Double-click to open the Hidden Content dialog box and download the Native document to view the hidden content. |
|
|
AI Summarization: Creates an AI generated summary of the document. |

|
Copy document URL: Copies the document URL to clipboard, enabling you to create a link to the document in an external browser (whose IP address can than be shared, emailed, ...) |

|
Undock embedded viewer: Open the Nebula viewer in a new web browser tab. |

|
Dock embedded viewer: Return the Nebula viewer to the Nebula web browser tab. |

|
Toggle Coding Panel Location: Move the Coding pane to the left or right margin of the Document Viewer. |

|
Action: Perform key functions such as download, print, and view the document's history for the currently selected document. |
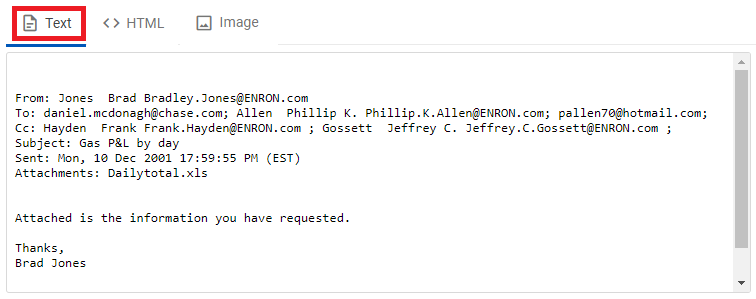
Text
View extracted text or OCR from the document.
HTML
View a Native rendering of the document. The HTML tab also displays consolidated chat conversations (and when possible, inline attachments such as images, video, or audio snippets, appear in the correct location within the conversation ).
HTML displays are centered horizontally and aligned vertically with the upper boarder.
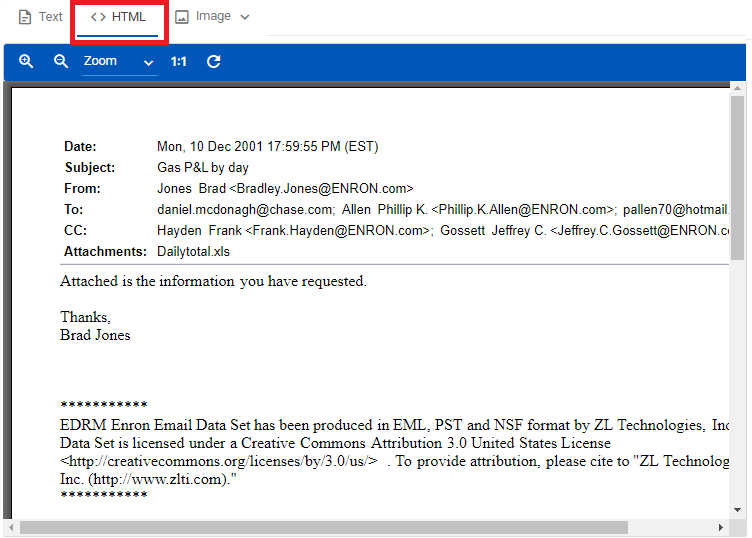
Note: HTML provides access to the HTML menu bar.
| Icon |
Description |
|---|---|
|
|
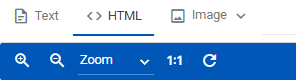
Zoom in at a rate of 25 percent of the current image display size. |
|
|
Zoom out at a rate of 20 percent of the current image display size. |
|
|
Select zoom percentage from a list of predefined values to enlarge or reduce image view |
|
|
Fit to width. |
|
|
Fit to height. |
|
|
Fit to both. |
|
|
Fit to actual size of the original document (100 percent). |
|
|
Rotate the image 90 degrees to the right. |
If HTML rendering is not yet available, the following message is present.
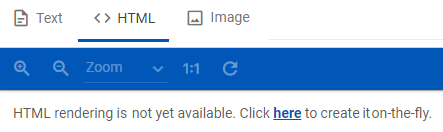
To create an HTML rendering on-the-fly, click here.
Image
View a TIFF image of document.
Image displays are centered horizontally and vertically.
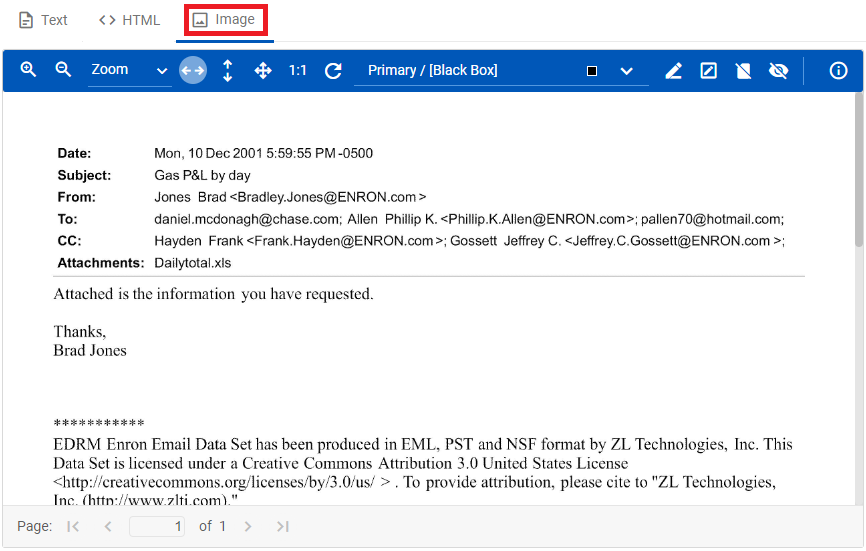
Note: Image provides access to the Image menu bar and the ability to redact and highlight text.

| Icon |
Description |
|---|---|
|
|
Zoom in. |
|
|
Zoom out. |
|
|
Select zoom from a list of predefined percentages to enlarge or reduce image view. |
|
|
Fit to width. |
|
|
Fit to height. |
|
|
Fit to both. |
|
|
Fit to actual size (100 percent). |
|
|
Rotate the current image 90 degrees to the right. |
|
|
Rotate the current and all subsequent images 90 degrees to the right. |
|
|
Select the markup set for use when applying redactions. |
|
|
Toggle drawing redaction. |
|
|
Toggle drawing highlights. |
|
|
Add full page redaction. |
|
|
Show all redactions. |
|
|
Hide all redactions. |
|
|
Navigation tools (located in the footer). |
A down arrow next to Image 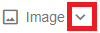 indicates that image can be viewed as its original and as it appears in any productions. Click the down arrow to choose which image you want displayed.
If an image is not yet available, the following message is present.

To create an image on-the-fly, click here.
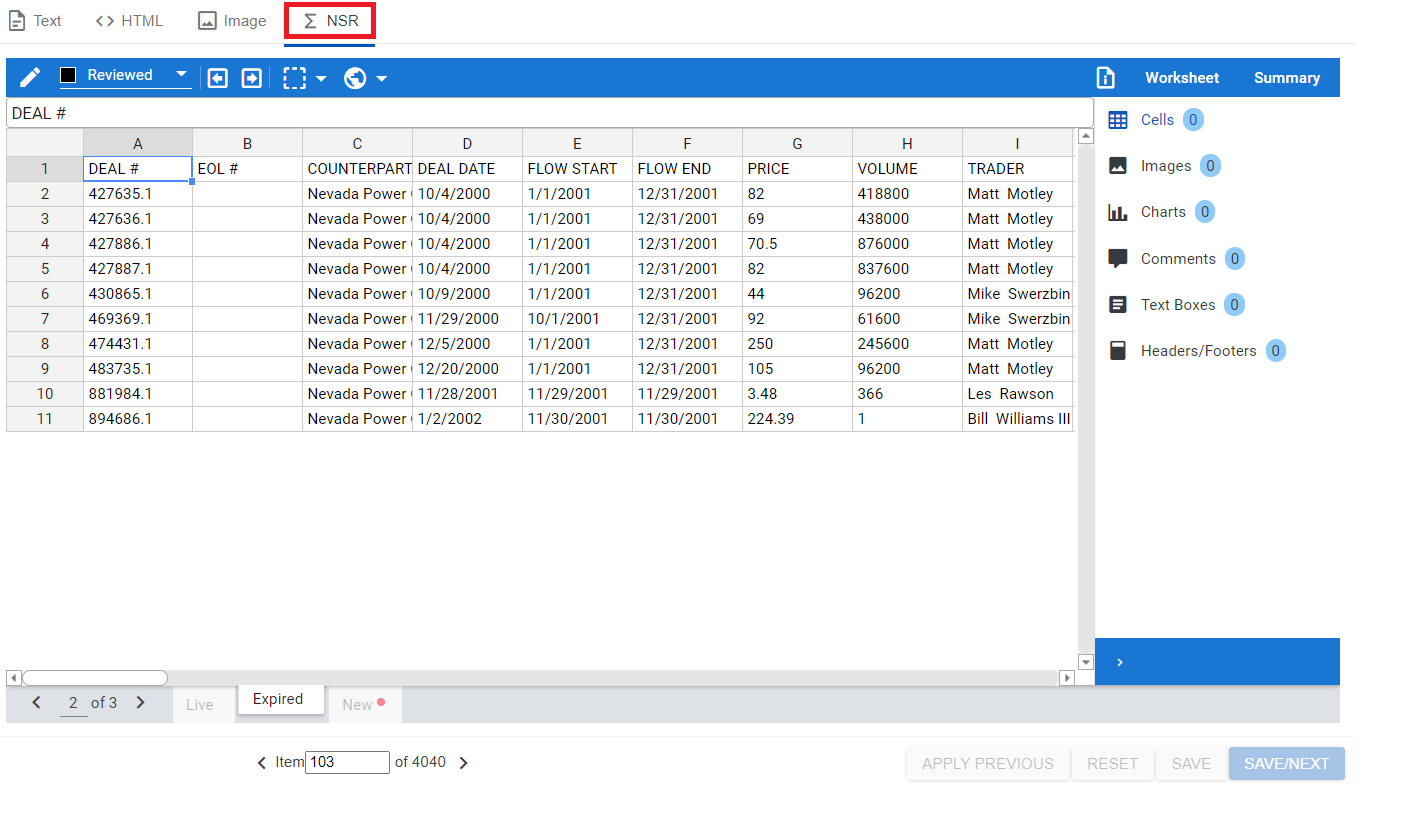
NSR
View and redact a Native rendering of Microsoft Excel files.
Only available for Excel file documents and only after spreadsheets have been parsed.
Media
Listen to, redact, and annotate audio files, as well as view video files.
Only available for multimedia file documents.
![]()
AI Summary
View an AI summary of the document.
![]()
Note: A read-only ECA Document Viewer is accessible from the Document List (Cull) which displays the file's text and metadata.
Resizing the Document Viewer
You can change the width of the Document Viewer by clicking and dragging the border between it and the Coding pane to make the view smaller ...
... or larger.
