Workflow Levels and Stages
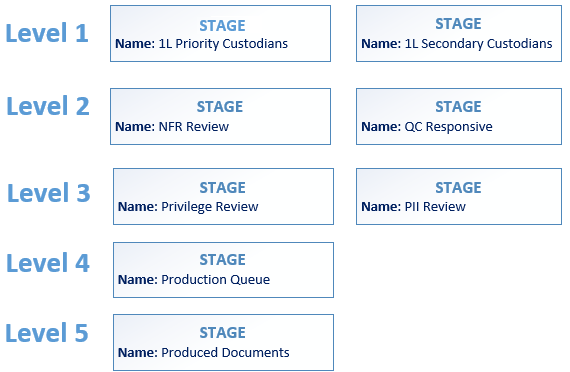
Workflow levels and stages define each tier and phase of the review process. For instance:
- First Level: Initial view of the documents.
- Second Level : Quality control for first level review.
- Third Level: Privilege review or other specialized tasks.
The above examples reflect a typical eDiscovery workflow, but in reality there are infinite possibilities of what a team can achieve with Workflow. The important thing to remember is that, once batched for review, documents can only move from higher levels to lower levels after check-in (Level 1 being the highest level). Document cannot move between stages within the same level, nor can they move backwards from a lower level to a higher level (for example, a document cannot move from Level 3 to Level 2).
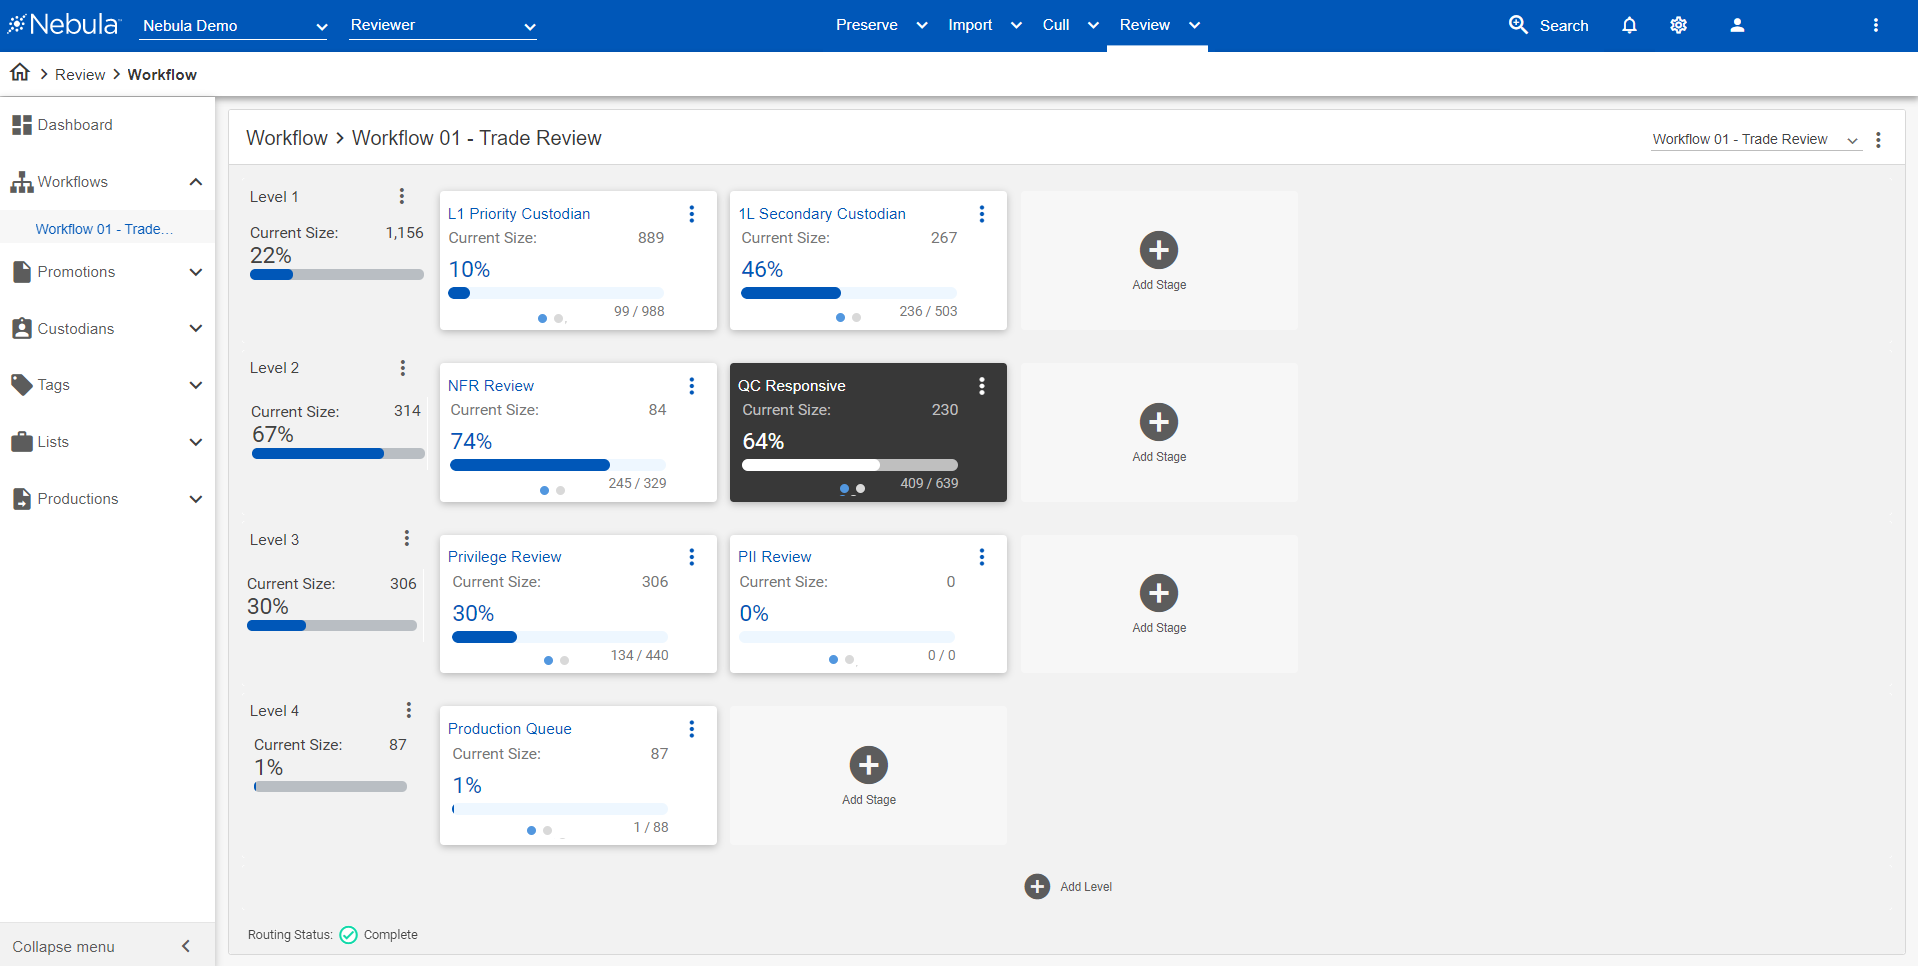
Stages are the specific phases of your document review process. They are the point in a level where documents are placed in batch assignments. Documents can only ever be within one stage on any given level. Each stage should have different requirements for entry, and usually have varying check-in criteria (CIC) for the documents.
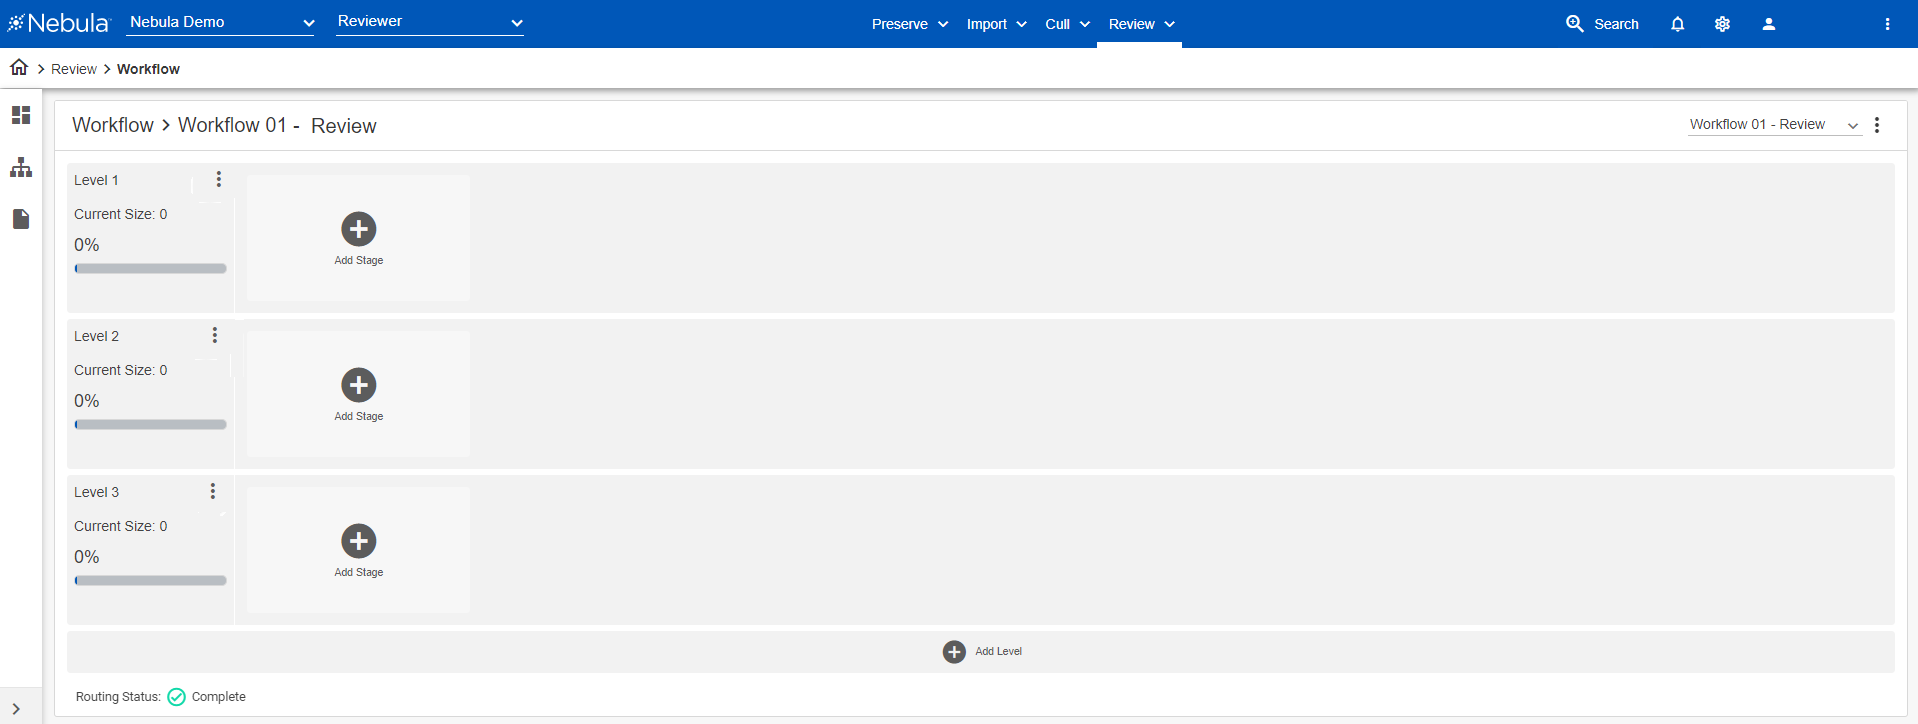
Levels and stages appear as cards on the Workflow page.
Creating Levels and Stages
After creating a workflow, add levels and stages.
To add a level to a workflow
- On the Workflow page (Review > Review Management > Workflow), select the workflow.
-

- Click
 .
. - Repeat step 2 until the workflow has the desired number of levels.
To add a level above an existing level in a workflow
- On the Workflow page, locate the level card above which you want to insert a new level.
- Click its Action button and select Insert Level Above.
- On the Insert Level dialog box, view the position in the workflow of the level you are adding and click Create.
Nebula inserts the new level, renumbers the existing levels below it, and updates search references to the renumbered levels and stages. In addition, Nebula updates the historical data in the Workflow Reporting Suite to properly assign data points to the correct levels and stages.
Deleting Levels and Stages
A level can only be deleted if it contains no stages. A stage can only be deleted if no documents have been added.
To delete a workflow level
- On the Workflow page (Review > Review Management > Workflow), select the workflow with the level you want to delete.
- Locate the level you want to delete, click its Action icon
 , and click Delete.
 - On the Delete Confirmation dialog box, click Delete.
Note: Delete is only available when no stages are present on the level.
To delete a workflow stage
- On the Workflow page (Review > Review Management > Workflow), select the workflow with the stage you want to delete.
- Locate the stage you want delete, click its Action con , and click Delete.
- On the Delete Confirmation dialog box, click Delete.
Note: Delete is only available when no documents are assigned to the stage.