Workflow Reporting Suite
The Workflow Reporting Suite collects statistics about Workflow reviews and presents them in the following reports as charts and graphs:
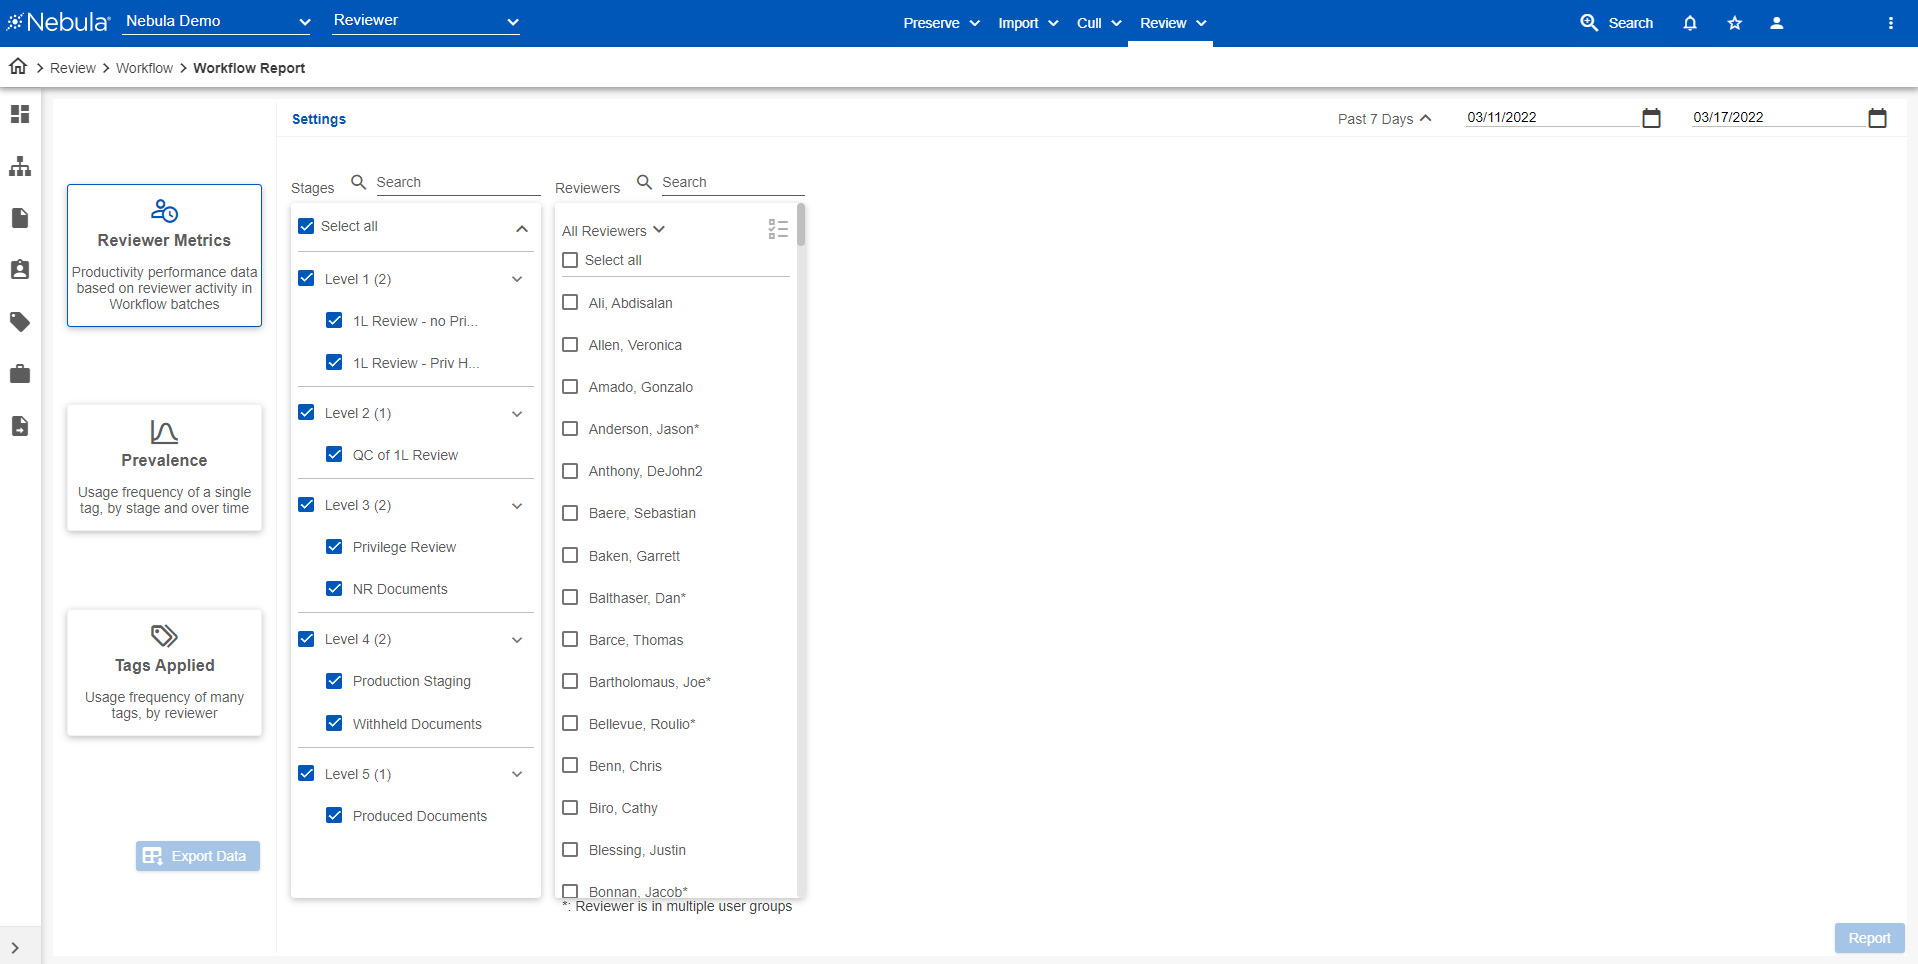
- Reviewer Metrics: Displays productivity performance data based on the reviewer activity in Workflow batches.
- Prevalence: Displays usage frequency of a single tag, by stage and over time.
- Tags Applied: Displays usage frequency of selected tags, by reviewer and over time.
- User Activity: Displays information about users' workflow activity and Nebula use.
To generate a workflow report
- In the Explore pane on the Nebula dash board, click Workflows.
- In the Workflow menu bar, select the workflow you want to work with, then click the Action icon
 and select Reporting Suite.
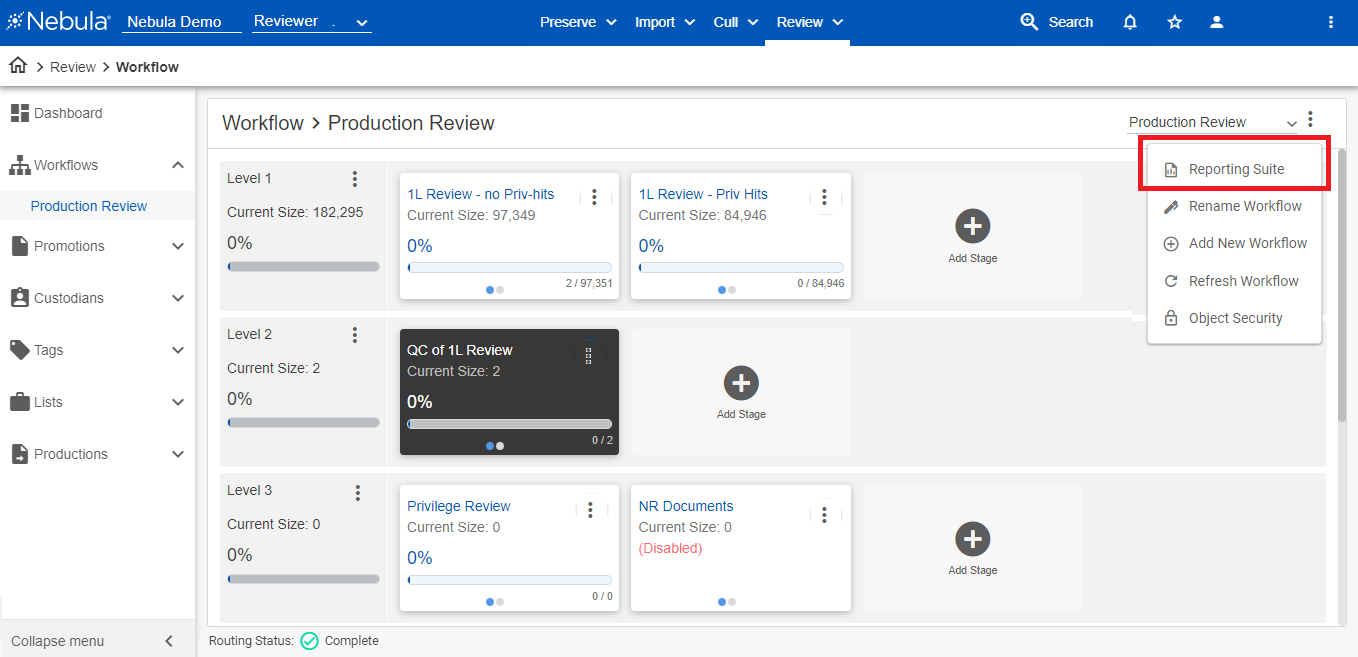
- In the Workflow Report side bar, click the tile for the type of report you want to generate.
-
 (Reviewer Metrics report)
 -
 (Prevalence report)
 -
 ( Tags Applied report)
 - Use the Settings page to select or clear the data you want to include in the report.
- In the Workflow Report menu bar, set the Date range of the data you to include in your report from the following:
- Past 7 days
- Past 14 days
- Past 30 days
- Full History
- Custom
- Click Report,
- In the Workflow Report menu bar, adjust the appearance and metrics of the report using the following:
The Workflow Reports page appears with information about the selected workflow.
Note: If you select Custom, set a start and end date using the two calendar lists.

| Icon | Function |
|---|---|
 (Time increment) (Time increment) |
Select to view the data in Daily, Weekly, or Monthly increments. |
 (Date range) (Date range) |
Click to open a calendar to narrow the data between a set of two dates. |
|
|
View the report as a table. |
|
|
View the report as a graph. Note: Click data points on the graph to view additional information.
|
|
|
View the report as change in value from the calculated average. (Example: "Were more or less documents viewed?") |
|
|
View the report as the current day/week/month value. |
|
|
View the report as the data point/value as a percent as compared to some other value (dependent on the type of report). (Example: “What percent of the documents did Reviewer X code vs. what percent did Reviewer Y,” or “How many documents are tagged <red> vs <blue>.”) |
|
|
View the report as the actual value of the Delta or Sum. |
|
|
View the report as a graph by individual reviewer. |
|
|
View the report as a graph including all reviewers. |
|
|
View the report as a circular graph by individual reviewer. |
|
|
View the report as a bar graph including all reviewers. |
|
|
Move to a report from Report Setup. |
|
|
Return to Report Setup from a generated report. |
To adjust the settings of a report
- In the Workflow Report menu bar, click the Settings
 icon.
icon. - Use the Settings page to update the data you want to include in the report.
Exporting Reports
You can download data from Reviewer Metrics and Prevalence reports as XLXS files. If multiple reports are created, each report will have it's own worksheet tab.

Note:
Regardless of the day range of your workflow report (daily, weekly, or monthly), the downloaded report contains an entry for each day.
Downloaded reports contain only the information from the table view. No graphs are downloaded.
To export of a workflow report
- Generate a Review Metrics or Prevalence workflow report.
- In the Workflow Report side bar, click Export Data.
- On the Create Data Export dialog box, select the type of Workflow Report you created (Review Metrics, Prevalence, or Tags Applied) and click Create.
- In the Workflow Report side bar, click Download.
To generate a User Activity report, select Reviewer Metrics, then select Include User Activity.