Using Predictive Coding
This topic provides instruction for completing the following tasks associated with using predictive coding:
- Creating a new predictive coding project
- Adding documents to a predictive coding project
- Running a training session
- Rebuilding an index
- Using Control Sets
- Viewing the training history
- Viewing predictive coding scores
Creating a new predictive coding project
When you set up a predictive coding project, Nebula automatically creates score fields. The new scoring fields display the project name, coding option, and choice can be viewed on the Document List using Customize Fields.

To create a new predictive coding project
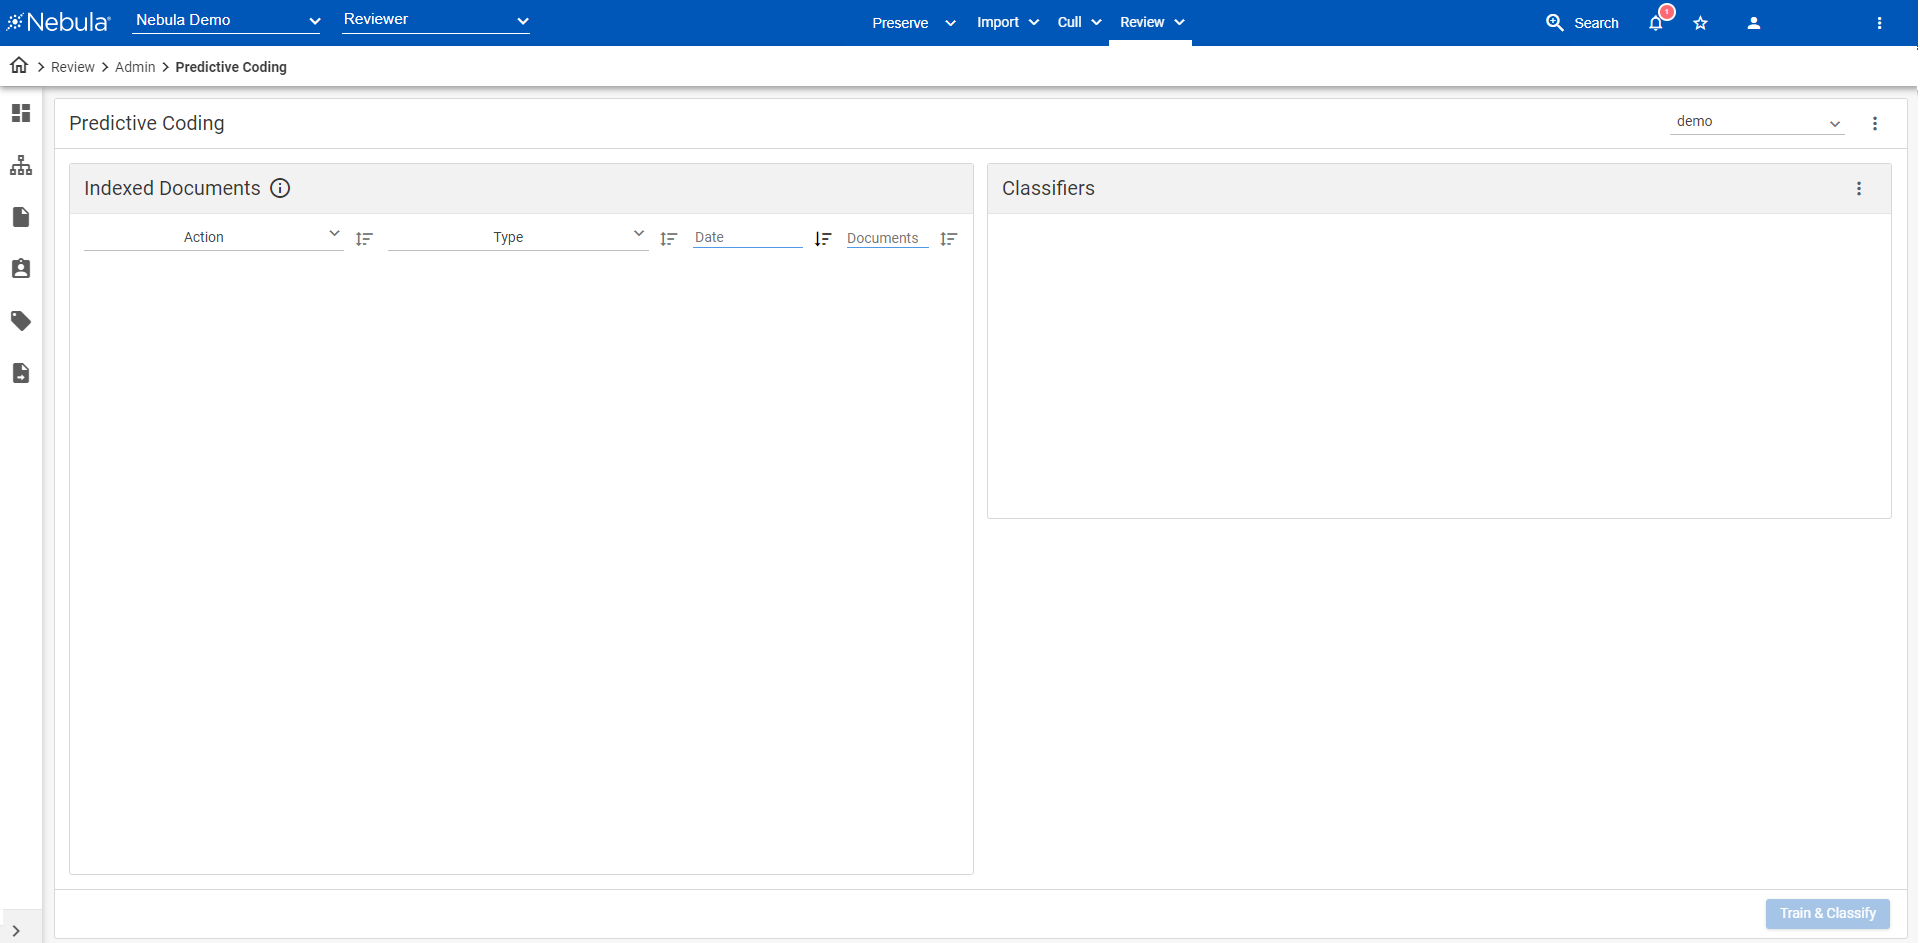
- In the Nebula menu bar, click Review > Admin > Predictive Coding.
- In the Predictive Coding heading, click the Select Project Action icon
 and select New Project.
 - In the New Project dialog box, enter the project Name.
- Enter the text you want to Use for Training Flag.
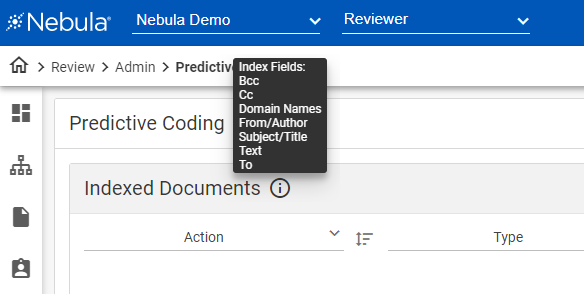
- View the Index Fields, view the default metadata from the documents the predictive coding service will take into account.
- Click Create.
- View the new project on the Predictive Coding page. The name of the project appears in the Select Project drop list.
- To view the index fields, click the Information icon
 in the Indexed Documents header.
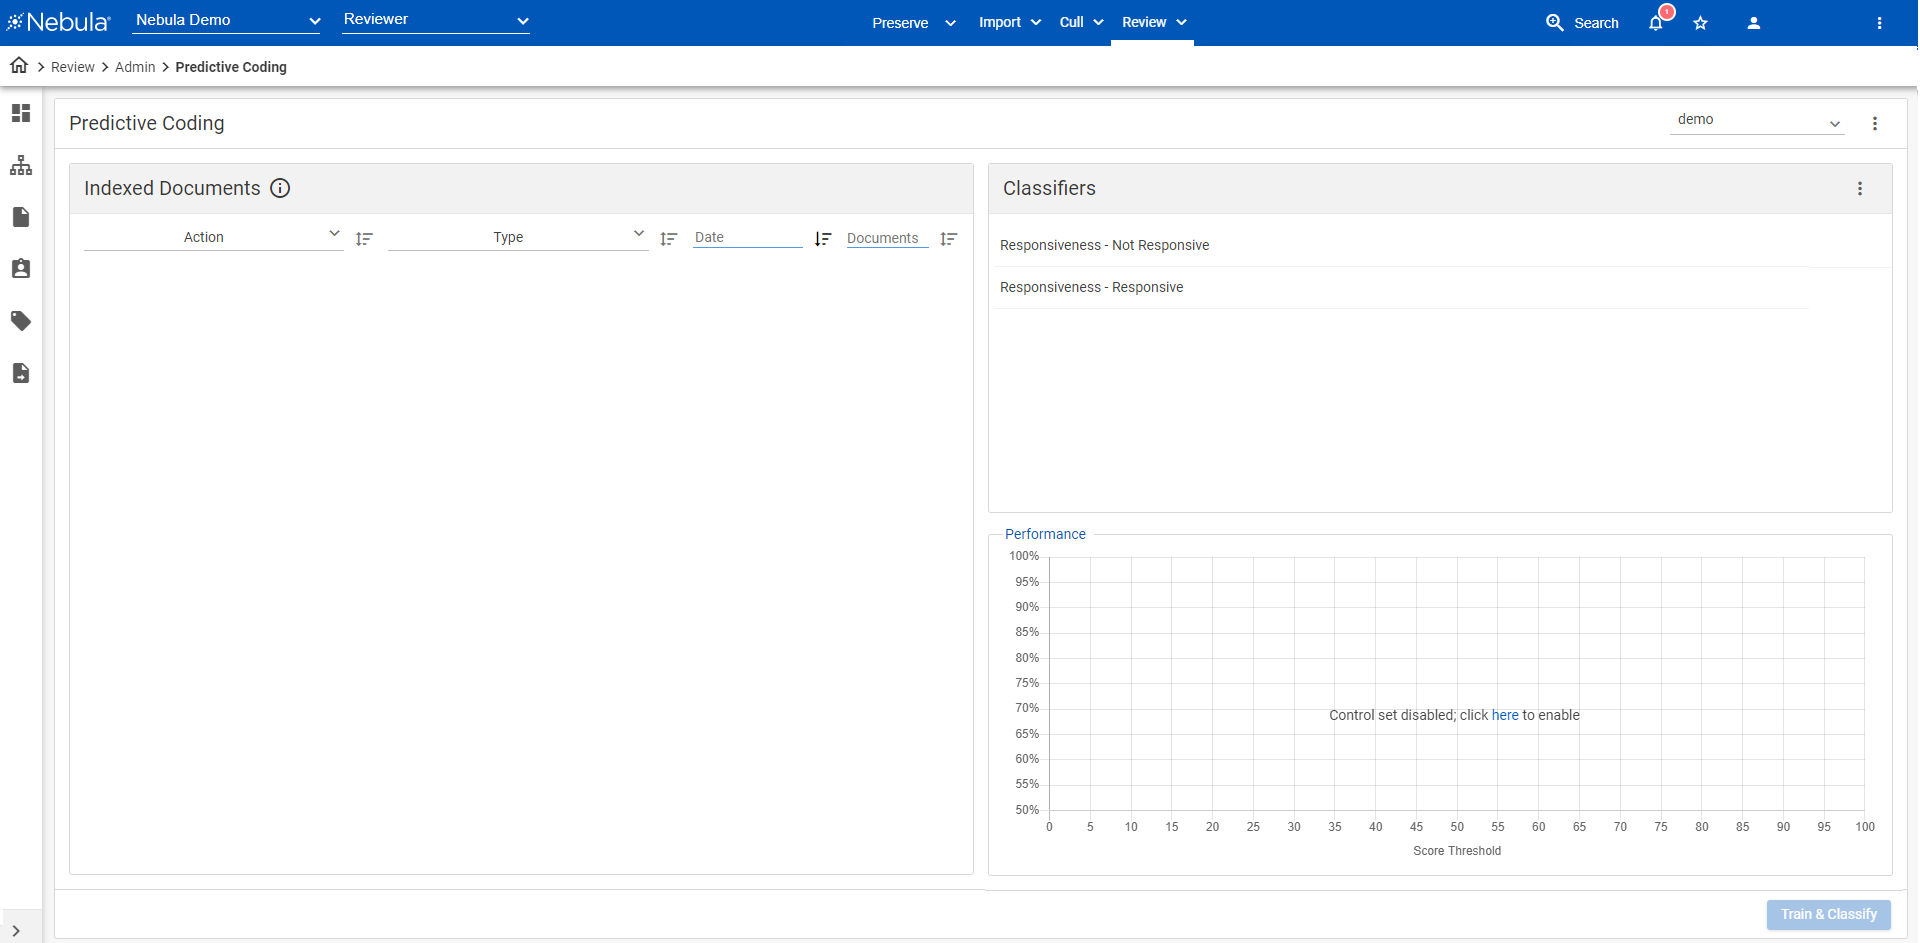
 - In the Classifiers header, click the Action icon
 and select Add Classifier.
 - On the Add Classifier dialog box, select the coding fields you want included in the predictive coding profile and click Select.
Note: Index Fields cannot be edited after a training session has been run.
Note: Entries and edits on the Predictive Coding page are automatically saved.
To delete a predictive coding project
Note: Deleting a predictive coding project also permanently deletes all associated classifiers and fields, and cannot be undone. A project cannot be deleted during indexing or training and classifying, nor while currently used in a Workflow stage.
- In the Nebula menu bar, click Review > Admin > Predictive Coding.
- In the Predictive Coding menu, choose the project you want to delete with using the project drop list.
- Click the Predictive Coding Action icon and select Delete.
- On the Delete Predictive Coding Project dialog box, click Delete.
To add classifiers
- On the Predictive Coding page Classifiers header, click the Action icon and select Add Classifier.
- In the Add Classifiers dialog box, select the coding fields you want included in the predictive coding profile and click Select.
To delete classifiers
- On the Predictive Coding page, in the Classifiers section, locate the classifier you want to delete and click its Delete icon
 .
. - On the Delete Classifier dialog box, click Delete.
To set the object level security for predictive coding
- In the Predictive Coding menu, choose the project you want to work with using the project drop list.
- Click its Action icon
 and select Object Security.
 - Complete the Object Security dialog box.
Adding documents to a predictive coding project
Documents are added into a predictive coding project through the Reviewer Document List.
To add documents to a coding profile
- In Review, choose the Saved Search or document set from Review Explore menu (Review > Explore) with emails and attachments you want to include in the predictive coding profile. (This is the document collection predictive coding will learn from and provide a score or ranking to.)
- On the Document List, click the Action icon
 and select Predictive Coding.
 - On the Predictive Coding dialog box, select Add to Project,
- In the Project Name drop list, select the predictive coding project you created.
- Click Proceed.
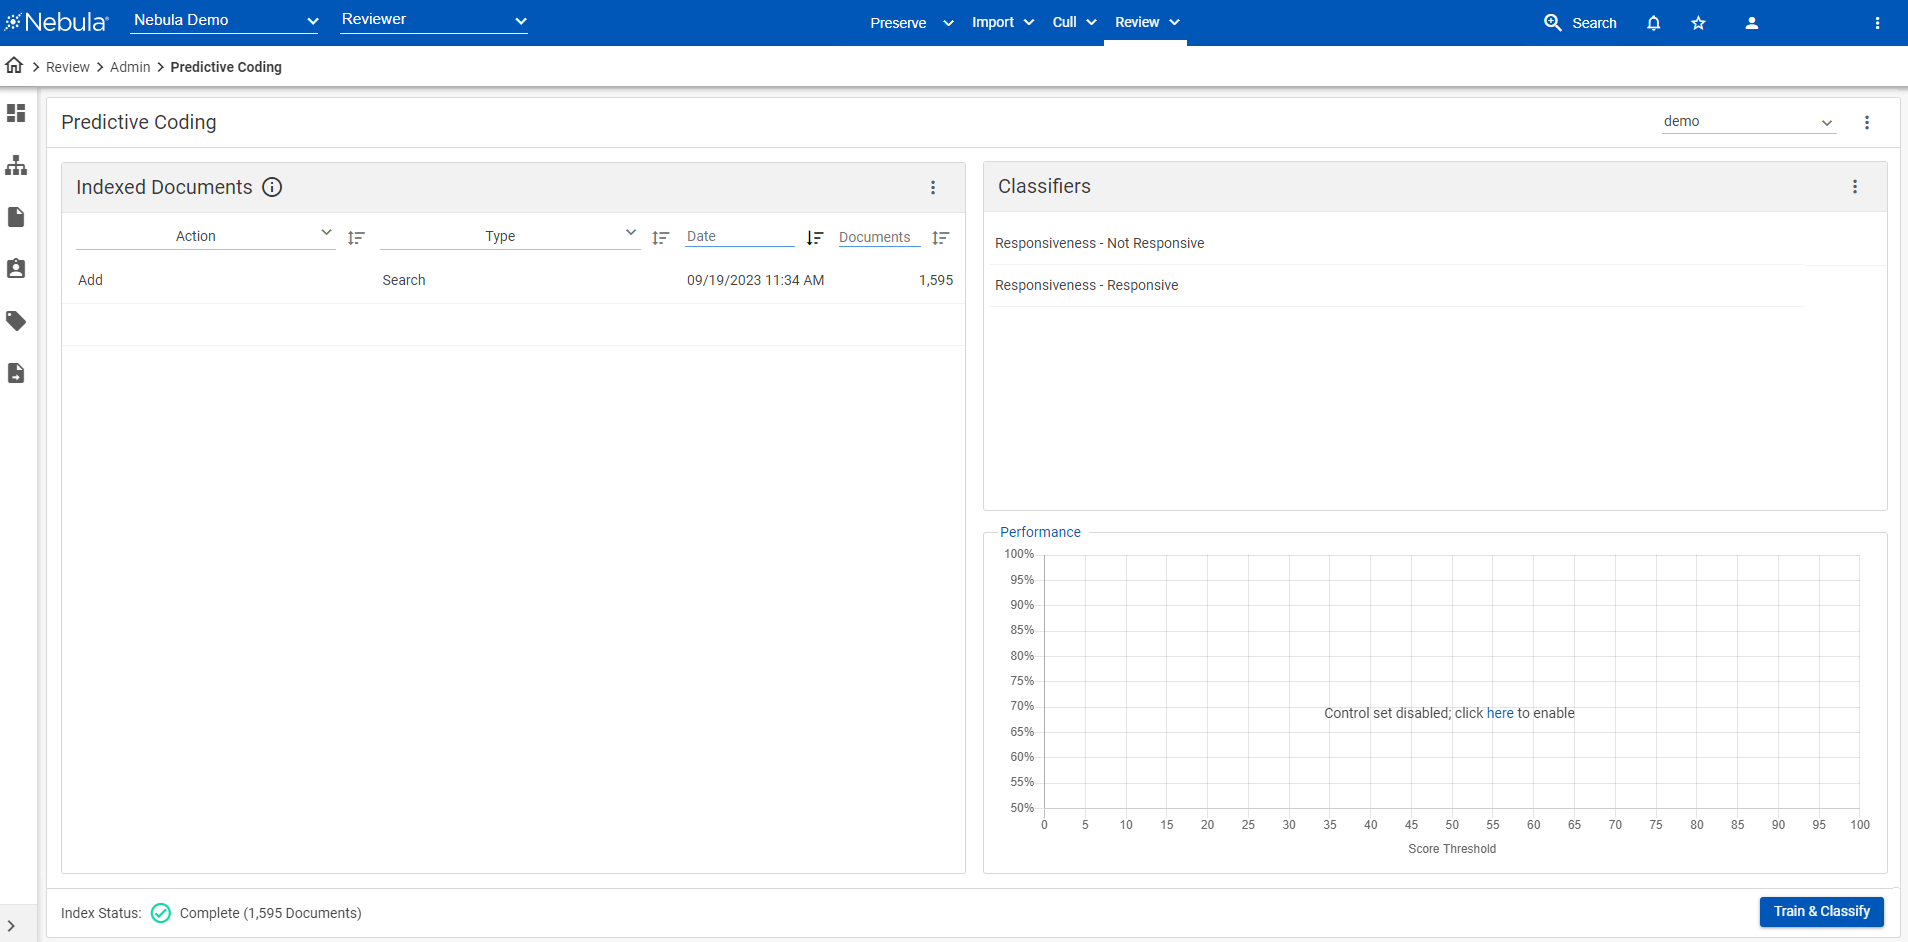
- On the Predictive Coding page (Review > Admin > Predictive Coding), choose the predictive coding set from the menu bar drop list.
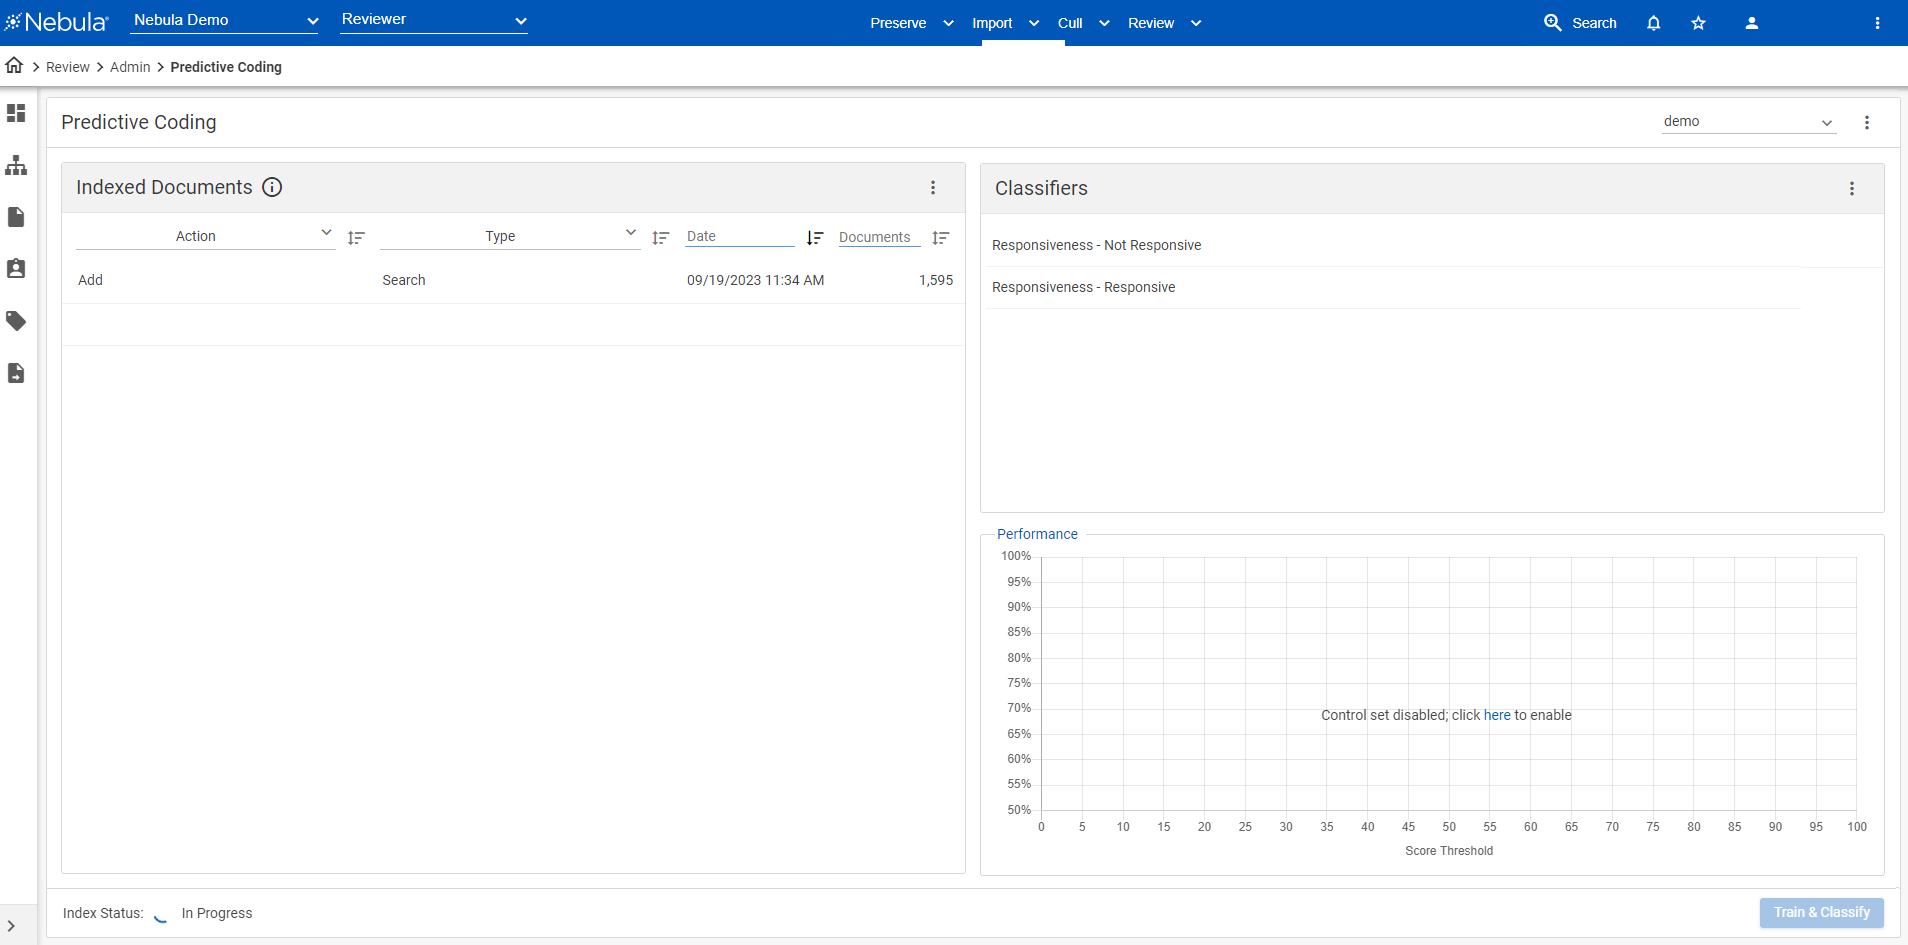
- View the Indexing Status in beneath the Index Fields section.
- View the document set selected in step 1 in the Index Documents section. When indexing completes, Train & Classify is available to run a training session.
To view the documents in the current index population in the Review Document List, click the Indexed Documents header Action icon and select View Documents. (Available when the Index Status is Complete and the current index contains at least one document.)

To remove documents from a coding profile
- In Review, choose the Saved Search or document set from Review Explore menu (Review > Explore) with emails and attachments you want to remove from the predictive coding profile.
- On the Document List, click the Action icon and select Predictive Coding.
- On the Predictive Coding dialog box, select Remove From Project,
- In the Project Name drop list, select the predictive coding project you want the documents removed from.
- Click Proceed.
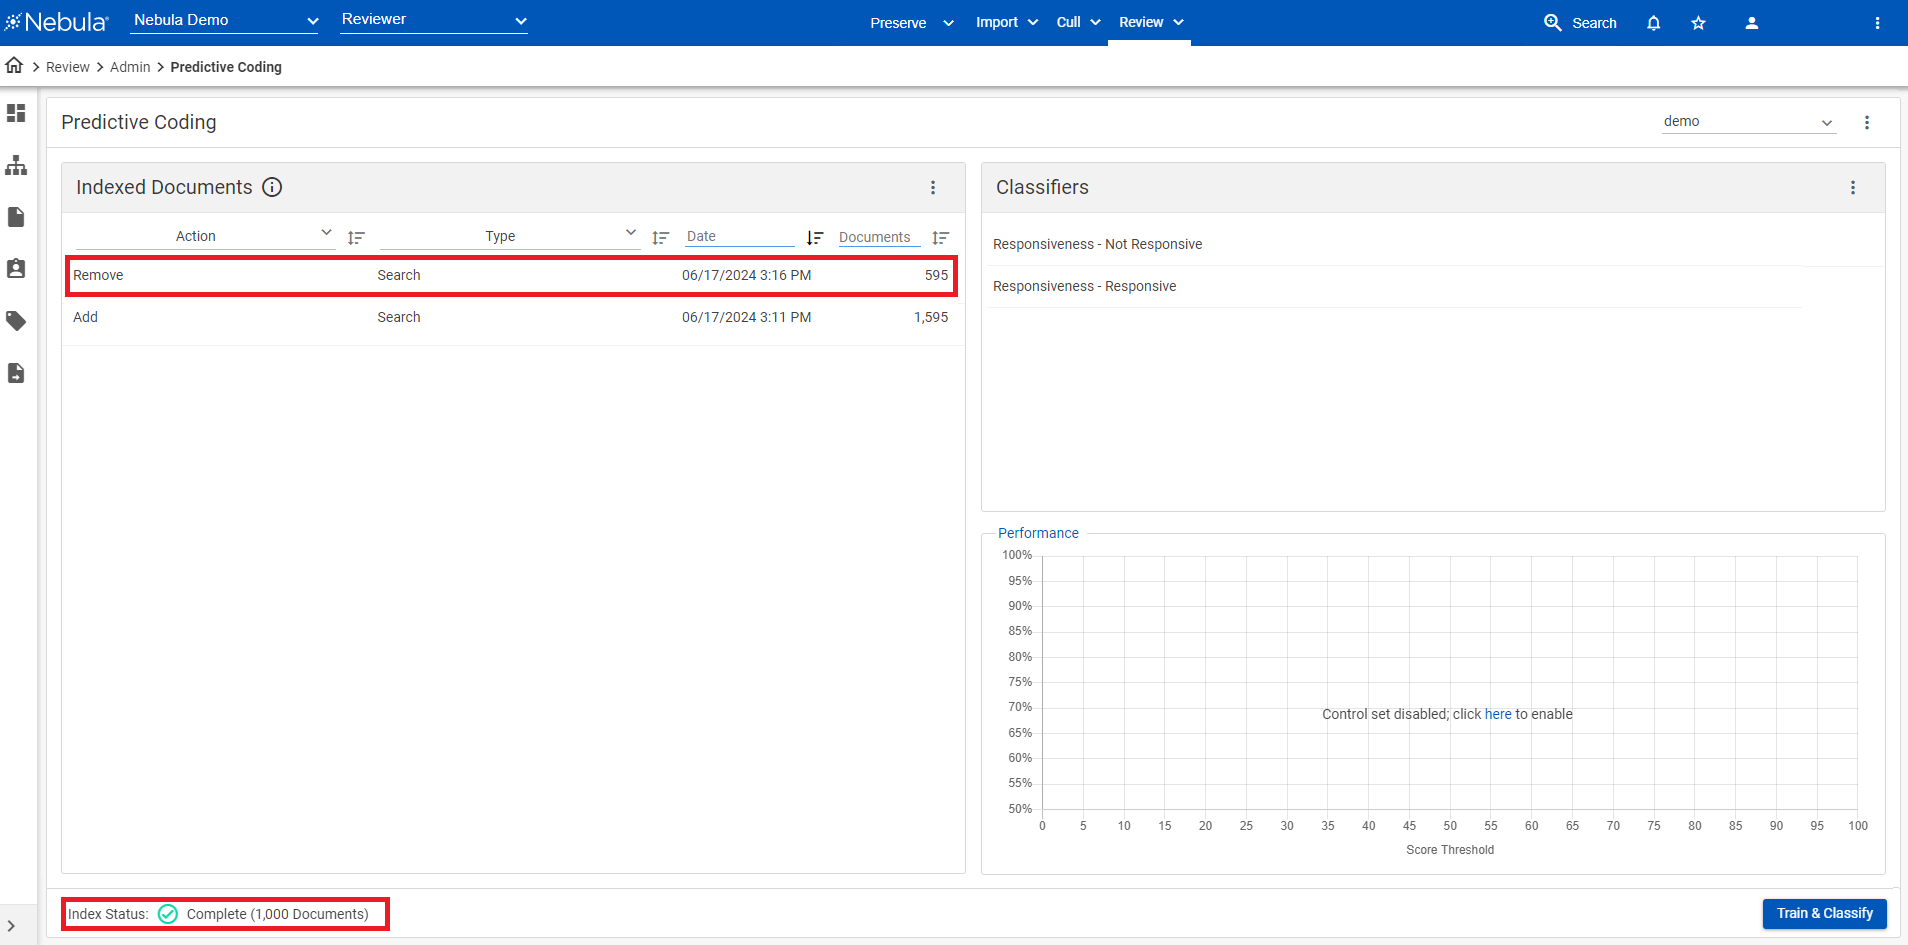
- On the Predictive Coding page (Review > Admin > Predictive Coding), choose the predictive coding set from the menu bar drop list.
- View the removed documents in the Indexed Documents list and the updated document count in the Index Status.
Running a training session
Before running a training session, create a seed set of documents (a collection of reviewed documents in the document set in which the training fields have been selected when coding the documents).
To run a training session
- On your Review matter, click Review > Admin > Predictive Coding.
- In the Predictive Coding menu, choose the project you want to work with using the project drop list.
- Click Train & Classify.
- View the Training Status.
- When the training session completes, view its Training Status of Complete.


Note: Should a training session fail, click Failed in the Last Training Session to view the details of the problem on the Tasks (Review) page.

Rebuilding an index
If new documents have not been added to an existing predictive coding project, the project's index must be built prior to the next training session.
To rebuild an index
- On your Review matter, click Manage > Review > Predictive Coding.
- In the Predictive Coding menu, choose the project you want to work with using the project drop list.
- In the Indexed Documents header, click the Action icon and select Rebuild Index.
- On the Rebuild Index dialog box, click Proceed.
Using Control Sets
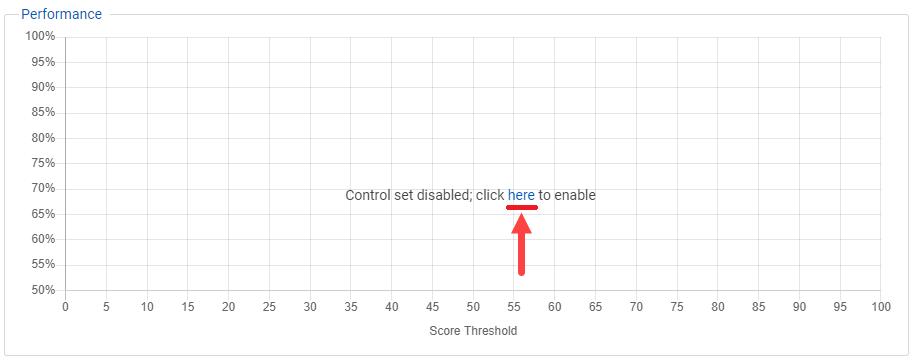
Control Sets enable you to check the model quality and view the results of the predictive coding as a graph in the Performance section based on the current Priority Classifier.
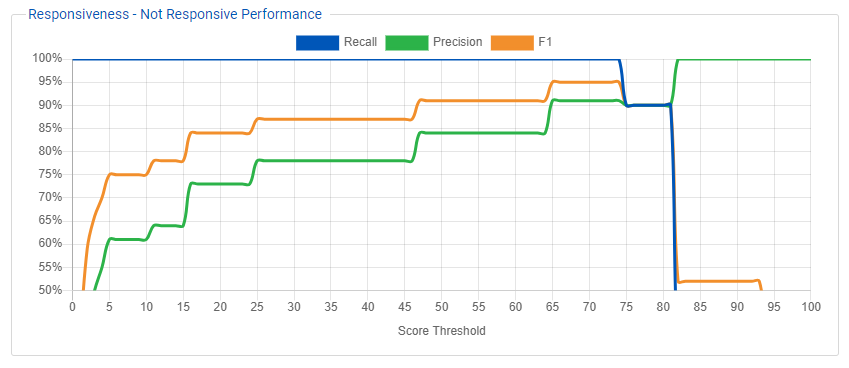
The Performance section graph displays the following metrics:
- Recall: The proportion of True Positive documents (positive basing on PC score per given threshold AND manual review) to all documents marked as positive by manual review (actual positives).
- Precision: A proportion of True Positive documents to all documents that are positive per given threshold basing on PC service scores.
- F1: The harmonic mean of Precision and Recall.
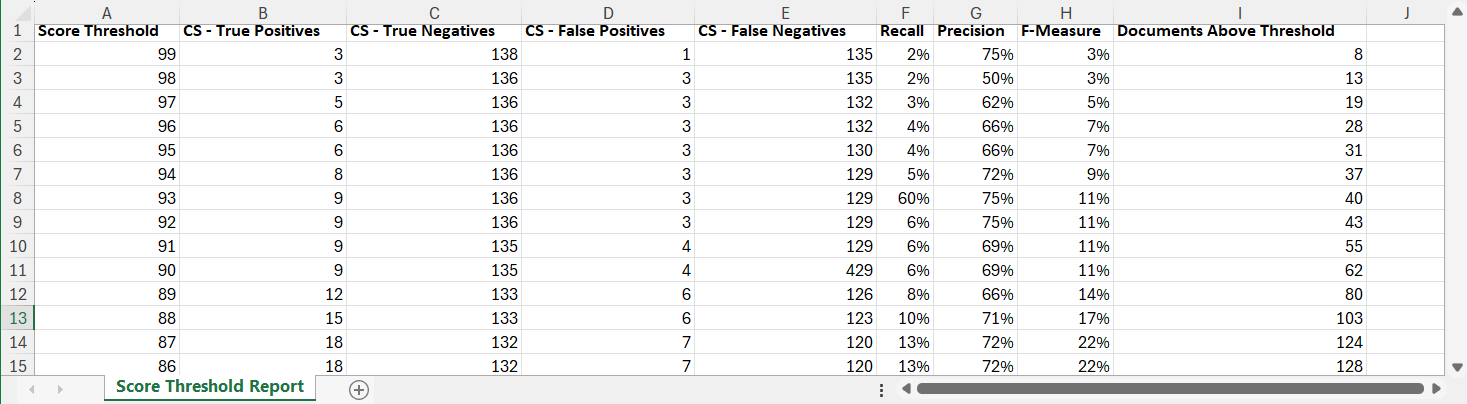
The Score Threshold Report contains the score threshold and the number of documents above that threshold value in the document set, as well as the number of True Positives, True Negatives, False Positives, False Negatives and other performance metrics.
To download an XLSX Score Threshold Report (XLSX file), click the Download Score Threshold Report icon  .
.
To add a control set
- Enable the Control Set by doing one of the following on the Predictive Coding page:
- In the Classifiers header, click the Action icon and select Control Set.
- In the Performance section, if the Control Set is disabled, click here.
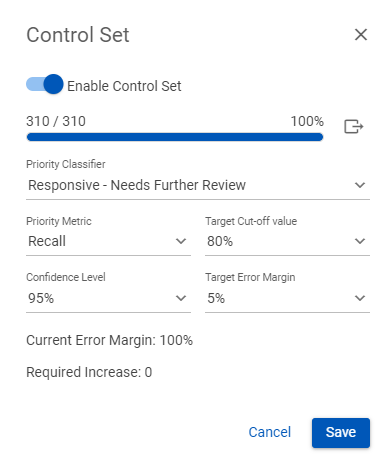
- On the Control Set dialog box, toggle Enable Control Set.
- Select the Confidence Level and the Target Error Margin.
- Click Save.
- On the Predictive Coding page, click Train & Classify.
- In the Performance section, view the Score Thresholds.
To adjust the options of the Control Set, such as the Primary Classifier , Priority Metric (Prevalence, Recall, or Precision), Target-Cut-off value, Confidence Level, and Target Error Margin, open the Control Set dialog box (Classifiers header > Action icon ![]() > Control Set) and update the levels and margins as necessary.
> Control Set) and update the levels and margins as necessary.
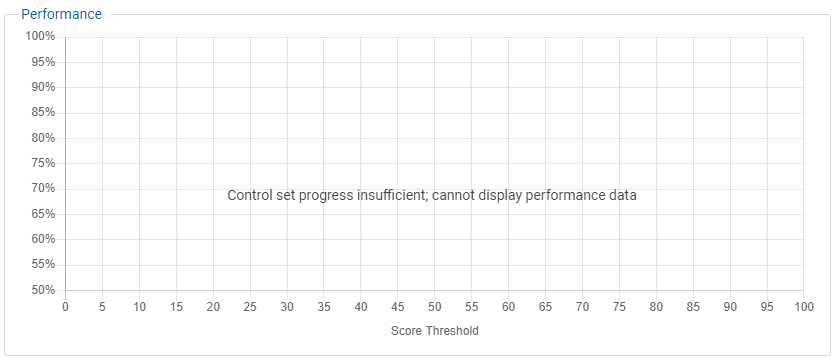
Control Set customization requires a minimum of 270 documents reviewed. When less than this amount of documents are present, the Performance section displays the following message:
Viewing the training history
You can view the details all training sessions that have been conducted for the project in the Training History.
To view project's predictive coding training history
- In the Nebula menu bar, click Review > Admin > Predictive Coding.
- In the Predictive Coding menu, choose the project you want to work with using the project drop list.
- Click its Action icon and select Training History.
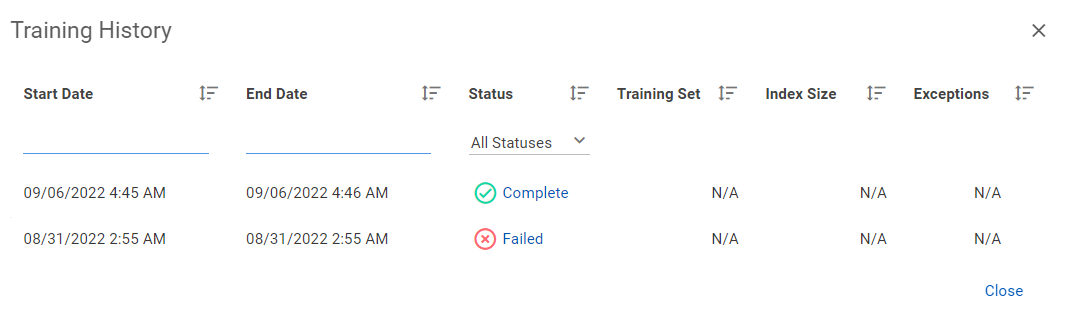
- On the Training History dialog box, view the list of all training sessions that have been conducted for the project.
- Click a training session's Status to view its task details on the Tasks (Review) page.
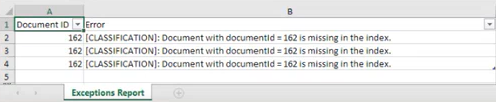
- If a training session resulted in a Failed status with a single document error, click the Download Report icon
 in the session's Exceptions column to download an Exceptions Report.
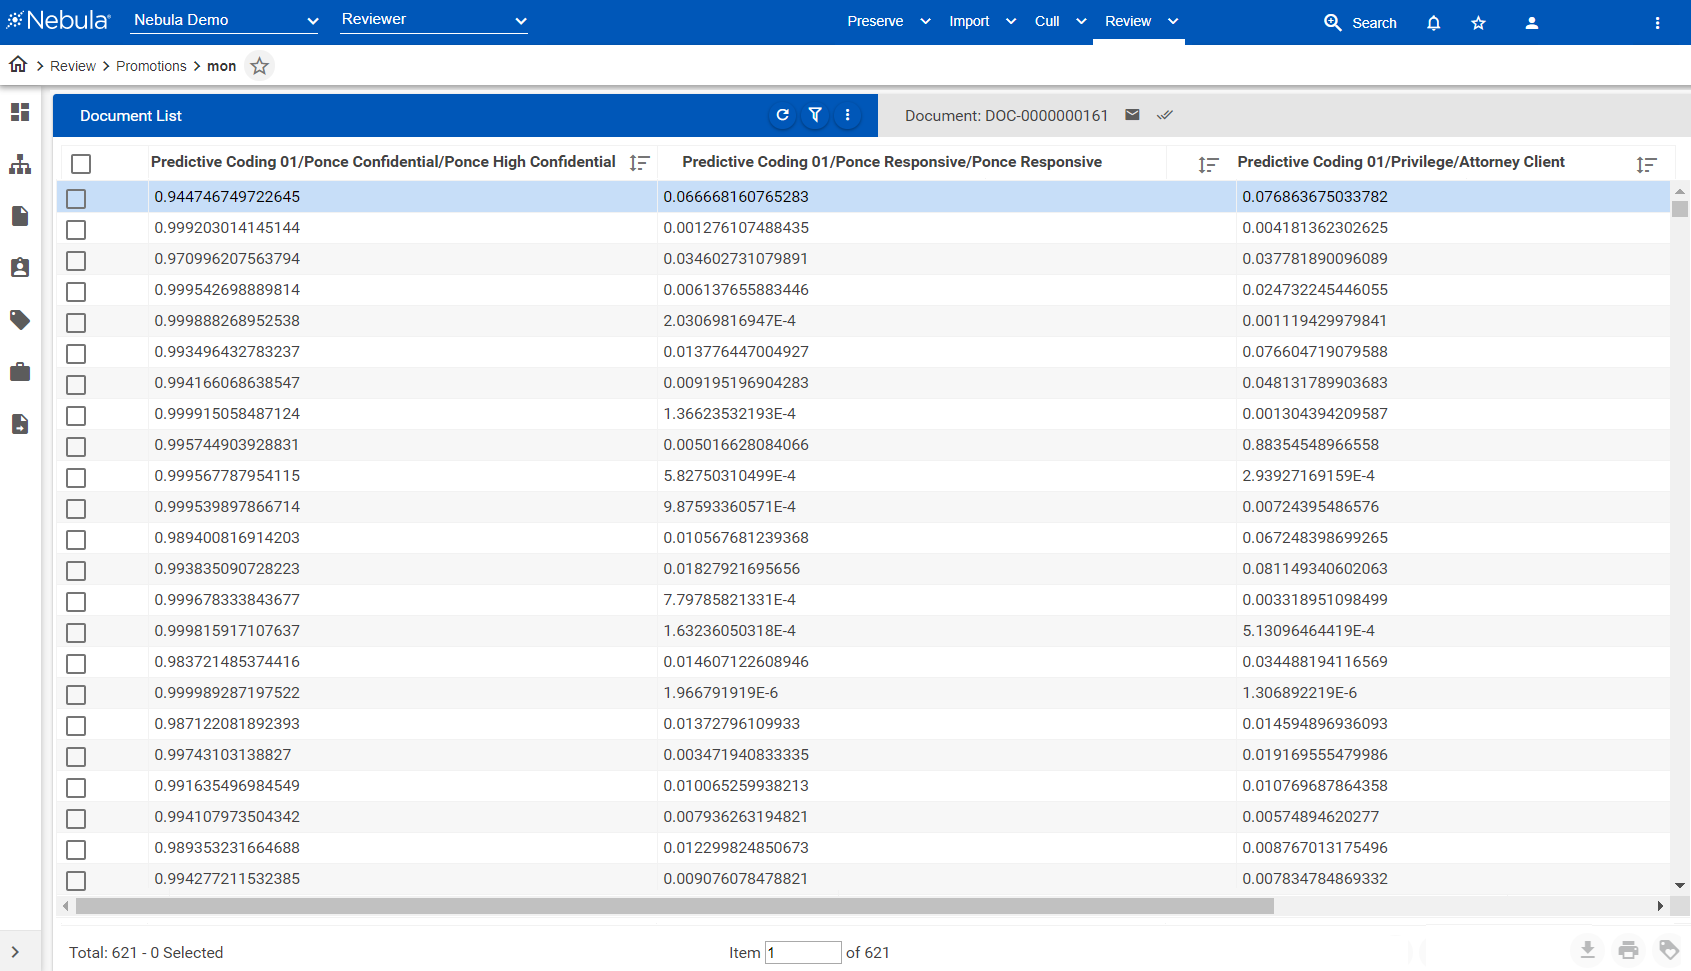
Viewing predictive coding scores
You can configure the Reviewer Document List to display predictive coding scores using Customize Fields.
To view predictive coding scores
- In Review, choose the Saved Search (Review > Searches) or document set from Review Explore menu (Review > Explore) with predictive coding scores you want to view.
- On the Document List, click the Action icon and select Customize Fields.
- On the Doc List Views dialog box, click the Action icon to the right of Name and choose Add.
- Enter a Name of the predictive coding listing view.
- Select the Scope for the predictive coding listing view.
- In the left table, select the fields to include in your view, making sure to include the predictive coding scoring fields (those with a format of [profile name]/[coding option]/[choice].
- Click Save.
- Click Set Profile.
- View the profile scores on the Document List.
Note: The scope must be at the matter or user level.

Note: To avoid biased coding, avoid allowing reviewers to see the predictive coding scores on their listing view profiles (document list views).