Field Maps
Field Maps are used t to associate the columns in a load file with fields in Nebula. Use the Field Maps page to add preprocessed data providers and map the load file fields to the corresponding fields in Nebula.
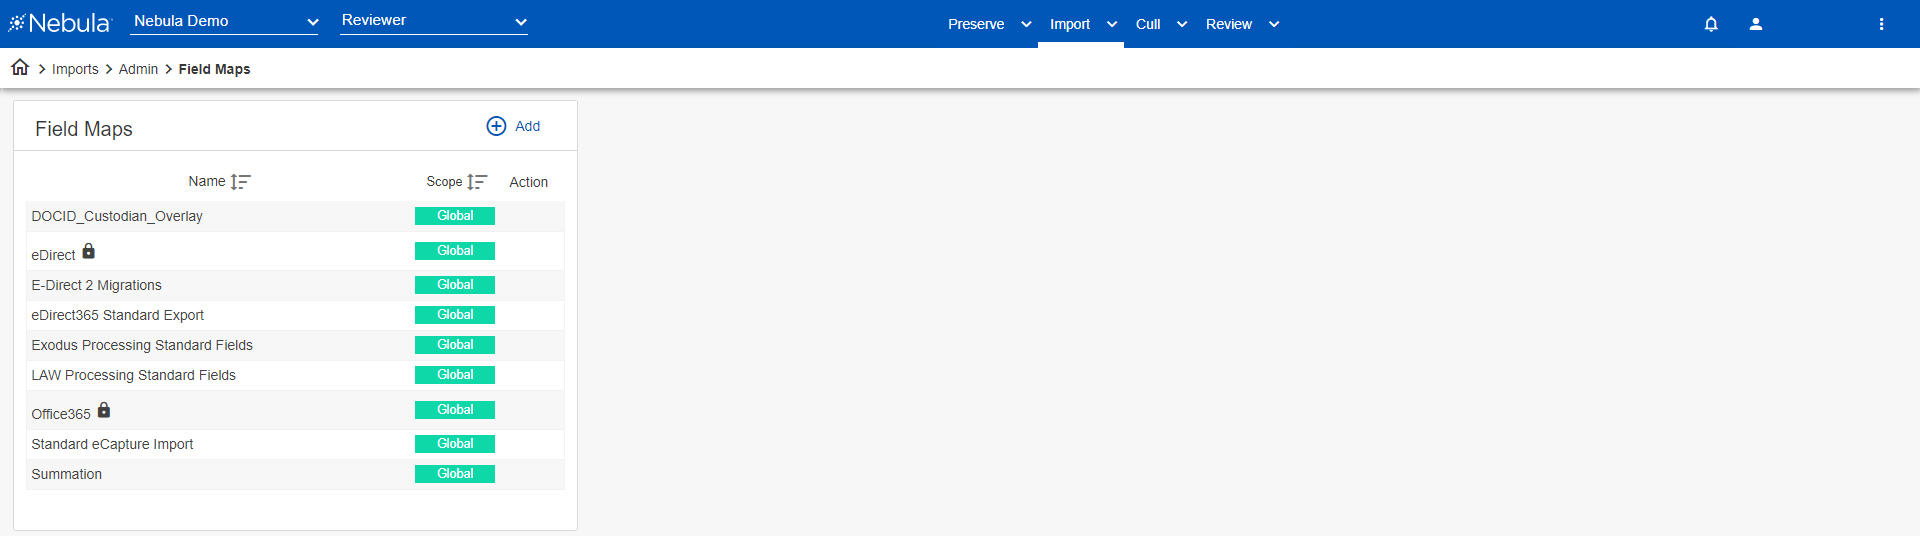
To view the Field Maps page
- Click Import > Admin > Field Maps.
To add a vendor profile
- On the Field Maps menu bar, click +Add.
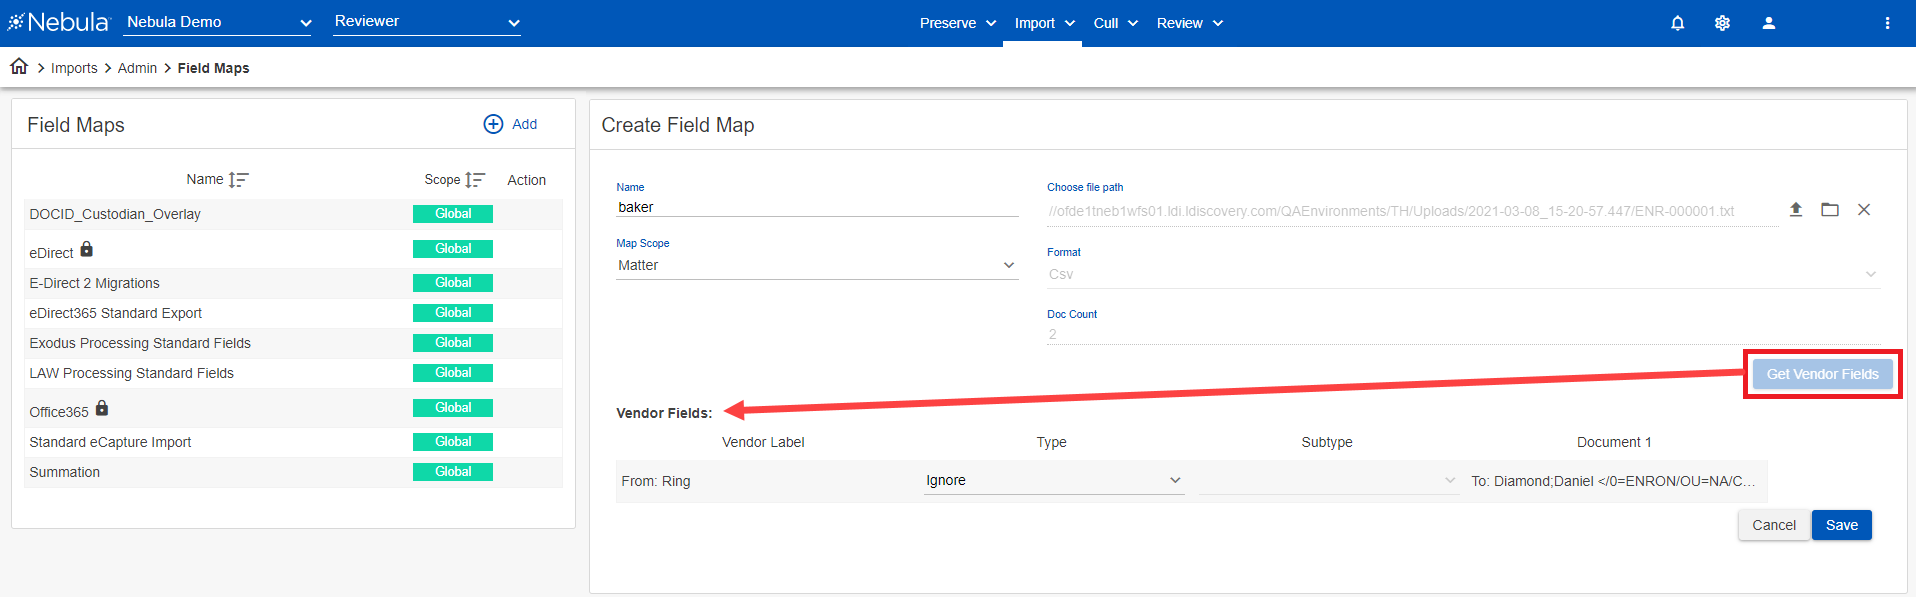
- In the Create Field Map section, do the following:
- Name: Enter a unique name for the vendor profile.
- Map Scope: Select from the following:
- Global: Profile is available in all repositories.
- Repository: Profile is available only in the current repository.
- Matter: Profile is available only in the current matter of the repository (recommended)
- Choose file path: Select the Concordance or CSV load file using Open
 or File Browser
  .
. - Format: Type of load file from the following:
- CSV
- Concordance
- Summation
- Doc Count: Enter the number of read-only examples from the load file, such as a value between 1 and 10, you want displayed in the Vendor Fields list. (Document 1, Document 2, ... as displayed below in step 3).
- Click Get Vendor Fields.
- In the Vendor Fields section, map each Vendor Label metadata field from the load file by selecting its Type and Subtype (Internal Name). Not all columns in a load file need to be mapped; however, unmapped fields will not be imported.
- Attribute:
- Hidden Content
- Lists
- Processing Exceptions
- Productions
- Tags
- Date: Fields formatted with date only.
- Date App Accessed Date
- Date App Created Date
- Date App Modified Date
- Date App Printed Date
- Date Event End Date
- Date Event Start Date
- Date Received Date
- Date Sent Date
- Date System Accessed Date
- Date System Created Date
- Date System Modified Date
- Date User Date
- Time: Fields formatted with time only.
- Date App Accessed Time
- Date App Created Time
- Date App Modified Time
- Date App Printed Time
- Date Event End Time
- Date Event Start Time
- Date Received Time
- Date Sent Time
- Date System Accessed Time
- Date System Created Time
- Date System Modified Time
- Date User Time
-
DateTime: Fields formatted with date and time combined.
- Date App Accessed
- Date App Created
- Date App Modified
- Date App Printed
- Date Event End
- Date Event Start
- Date Received
- Date Sent
- Date System Accessed
- Date System Created
- Date System Modified
- Date User
- Ignore (default value): Used if a field can be ignored and not added to a profile.
- CustomData: Fields that need to be created if not supported in Nebula (typically text fields, such as email subject or document title).
- MetaData: Covers standard metadata fields, including Bates numbers.
- Application
- Application Category
- Author - Created
- Author - Last Saved
- Comments
- Creator
- Custodian
- Custom Sort
- Document Type
- Domains - Recipients
- Domains - Sender (From)
- Email Importance
- Email Internet Headers
- Email Message Class
- Email Message ID
- Email Read Status
- Email Sensitivity
- Entry ID
- Export Attach Range
- Export Beg Attach
- Export Beg Bates
- Export End Attach
- Export End Bates
- Export Full Native Path
- Export Full Text Path
- Export Native Path
- Export Family ID
- Export Text Path
- File Extension
- File ID
- From
- Hash - MD5 (forensic)
- Media ID
- Meta Company
- Meta Tags
- Native Size
- Participants - BCC
- Participants - CC
- Participants - Received On Behalf Of
- Participants - Sender (From)
- Participants - Sent On Behalf Of
- Participants - To
- Produced Ranges
- Source Container
- Source Email Folder
- Source File Name
- Source Folder Path
- Source Full Path
- Subject
- Subject - Normalized
- Template
- Thread Index
- Title
- Click Save.
Nebula populates the Vendor Fields table fields automatically based on the documents in the Choose file path location.
Options for Type are:
Note: If you need to map to a field that does not yet exist, select Ignore. Once the profile is saved, you can create the Coding Fields page and the Custom Attributes page (both available at Manage > Review), then return to the Vendor Profile page and update the profile.
Note: If a Subtype selection in the drop list is red it has already been selected in a vendor profile.
To edit a field map
- In the Field Maps section, locate and click the field map you want to edit, click its Action icon
 and select Edit.
 - Update the Edit map: [Name] section accordingly.
- Click Save.
To copy a field map
- In the Field Maps section, locate and click the field map you want to copy, click its Action icon and select Copy.
- In the Create Field Map section, enter a Name for the copied field map.
- Edit the Map Scope and Vendor Fields accordingly.
- Click Save.
To delete a field map
- In the Field Maps section, locate the field map you want to delete, click its Action icon and select Delete.
- On the Delete Confirmation dialog box, click Delete.