Processing Data
Processing data is the act of moving the data into Nebula using required identification steps to ensure that data is appropriately linked.
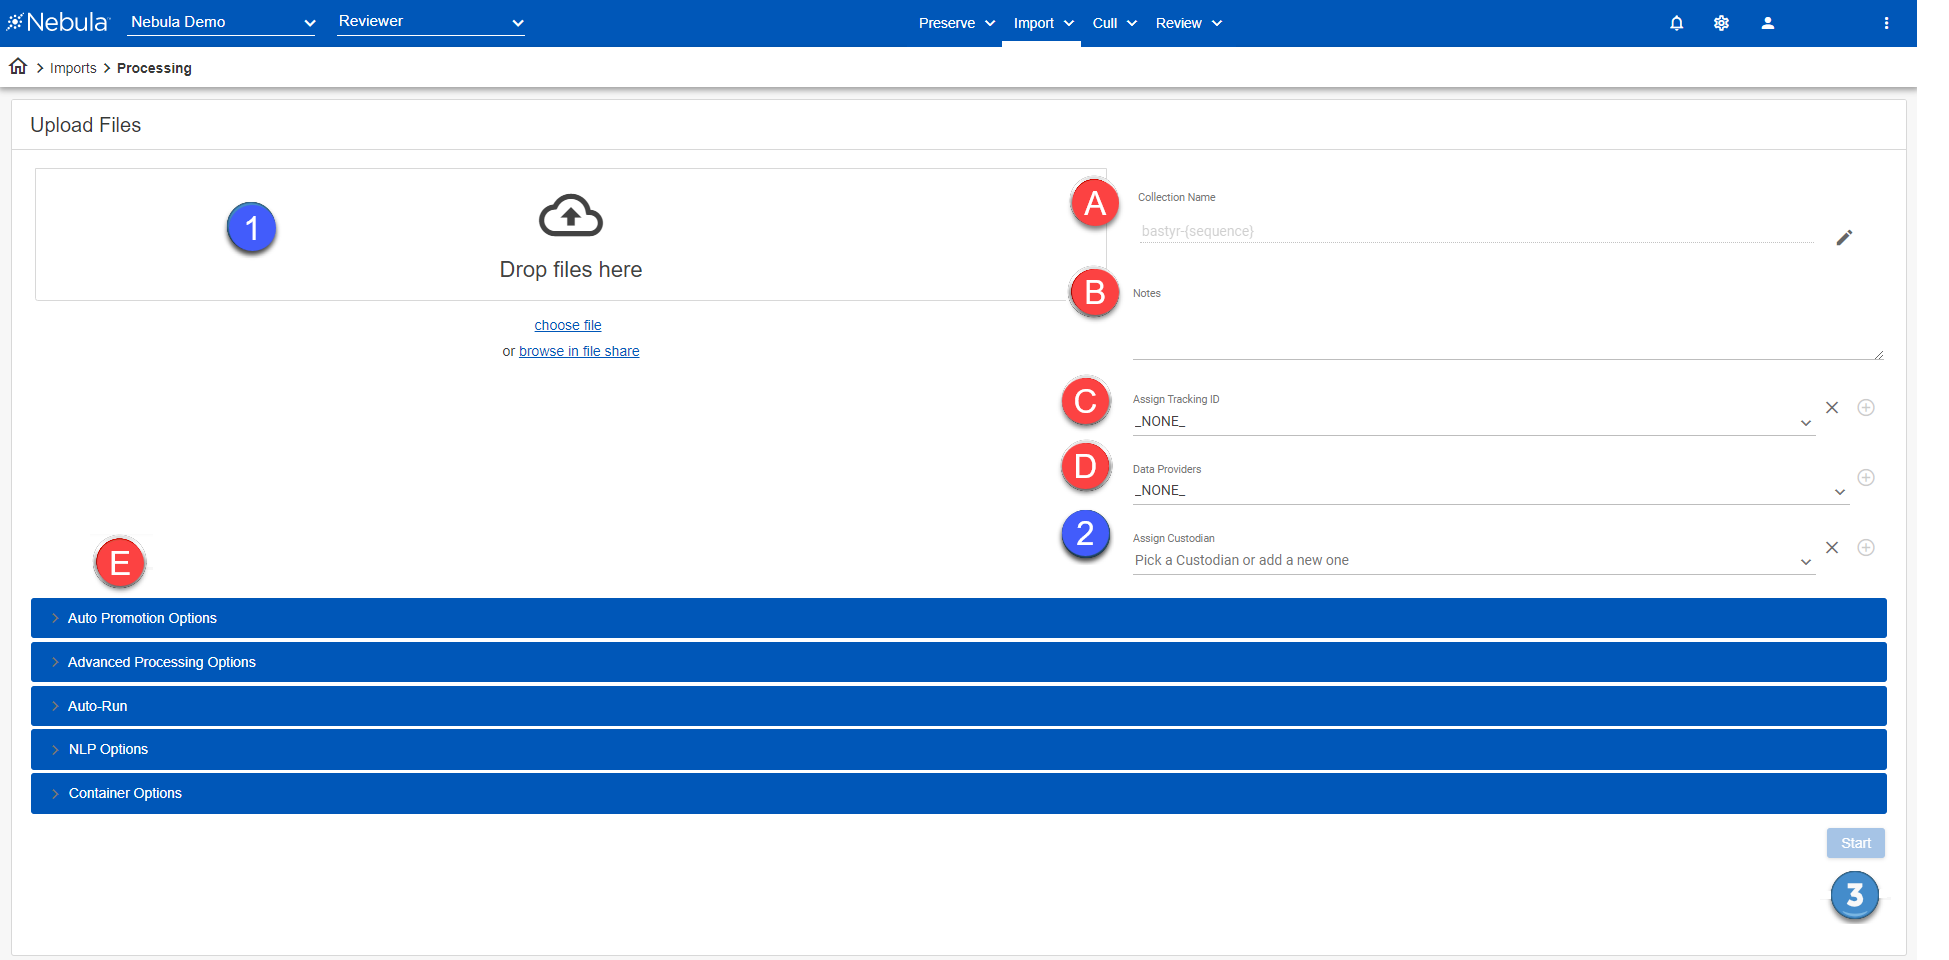
Perform the following to ingest files into a Nebula repository using the Upload Files page:
- Select the collection of folders and files you want to upload.
- Assign custodians to the file collection.
- Process the file collection.
If you choose, you can also:
(A) Rename the file collection.
(B) Add notes to the file collection.
(C) Assign a tracking ID.
(D) Choose the source providing the data.
(E) Apply advanced options to filter the selected files that are ingested.
Uploading folders and files
Files can be uploaded from a local computer or the project's dedicated file share.
To upload documents from a local computer
- Click Import > Processing.
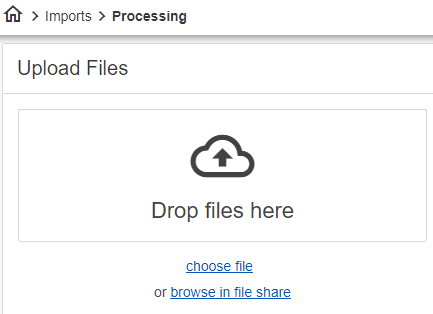
- In the Upload Files section, do one of the following:
- Drag and drop the files you want to upload from your computer into the Drop files here box.
- Click choose file and select the files you want to upload from a local computer.
Note: If you drag and drop a supported container (such as .zip, .rar, or .7z ), the containers are extracted immediately and automatically after a successful upload.
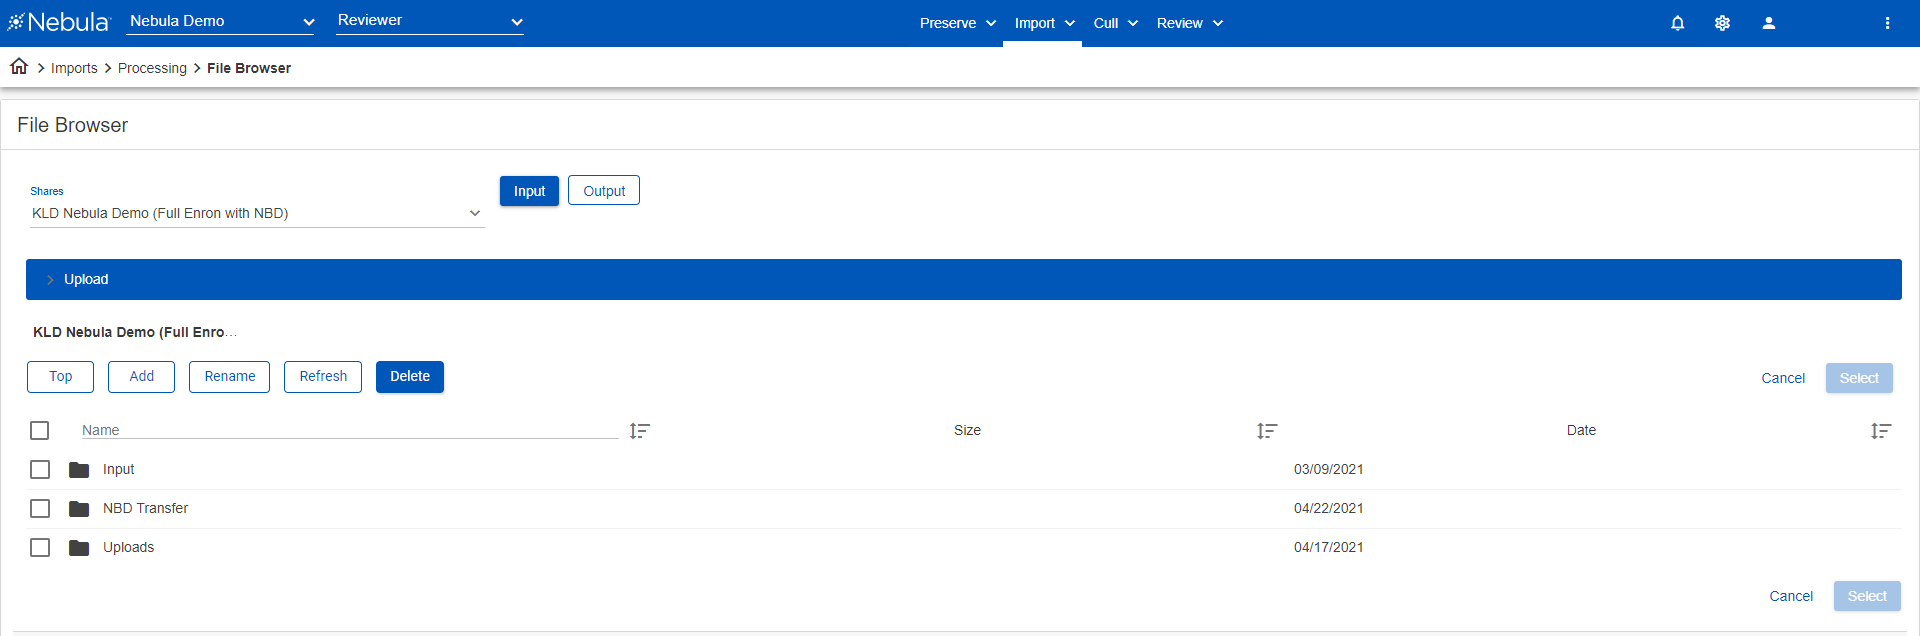
To upload documents from the project's dedicated file share
- Click Import > Processing.
- In the Upload Files section, click browse in file share.
- Use the File Browser to navigate within share locations associated with the repository for data to be processed.
- Click Select.
Assigning Custodians
After selecting the folders files you want to upload, select the custodians for file collections. You can select a custodian for the entire file collection level or individual custodians for each folder and file. You can also assign new custodians to existing drop lists.
Note: "Generate_Based_On_Folder_Name" is available for folders selected from the share browser or for uploaded archives.
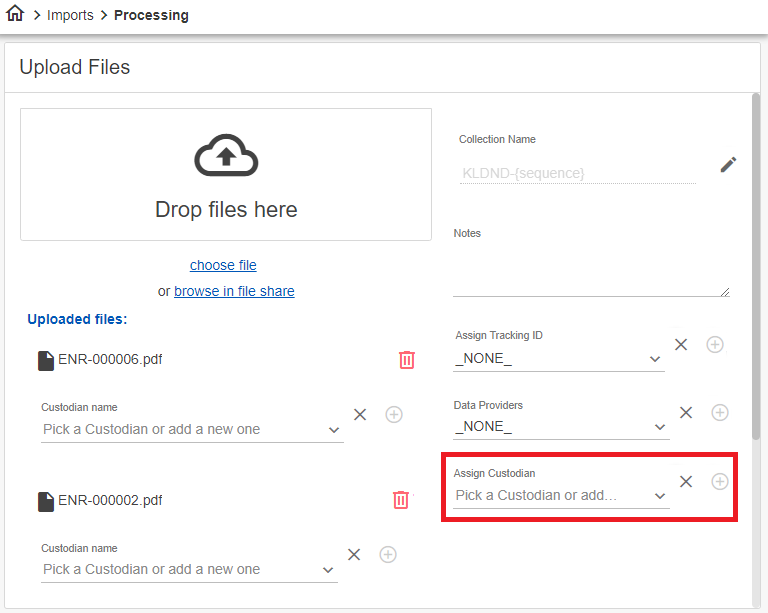
To assign a single custodian to all uploaded document sources
- Use the Assign Custodian drop list to select the custodian for all items in the Upload Files list.
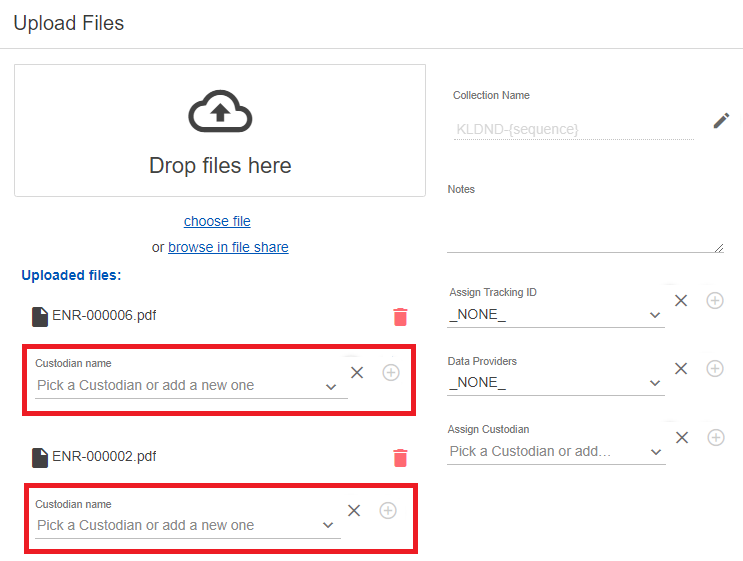
To assign a custodian to each uploaded document source
- Use the Custodian name drop lists to select the custodian for each item in the Uploaded files list.
To add new custodians to drop lists
- If the custodian you want to assign does not appear in the Assign Custodian or Custodian name drop lists, click the Add icon
 .
. - In the Add Custodian dialog box, type the Name of the new custodian and click Add.
Changing the File Collection Name
The collection name is a unique identifier for the file collection, similar to a batch name. It automatically defaults to the matter number and sequential code; however, you can overwrite this and create your own Collection Name.
Note: The Collection Name cannot be changed once the data is processed.
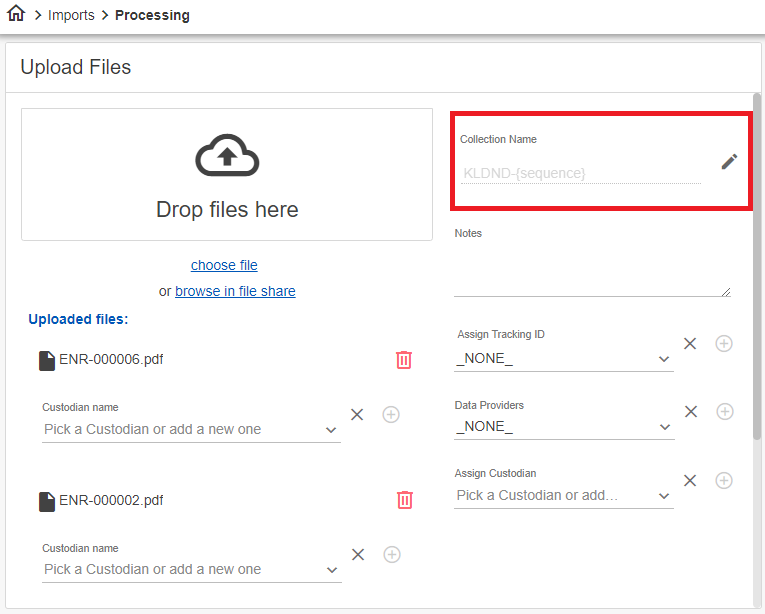
To change the Collection Name
- In the Collection Name section, click the Update icon
 and then update the name.
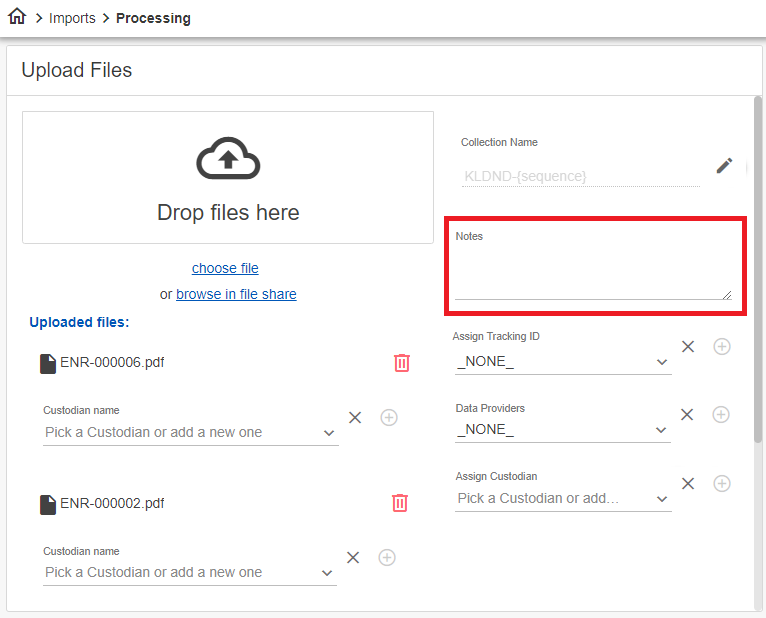
Adding Notes
You have the option to attach notes to the collection of files you want ingested.
To add notes to a file collection
- In the Notes section, type the text you want attached to the file collection (optional).
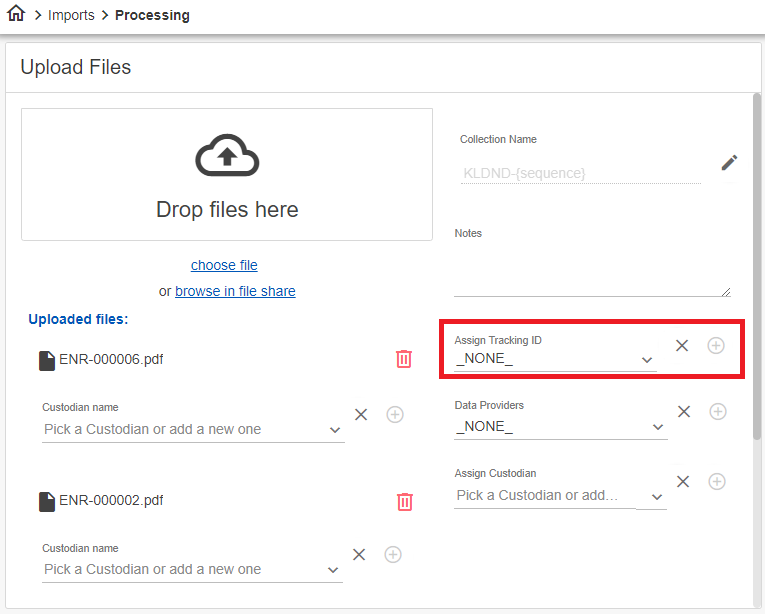
Assigning a Tracking ID
You have the option to assign a tracking ID to the file collection you want ingested.
To assign a tracking ID of the file collection
- Select a Tracking ID for the file collection or add a new one (optional).
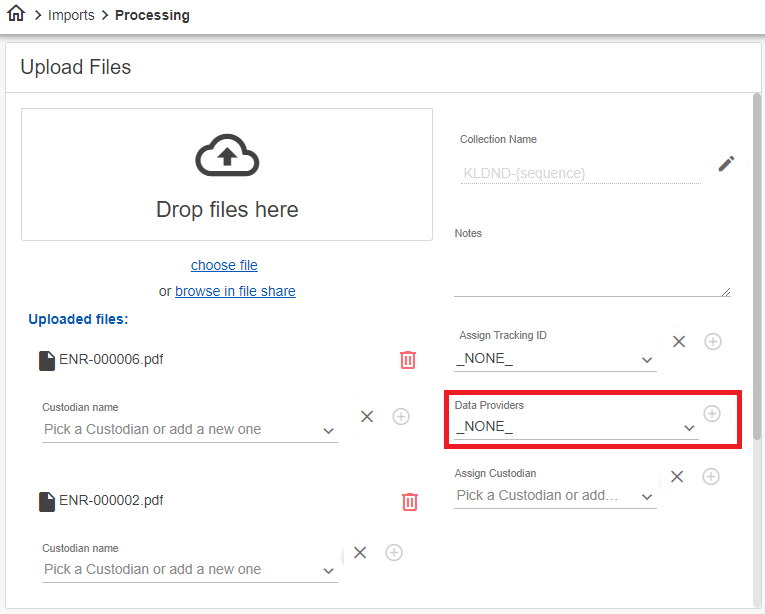
Selecting Data Providers
You have the option to choose the source providing the data (such as a location, department, or hardware).
To select the data providers of the file collection
- Select the Data Providers ingesting the file collection (optional).
Applying Advanced Options
Advance options enable you to apply additional selection criteria to files prior to processing.
To apply advanced options
- On the Upload Files page, select the advanced options you want to apply from the following sections:
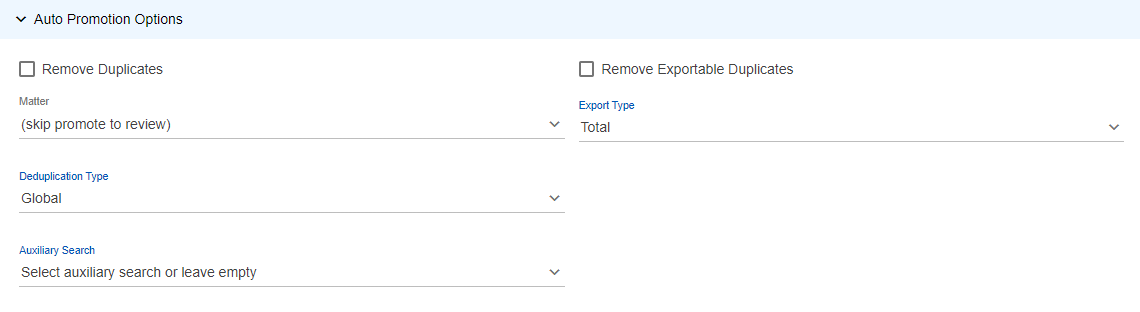
- Remove Duplicates: Select to eliminate duplicate copies of repeating data within the newly processed batch.
- Remove Exportable Duplicates: Select to eliminate repeating copies within the newly processed batch that duplicate documents from prior batches that were promoted to Review.
- Matter: Select the "case" to which the uploaded files will be assigned.
- Export Type: Select from the following:
- Total: Export documents only.
- Related: Export documents and related items, such as attachments.
- Deduplication Type: Select from the following:
- Global: Removes duplicate copies of repeating data across all custodians.
- Custodian: Removes duplicate copies based on individual custodians.
- Auxiliary Search: Select to restrict data to that based on the criteria of a saved search.
Auto Promotion Options:
Advanced Promotion Options:
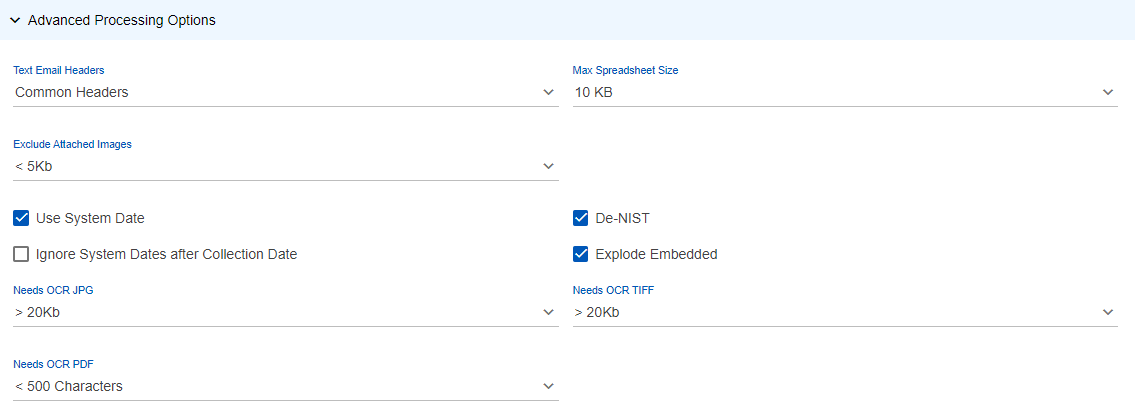
- Text Email Headers:
- Max Spreadsheet Size:
- Exclude Attached Images:
- Use System Date: Select to take system date into consideration when populating the Default Date attribute. (The logic to populate the attribute becomes Sent Date > Received Date > Last Modified Date > Created Date > System Date.)
- De-NIST: Select to exclude NIST documents.
- Ignore System Dates after Collection Date: Select to ignore any dates in the data set more recent than the date of processing.
- Explode Embedded: Select to save images embedded within files as additional files.
- Allow Installer File Extraction: Select to process self-extracting container saved as executable files.
(This option should remain disabled for the vast majority of collections and only be used to resolve exceptions for the aforementioned file types that have been validated by the user.) - OCR Type: Select the file types to process with OCR from the following: PDFs and All Image Types | PDFs and TIFFs Only | No OCR.
- OCR Language Profile: Select the language profile to apply during OCR processing.
- OCR Only PDFs Without Searchable Text: Select to apply OCR only to PDFs without searchable text.
- Run Keywords: Select to perform keyword searches. (Keywords will be highlighted in the document during Review.)
- Run Detect Language: Select to determine which languages are present in file.
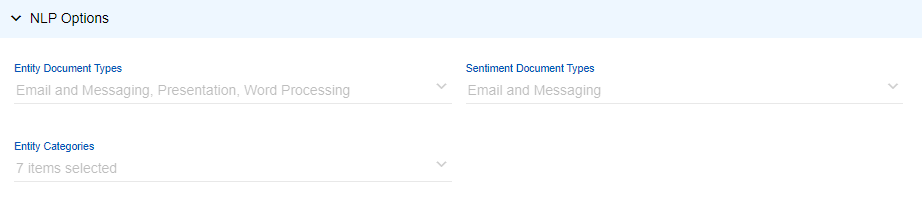
- Run Entity Recognition: Select to enable Entity Recognition in the NLP Options section.
- Run Sentiment Analysis: Select to enable Sentiment Analysis in the NLP Options section.
- Run PII/PHI Detection: Select to enable Sentiment Analysis in the NLP Options section.
- Entity Recognition: Select the type of document on which NLP (Natural Language Processing) will be applied.
- PII/PHI Detection: Select the type of document(s) on which Personally Identifiable Information (PII) and Protected Health Information (PHI ) detection will be applied.
- Sentiment Analysis: Select the type of document(s) on which NLP (Natural Language Processing) Sentiment Analysis will be applied.
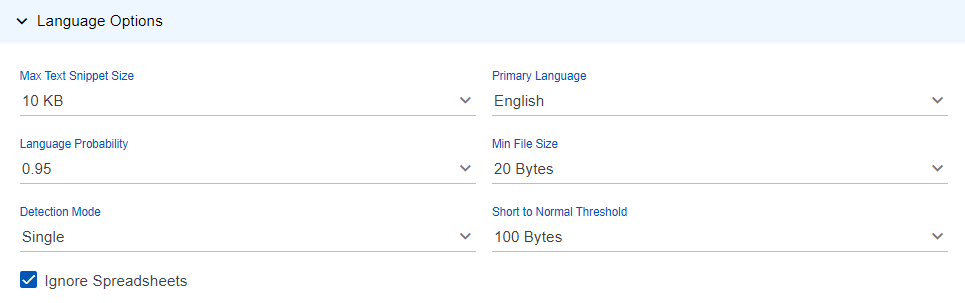
- Max Text Snippet Size: Select the increment of the maximum text snippet size from between 10 KB and 20 MB.
- Language Probability: Select the threshold of certainty that must be reached in order to identify a language.
- Detection Mode: Select from
SingleorMultiple - Primary Language: Select the predominant language in use.
- Min File Size: Select the minimum size of files at which to run Language Identification.
- Container Split Chunk Size: Select method of processing PSTs in parallel chunks (either by percentage or number of messages).
- Container Split Threshold: Select the PSTs size threshold at which containers are split and processed in parallel.

Application Categories (Configured at the Repository level):
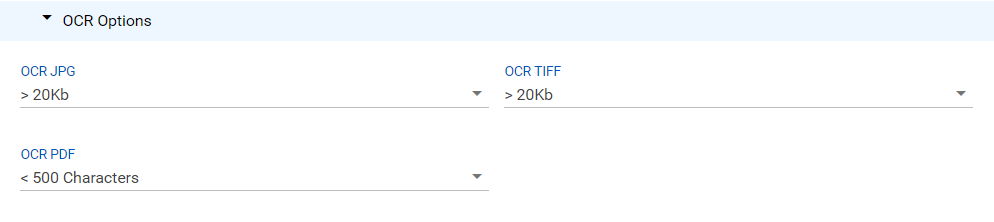
OCR Options
Language Options
Container Options

Only applies to Perceptive processing
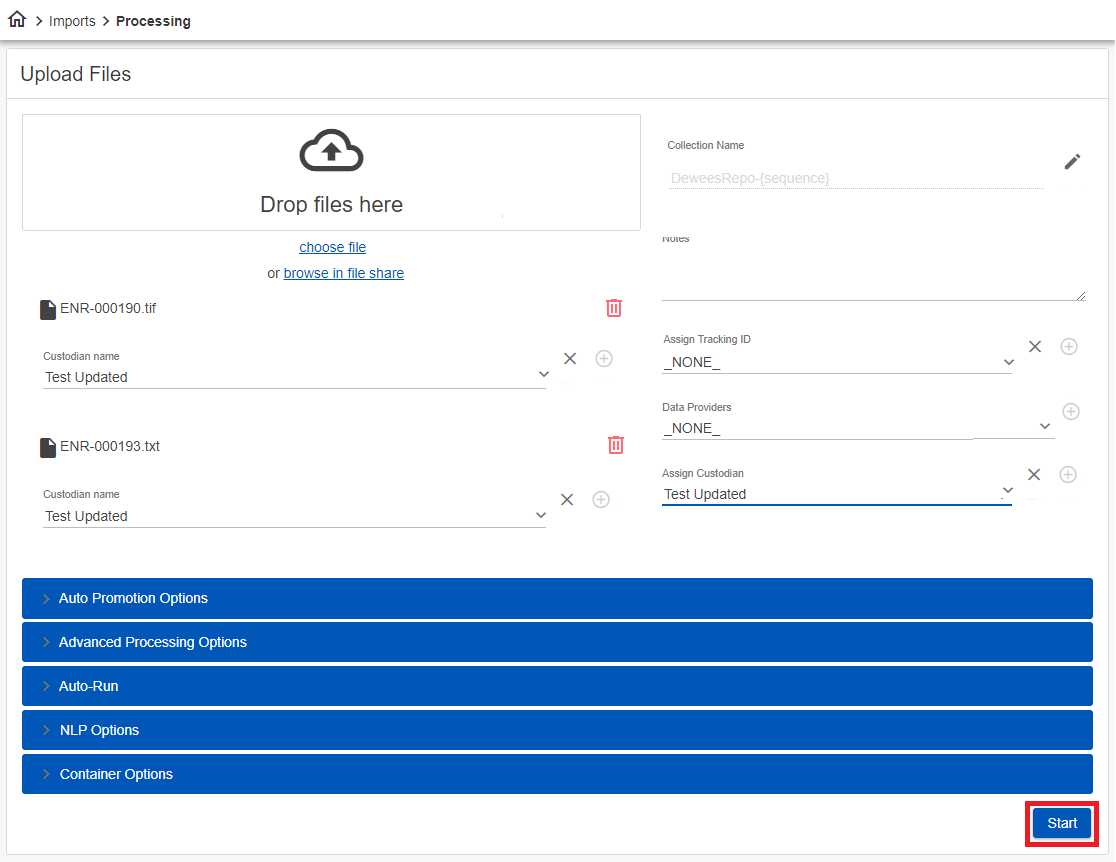
Processing the Collection
After selecting the files to ingest, specifying custodians and other parameters, and, optionally, configuring any advanced options, you are ready to start processing the collection. After the processing task completes, Nebula displays the Import Details.
To process the collection
- After selecting the files to process and configuring the collection, click Start.