Repositories
A repository is a central location in Nebula in which data is stored and managed. Users with appropriate access can configure a repository.
Use the Repositories page to:
- Create new repositories
- Edit existing repositories
- Manage Matters (add, edit, and delete)
- Reindex a repository
- View servers linked to the repository
Shares are storage areas where data can be imported or exported. Each repository requires one primary share of each type (Import, Export, Hosting, and Work). A default set of shares is automatically generated when the repository is created. Shares are linked to a specific server and limited to one share per repository, per server, per type.
To open the Repositories page
- In the Nebula menu bar, click the Admin icon
 > Repositories.
- In the Repositories menu bar, click New Repository.
- On the Details - Repository name: Add New Repository page, view the default profile settings. The following mandatory fields can be modified per the project manager's instructions:
- On page load
- 10 Minutes
- 15 Minutes
- 20 Minutes
- 30 Minutes
- 45 Minutes
- 60 Minutes
- yyyy-MM-dd
- MM/dd/yyyy (default)
- dd/MM/yyyy
- HH:mm:ss (24 hour time value) (default)
- hh:mm:ss a (AM/PM time value)
- Native (default)
- Html
- None. Exported images are not saves.
- User Export Location (default). Allows the exported image from a production set to be viewed within Nebula.
- Use Import Location
-
Global: Removes duplicate copies of repeating data across all custodians. (default)
-
Custodian: Removes duplicate copies based on individual custodians.
-
Total: Export listed documents only.
-
Related: Export listed documents and their related items, such as attachments.
- Nebula Processing (default)
- Perceptive
- On: Include.
- Off: Exclude.
- Append: Add to the end of the image.
- On: Include.
- Off: Exclude.
- Append: Add to the end of the image.
- Single
- Multiple
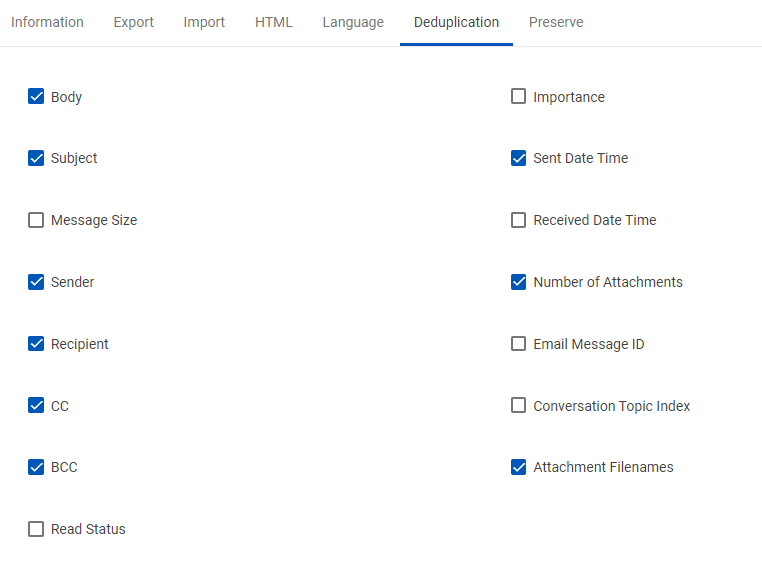
- Body*
- Subject*
- Message Size
- Sender*
- Recipient *
- CC*
- BCC*
- Read Status
- Importance
- Sent Date Time*
- Received Date Time
- Number of Attachments*
- Email Message ID
- Conversation Topic Index
- Attachment Filenames*
- Click Save Repository.
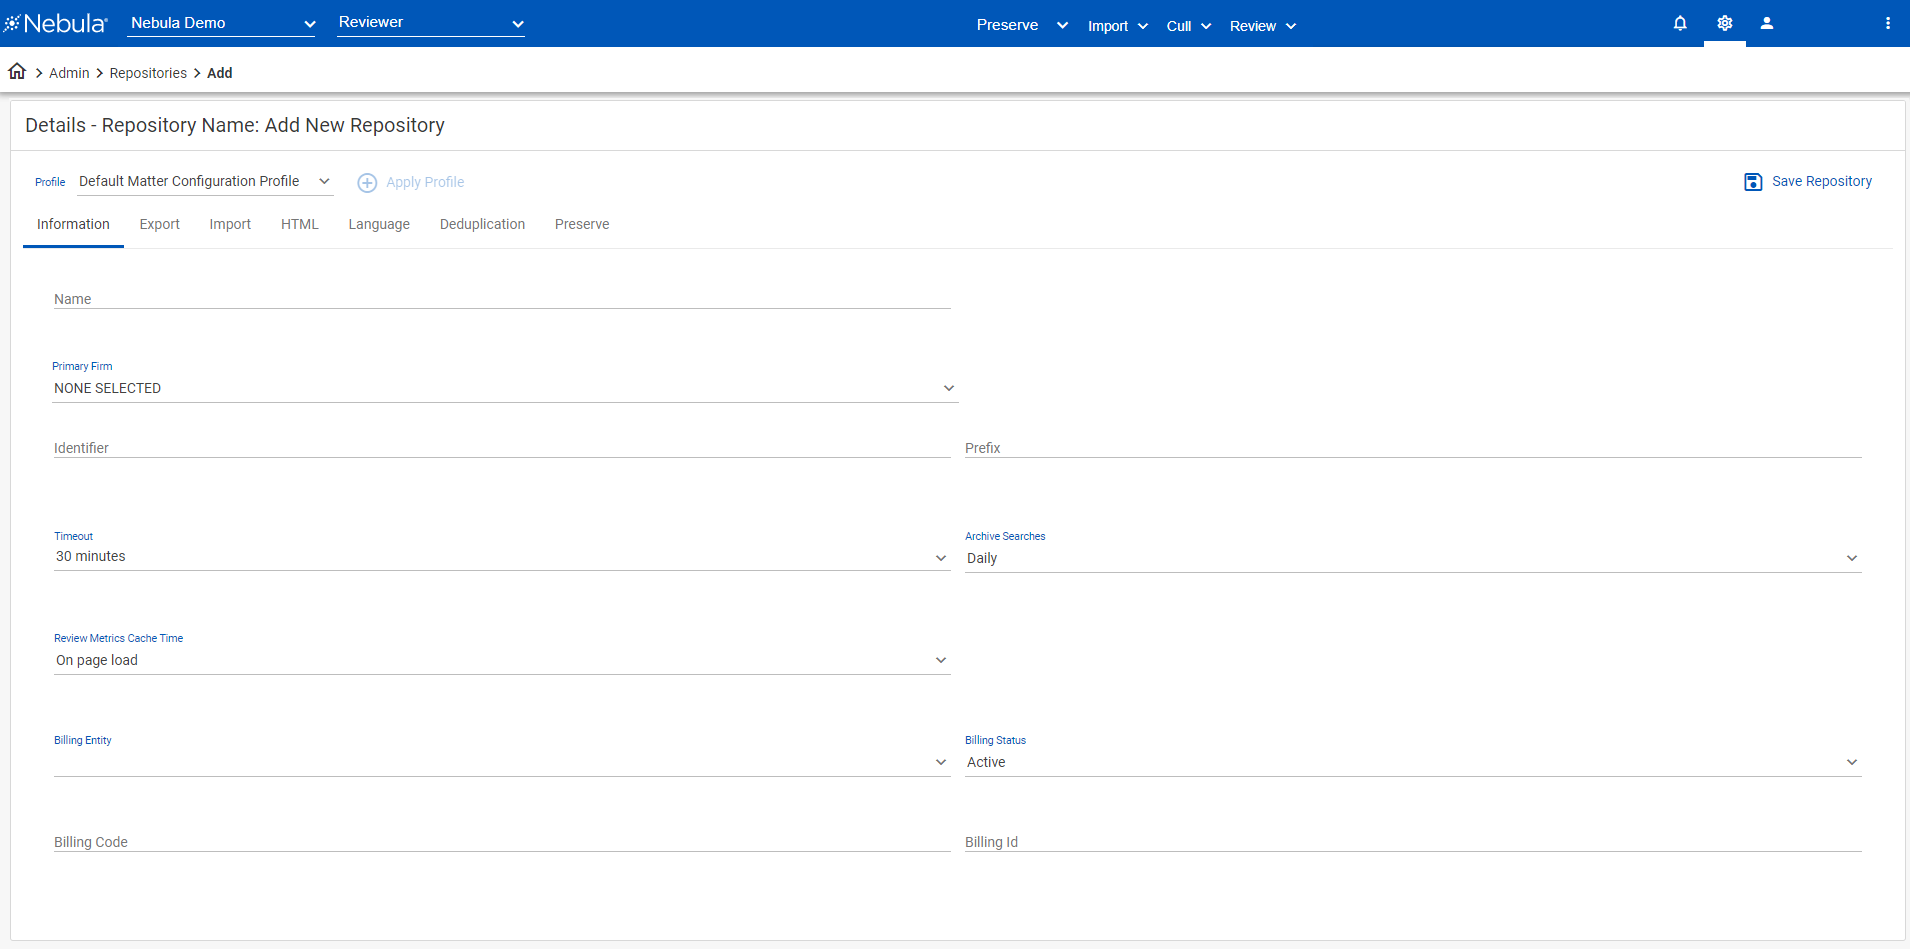
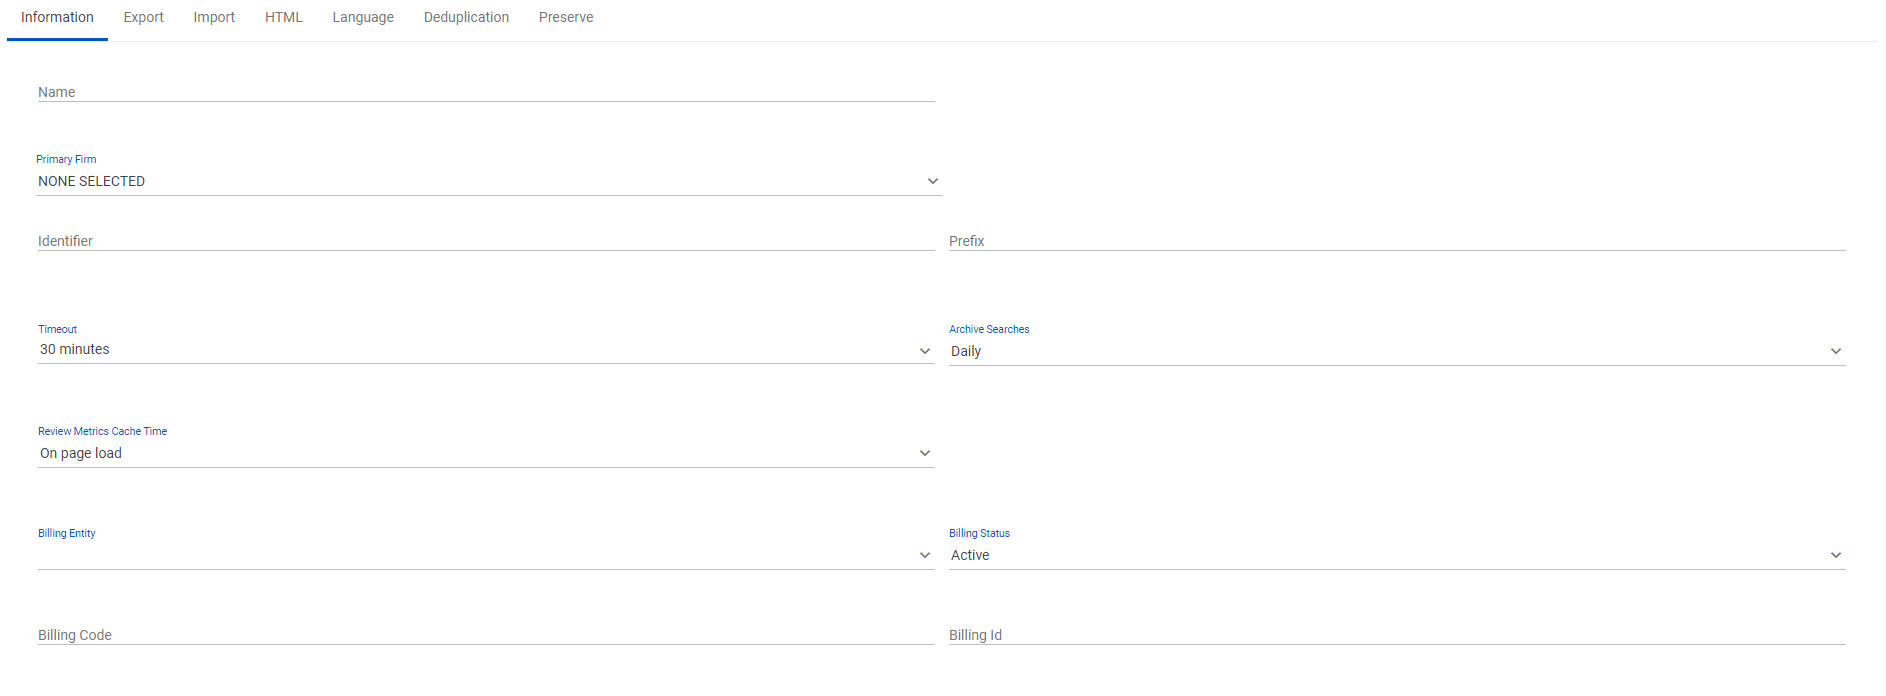
| Field | Contents |
|---|---|
| Name | Enter the repository name requested by the client or project manager (required). This is the name used to identify the repository and will be displayed within the environment. |
| Primary Firm | Select the primary firm associated with the repository (required). This associates the repository with the appropriate firm for billing. |
| User Groups |
Select the firm admin user group. Note: User Groups is only available when creating a repository as a firm admin user. |
| Identifier |
Enter the prefix on the collections (required). (Recommended: Use a three to five character abbreviation of the Name.) The identifier is a unique short abbreviation of the repository. This is the default prefix used for the auto-sequential numbering of processing collections. Note: This value must be unique across the Nebula environment. |
| Prefix | Enter the document prefix for items processed in Nebula (required). The prefix is the document ID prefix. Nebula adds a hyphen between the prefix and the numbering by default. |
| Timeout |
Select the amount of time of inactivity by the user before Nebula ends the current session and requires the user to log in again. The default is 30 minutes, after which an idle user is logged out. Note: A warning dialog box appears before Nebula ends the session. |
| Archive Searches | Select the rate at which Nebula archives unsaved searches. By default, unsaved searches are saved for 24 hours |
| Review Metrics Cache Time |
Select when Review cards are updated on the Review Dashboard from the following: |
| Billing Entity | Select based on information provided by the project manager (typically LDiscovery, Credence, or RenewData). This directs to the correct KLDiscovery billing entity. |
| Billing Status | Select the status of the repository. This indicates if the repository is active, disabled, inactive, archived, or terminated. |
| Billing Code | The PID # (16 digit PID number, no prefixes, legacy setting). |
| Billing Id | Enter the SO# (only use the 7 digit number, no prefixes) associated with the repository and required for billing. |
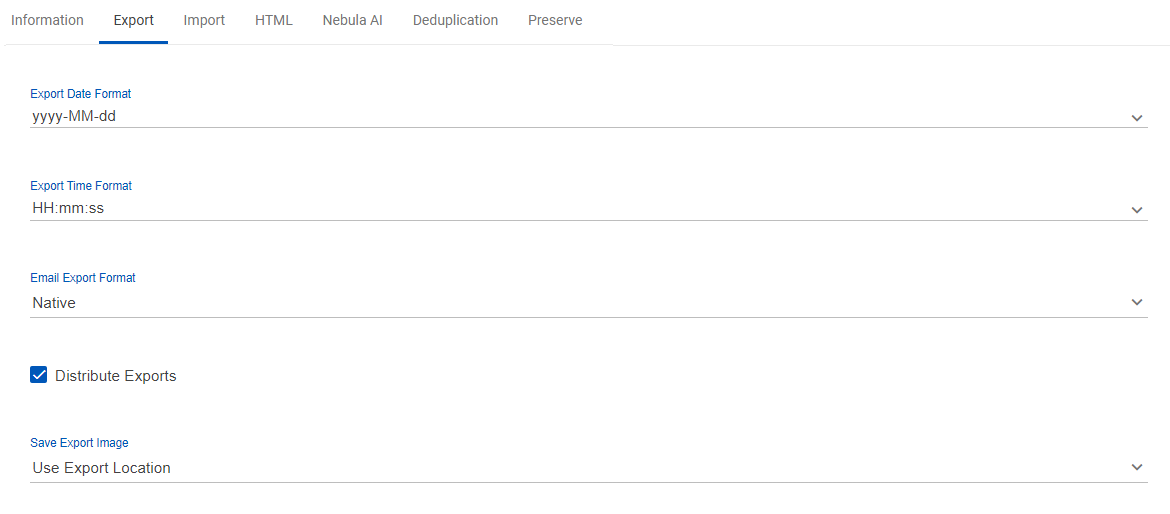
| Field | Contents |
|---|---|
| Export Date Format |
Select the default format for how dates are exported to load files from the following: |
| Export Time Format |
Select the default format for how time appears in the load files from the following: |
| Email Export Format |
Select how the native emails are stored on the file system from the following: |
| Distribute Exports | Select to have exports handled by multiple server resources (if available). |
| Save Export Image |
Select from the following: |
The following set the default processing options for records processed in Nebula
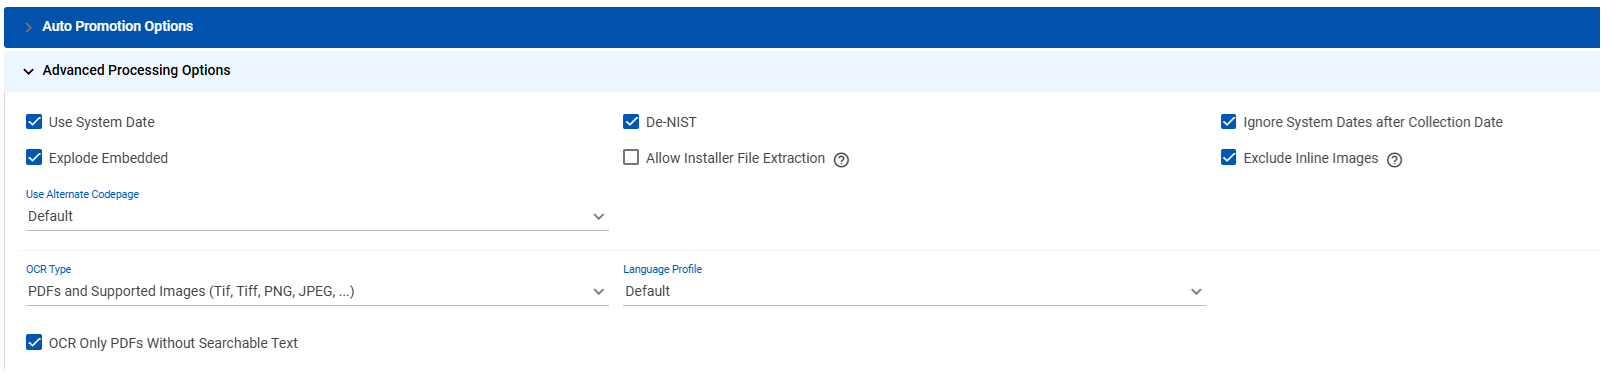
Auto Promotion Options section
| Field | Contents |
|---|---|
| Remove Duplicates | Select to eliminate duplicate copies of repeating data within the newly processed batch. This applies the de-duplication type upon promotion to a review matter when skip promote to review, auto promotion is set to a review matter. |
| Deduplication Type |
Select from the following: |
| Remove Exportable Duplicates | Select to eliminate repeating copies within the newer processing that are duplicates of documents from prior promotions to a Review matter. |
| Previously Exported | Select to eliminate previously exported documents. |
| Export Type |
Select from the following: |

Advanced Processing Options section
| Field | Contents |
|---|---|
| Processing Engine |
Select from the following: This legacy setting is only available to SysAdmin users. |
| Timezone | Select the timezone to be used for displaying date information in metadata, document views, and document images. |
| Concurrent Batches | Select the number of collections that may be ingested simultaneously. |
| Exclude Attached Images | Select the size of images below which they are excluded from processing. |
| Use Alternate Codepage | Select the Unicode language used for ingestion. |
| Use System Date | Select to take system date into consideration when populating the Default Date attribute. (The logic to populate the attribute becomes Sent Date > Received Date > Last Modified Date > Created Date > System Date.) |
| De-NIST | Select to exclude NIST documents. This is set by default and will remove system files, program files, and other non-user created data, |
| Ignore System Dates after Collection Date | Select to ignore any dates in the data set more recent than the date of processing. |
| Explode Embedded | Select to save objects embedded within files as additional files linked as family members. |
| Calculate BODYMD5HASH | Select to calculate BODYMD5HASH. |
| Update Attribute Totals |
Select to automatically calculate the attribute totals on Import History page (Import > Dashboard ).
When cleared, the Update Totals icon Note: If totals don't need to be recalculated, the icon is unavailable |
| Allow Installer File Extraction |
Select to process self-extracting container saved as executable files. Note: This option should remain disabled for the vast majority of collections and only be used to resolve exceptions for the aforementioned file types that have been validated by the user. |
| OCR Type | Select the file types to process with OCR during ingestion from the following: PDFs and All Image Types | PDFs and TIFFs Only | No OCR. |
| OCR Language Profile | Select the language profile to apply during OCR processing. |
| OCR Only PDFs Without Searchable Text | Select to apply OCR only to PDFs without searchable text. |
Note: OCR runs inline during processing. No separate OCR Collection step is required. If OCR fails on individual documents, those documents are tagged "Needs OCR" and remain actionable through the existing OCR Collection workflow.
| Field | Contents |
|---|---|
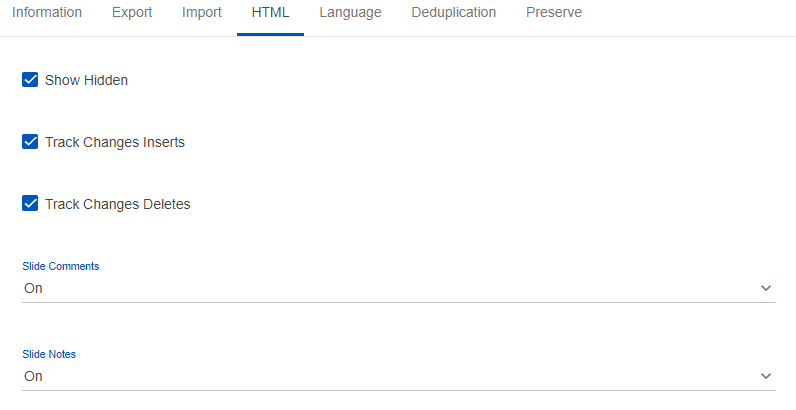
| Show Hidden | Select to display hidden content in document HTML view. |
| Track Changes Inserts | Select to show tracked changes inserts in document HTML view. |
| Track Changes Deletes | Select to show tracked changes deletes in document HTML view. |
| Slide Comments |
(Applies only to PowerPoint documents) Select how speaker comments are processed from the following: |
| Slide Notes |
(Applies only to PowerPoint documents) Select how slide notes are processed from the following: |
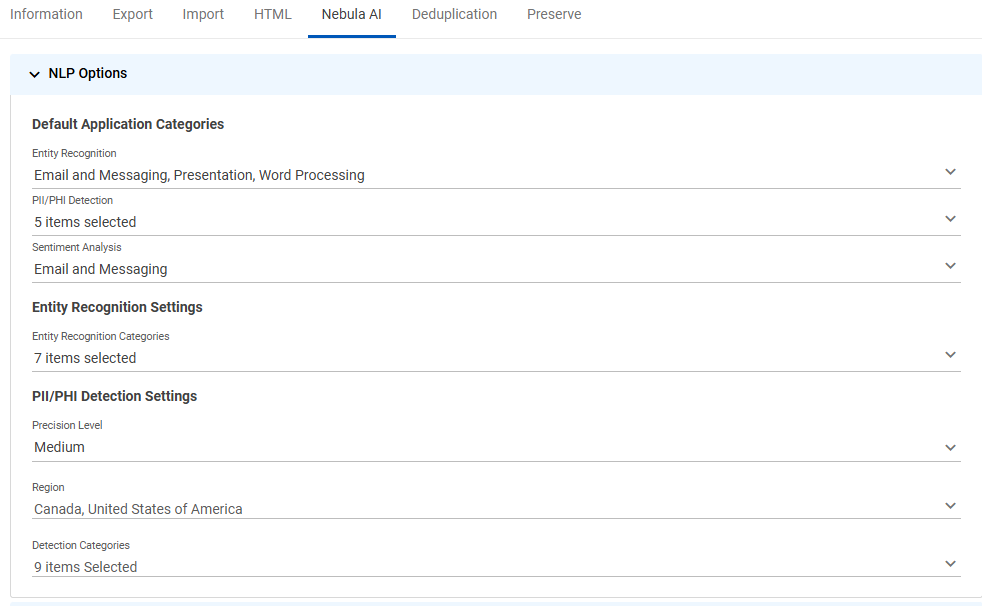
NLP Options section
| Field | Contents |
|---|---|
| Default Application Categories |
Entity Recognition: Select the type of document(s) on which NLP (Natural Language Processing) Entity Identification will be applied. PII/PHI Detection: Select the type of document(s) on which Personally Identifiable Information (PII) and Protected Health Information (PHI ) detection will be applied. Sentiment Analysis: Select the type of document(s) on which NLP (Natural Language Processing) Sentiment Analysis will be applied. |
| Entity Recognition Settings | Entity Recognition Categories: Select the entity types on which NLP (Natural Language Processing) will be applied. |
| PII/PHI Detection Settings |
Precision Level: Select the level of PII/PHI detection ( Region: Select the locations of the repositories where PII/PHI detection will be applied. Detection Categories: Select the type of categories where PII/PHI detection will be applied. |
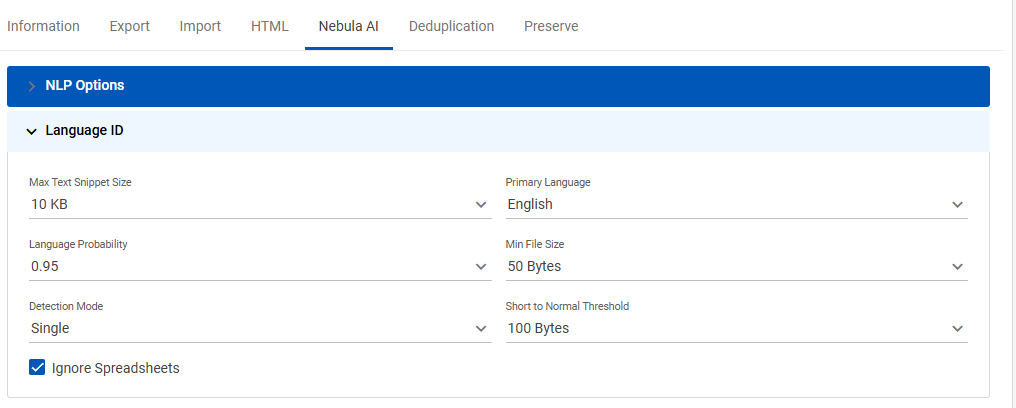
Language ID section
| Field | Contents |
|---|---|
| Max Text Snippet Size | Select the increment of the maximum text snippet size from between 10 KB and 20 MB. |
| Language Probability | Select the threshold of certainty that must be reached in order to identify a language. |
| Detection Mode |
Select from the following: |
| Ignore Spreadsheets | Select to ignore spreadsheets. Clear to include. |
| Primary Language | Select the predominant language of the repository. |
| Min File Size | Select the minimum size of files at which to run Language Identification. |
| Short to Normal Threshold |
Select from the following message criteria the items you want validated for duplicate entries:
* Selected by default
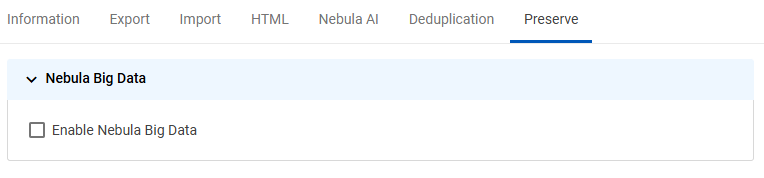
Nebula Big Data section
| Field | Contents |
|---|---|
| Enable Nebula Big Data | Select to setup Nebula Big Data. |
To view the details of a repository
- In the Repositories list, locate the repository with the details you want to view, then click its Action icon and select Details.
- View the details of the repository on the Information, Export, Import, HTML, Language, Deduplication, and Preserve tabs.
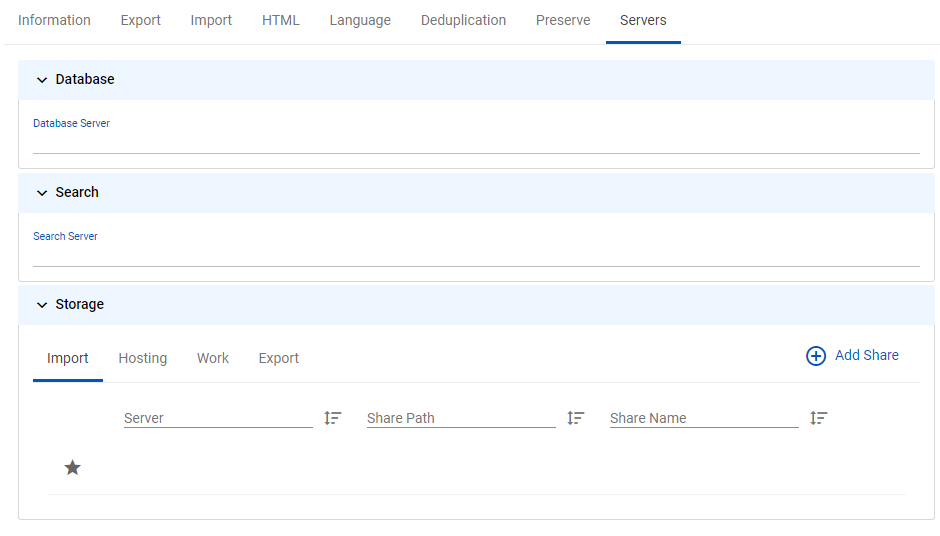
Note: After a repository is created, the Servers tab is added to the details with the following additional information:
Database section
| Field | Contents |
|---|---|
|
Database Server |
Displays the database server for the repository. |
Search section
| Field | Contents |
|---|---|
| Search Server | Displays the search server for the repository. |
Storage section
| Field | Contents |
|---|---|
| Import tab: | |
| Server | View the shares and corresponding share path and share name created for import. Import shares are where files are straged to be processed. |
|
Share Path |
|
| Share Name | |
| Hosting tab | |
| Server | View the shares and corresponding share path and share name created for hosting. Hosting shares are files generated in Nebula as the outcome of processing (examples, Native, text, HTML, images), as well as third-party data, overlays, and export OCR. |
|
Share Path |
|
| Share Name | |
| Work tab | |
| Server | View the shares and corresponding share path and share name created for work. Work shares are temporary files used for running tasks. |
|
Share Path |
|
| Export tab | |
| Server | View the shares and corresponding share path and share name created for export. Export shares are any files expected to be downloaded, such as reports and productions. |
|
Share Path |
|
- In the Repositories list, locate the repository you want to edit, then click its Action icon and select Edit.
- Update the details of the repository on the Information, Export, Import, HTML, Language, Deduplication, and Preserve tabs and click Save.
To add a matter to a repository
- In the Repositories list, locate the repository you want to add a matter to, then click its Action icon and select Manage Matters.
- In the [Repository name]: Matter menu bar, click
 .
. - On the Add Matter page, type the Name of the matter and click Save.
To edit a matter in a repository
- On the Repositories list, locate the repository with the matter you want to edit, then click its Action icon and select Manage Matters.
- In the Matter Manager list, locate the matter you want to edit, then click its Action icon and select Edit.
- On the Edit Matter page, update the Name of the matter and click Save.
To delete a matter from a repository
- In the Repositories list, locate the repository with the matter you want to delete, then click its Action icon and select Manage Matters.
- In the Matter Manager list, locate the matter you want to edit, then click its Action icon and select Delete.
- On the Delete Confirmation dialog box, click Proceed.
To add a share to a repository
- In the Repositories list, locate the repository you want to add a share to, then click its Action icon and select Details.
- On the Details - Repository Name: [selected respository] page, click the Server tab.
- On the Storage section menu bar, click Add Share.
- On the Add Share dialog box, select the Type of share you want to add:
Import,Hosting,Work, orExport. - Select the Server for the new share.
- Enter the Name of the new share.
- If you choose, enter the Path of the new share.
- To designate this share as the primary share, select Make Primary.
- Click Save.
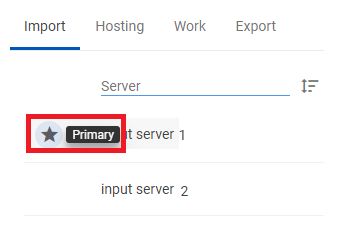
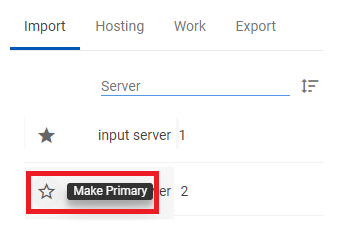
To change the primary share for a repository
A Primary star to the left of the Server name indicates the share is the primary share.
- In the Repositories list, locate the repository you want to work with, then click its Action icon and select Details.
- On the Details - Repository Name: [selected respository] page, click the Server tab.
- On the Storage section, select the type of share you want to work with: Import, Hosting, Work, or Export.
- To desiginate a share as the primary, click the Make Primary star left of the Server name.
To copy full path of an Import, Hosting, or Export share
- In the Repositories list, locate the repository you want to work with, then click its Action icon and select Details.
- On the Details - Repository Name: [selected respository] page, click the Server tab.
- On the Storage section, select the type of share you want to work with: Import, Hosting, or Export.
- Locate the share you want to rename, click its Action icon, and select Copy UNC Path.
The address is copied to a clipboard and can be pasted to other applications, such as Microsoft Word.
To change the name of an Import or Hosting share
- In the Repositories list, locate the repository you want to work with, then click its Action icon and select Details.
- On the Details - Repository Name: [selected respository] page, click the Server tab.
- On the Storage section, select the type of share you want to work with: Importor Hosting.
- Locate the share you want to rename, click its Action icon, and select Rename Share.
- On the Rename Share dialog box, enter the new Name of the share.
- Click Save.
To delete an Import share
- In the Repositories list, locate the repository you want to work with, then click its Action icon and select Details.
- On the Details - Repository Name: [selected respository] page, click the Server tab.
- On the Storage section, select the Import tab.
- Locate the share you want to delete, click its Action icon, and select Delete.
- On the Delete Share dialog box, click Delete.
Note: Primary Import shares cannot be deleted.
- In the Repositories list, locate the repository you want to delete, then click its Action icon and select Delete.
- On the Delete Confirmation dialog box, click Ok.
- In the Repositories list, locate the repository you want to refresh, then click its Action icon and select Rebuild Index.
- On the Rebuild Index Confirmation dialog box, click Proceed.