Workflow Setup
The steps to set up a workflow are as follows:
- Create and name a workflow
- Add levels and add stages with the appropriate settings
- Add documents to the workflow
Creating a Workflow
Begin creating a new workflow by giving it a name.
Note: Workflow names can be updated if desired.
- On your Review matter, click Review > Review Management > Workflow.
- In the Workflow menu bar, click the Action icon
 and select Add New Workflow.
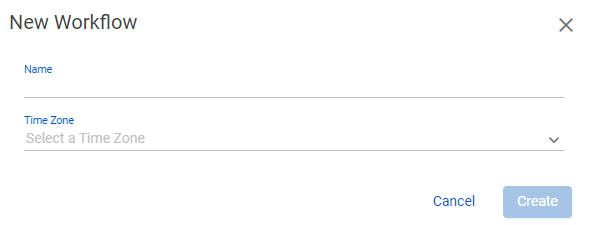
 - On the New workflow dialog box, enter a Name for the workflow.
- Select the Time Zone local to the user of the workflow.
- Click Create.

The new Workflow Name is now available in the menu bar drop list.

To rename a workflow
- On the Workflow page (Manage > Review > Workflow), select the workflow you want to rename.
- In the Workflow menu bar, click the Action icon and select Rename Workflow.
- On the Rename Workflow dialog box, update the Name for the workflow and click Save.

The updated Workflow Name is now available in the menu bar drop list.
Deleting a Workflow
A workflow can only be deleted if no levels or stages are present. For more information, see Deleting Levels and Stages.
To delete a workflow
- On the Workflow page (Review > Review Management > Workflow), select the workflow you want to delete.
- In the Workflow menu bar, click the Action icon and select Delete Workflow.
- On the Delete Confirmation dialog box, click Delete.
Note: Delete is only available when no levels are present on the workflow.
To set the object level security for a workflow
- In the Explore pane on the Nebula dash board, click Workflows.
- In the Workflow menu bar, select the workflow you want to work with, then click the Action icon and select Object Security.
- Complete the Object Security dialog box.