Applying Redactions
Using markup sets, you can apply redactions on documents to privileged images in selected areas (as well as entire pages).
To apply a redaction to a selected area
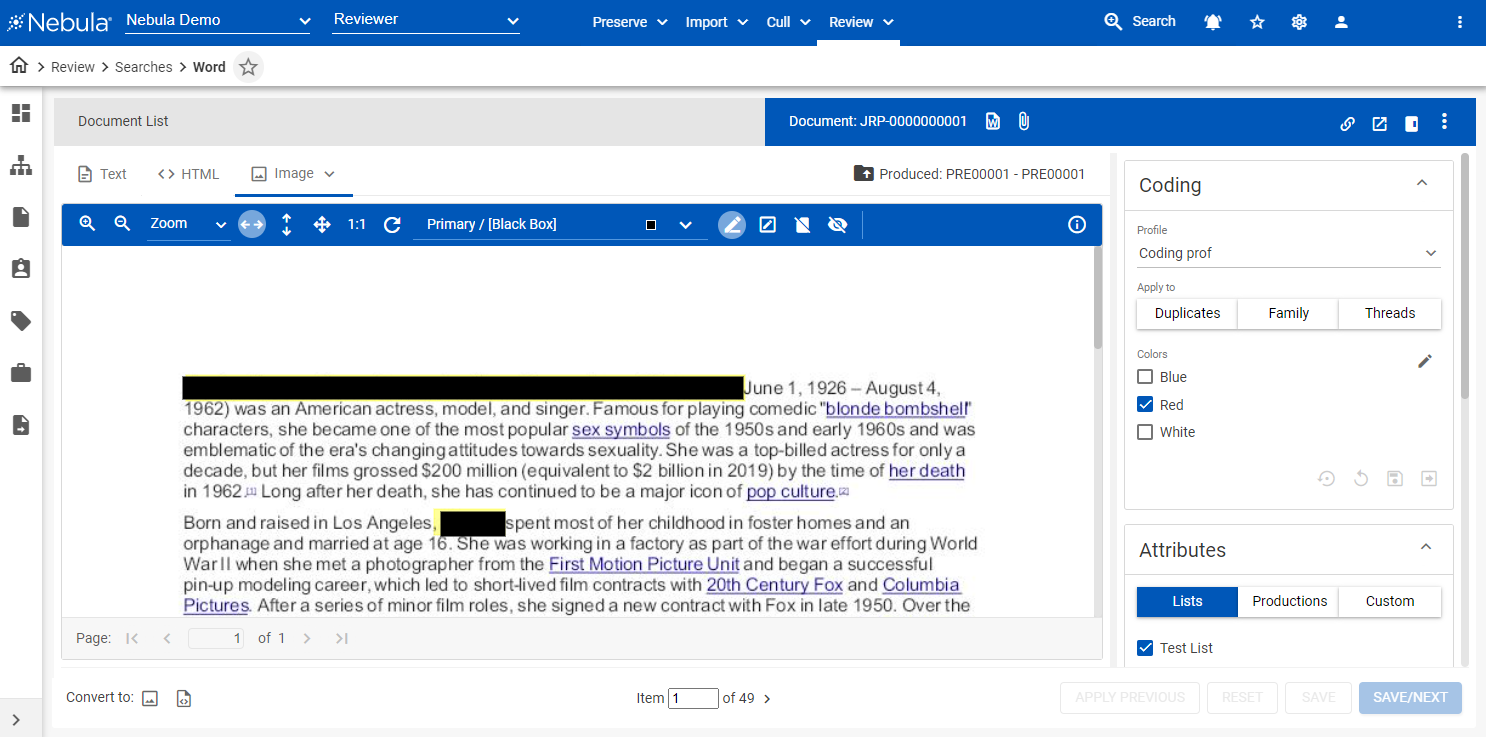
- Open the document on the Document Viewer.
- Click the Image tab.
- In the Image menu bar, select the markup set you want to use to apply redactions.
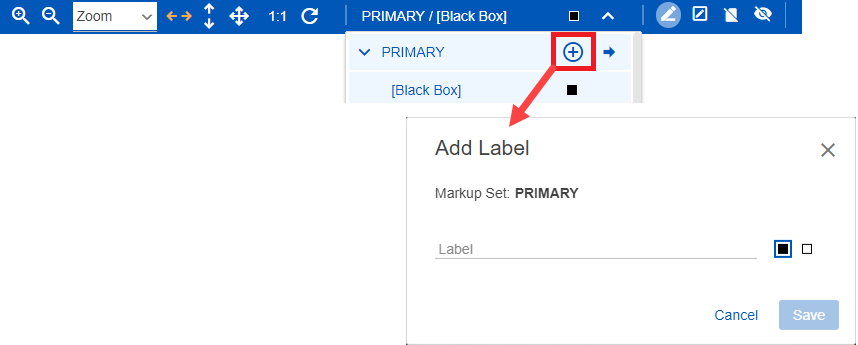
- To create a new label, click the Add icon
 in the Markup Set drop list and save the new Label and selected color with the Add Label dialog box.
 - Click the Toggle drawing redactions icon
 .
. - Use the mouse pointer to drag the redaction area into position and adjust its size to cover the text you want to redact.

To apply a redaction to entire page
- Open the document on the Document Viewer.
- Click the Images tab.
- Navigate to the page of the document you want to redact.
- In the Image menu bar, click the Add full page redaction icon
 .
.
To display or hide redactions
- Open the document on the Document Viewer.
- Click the Images tab.
- In the Image menu bar, click the Hide all redactions icon
 to hide all currently displayed redactions. (Click the Show all redactions icon
  to display the currently hidden redactions.
To change the font of a redaction
- Open the document on the Document Viewer.
- Click the Images tab.
- Right-click the redaction with text you want to update and select Resize Font, then select the font size you want used.
To change the label of a redaction
- Open the document on the Document Viewer.
- Click the Images tab.
- Right-click the redaction you want to update and select Change Label, select the label you want applied.
To delete a redaction
- Open the document on the Document Viewer.
- Click the Images tab.
- Navigate to the redaction you want to delete.
- Right-click the redaction you want to delete and select Delete.