Pre-processed Data
The Pre-processed Data page enables you to import a load files in two stages: Stage and Commit. During staging, all data in the load file is loaded and verified. If there are no errors, you can commit the import.
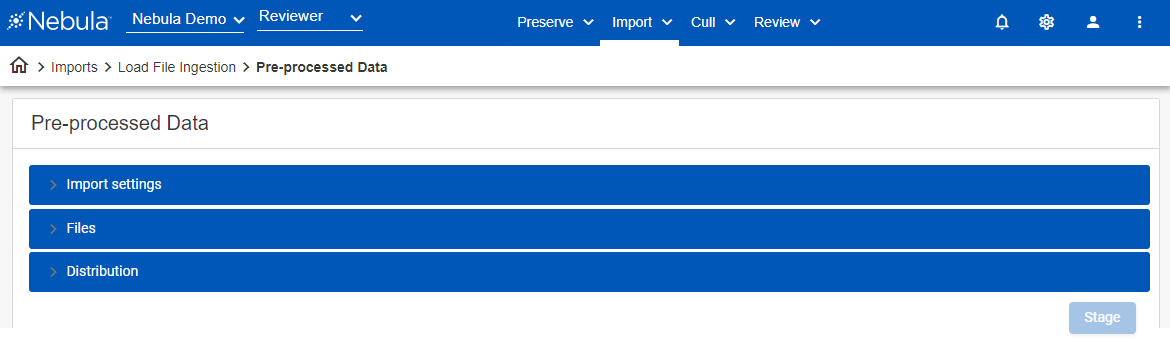
To import documents from preprocessed data
- Click Import > Load File Ingestion > Pre-processed Data.
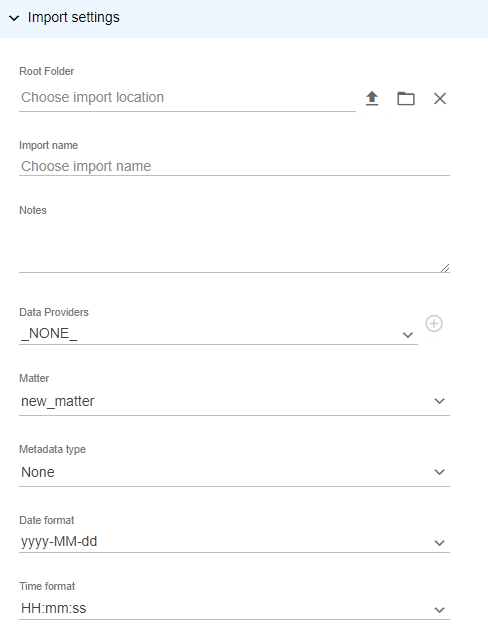
- In the Import settings section, enter the following:
- Root Folder: Click the File Browser icon
 to choose the import location.
 - In the File Browser section, click Output.
- In the Upload section, select the root folder of the of the volume you want to import.
- Import name: Enter a name for the folder to contain the preprocessed data. (Nebula displays this name when the preprocessed data is imported.)
- Notes: Enter any notes to associate with the preprocessed data.
- Data Providers: Choose the source providing the data (such as a location, department, or hardware) in the preprocessed data (optional).
- Matter: Select the review matter you want to load the data into. (Third party overlays must be exported/imported into a Review matter.)
- Metadata type: Select the type of metadata of the preprocessed data.
- Metadata file: If you selected a Metadata type, click the File Browser icon and select the load file for this volume.
- Date format:
- Time format:
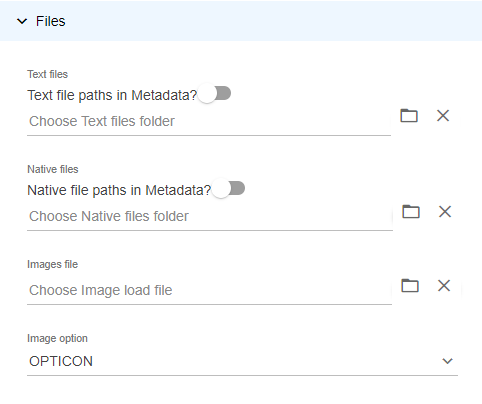
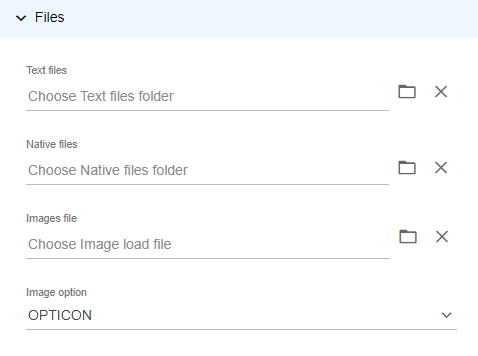
- In the Files section, enter the following depending on the contents of the Metadata file:
- Text file: Click the File Browser icon and select the paths to the folders containing the text file.
(IMPORTANT: The text file must be named with the DOCID within the metadata file).
If text file path is in the metadata file, toggle Text file in Metadata.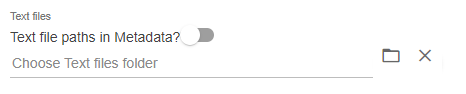
If text files are only linked in a folder, click the File Browser icon and select the location of the text file. - Natives file: Enter the path to the Native file.
If no path or load file is provided, click the File Browser icon and select the paths to the folders containing the native file.
(IMPORTANT: The native file must be named with the Document ID within the metadata file.)
If the native file path is in the metadata file, toggle Native file in Metadata.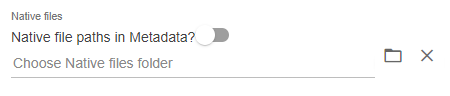
If native files are only available in a folder, click Folder and complete the File Browser dialog box with the location of the Native file. - Image file: Enter the path to the load file.
If image is in a folder, click the File Browser icon and select the location of the OPT/ LFP load file. - Image option: Select the type of load file for image (LFP, OPTICON, or DII).
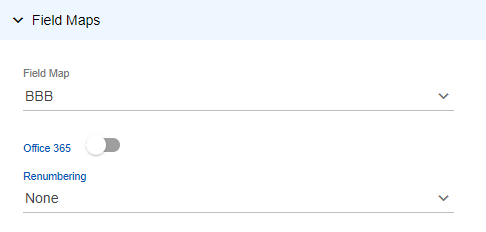
- In the Field Maps section (available if you selected a Metadata type).
- Vendor profile: Select the vendor profile template. (These are created in the Review matter. Work with your project manager or the Nebula TechQ to create new vendor profiles as needed.)
- Office 365: Toggle if data came from Office 365.
- Renumbering: Choose the prefix for numbering the Office 365 data.
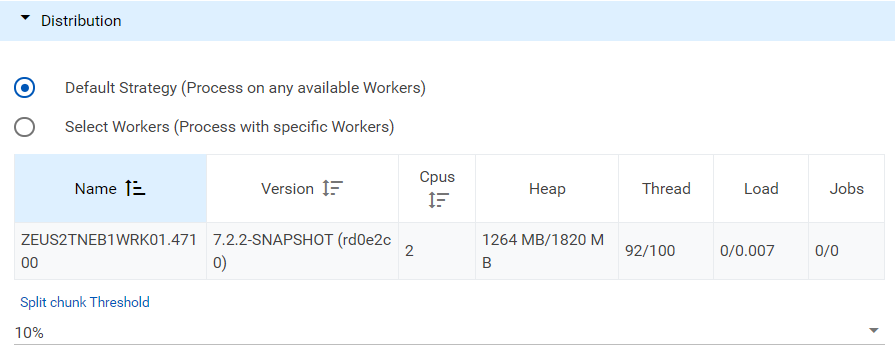
If you use a custom prefix, enter the Prefix, Number length, and Start number. - In the Distribution section, select one of the following (system administrators only):
- Default Strategy (Process on any available Workers): Select to distribute documents amongst available workers.
- Select Workers (Process with specific Workers): Select the workers to receive the distributed documents.
- Select the Split Chunk Threshold to define the percent of load file to be partitioned.
- Click Stage. Staging is the first step in a pre-processed content import. A successful staging ensures the content will properly import into Nebula. The successfully staged import will report counts for the numbers of documents, pages, text, native files, and documents with images to be imported.
If staging generates exceptions, the cause(s) must be resolved and the content will need to be re-staged. The Exceptions Summary section displays the exceptions types and counts. - Click Commit to complete the import.
- Click Confirm.
Note: This is usually Concordance (.DAT), but may be CSV.
Note: If you have placed your load files into the DATA folder, open this folder and select the DAT/CSV file.
(without Text, Native, or Image paths in the metadata file )
(with Text, Native, or Image paths in the metadata file )