Users
Users are individuals who have access to the Nebula environment. With the Users page, you cancreate users and assign them to a firm. You can also edit, delete, lock and unlock users, as well as view the user group(s) a user is assigned to, change a user's password and update their authentication credentials.
To open the Users page
- In the Nebula menu bar, click the Admin icon
 > Users.
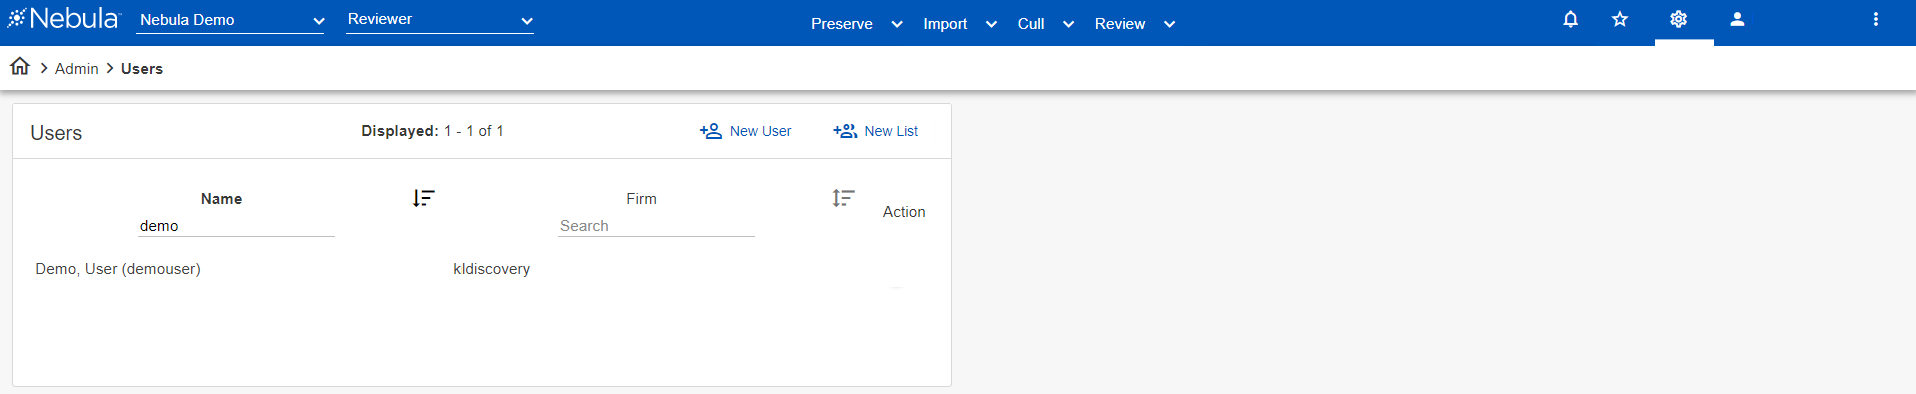
- In the Users menu bar, click
 .
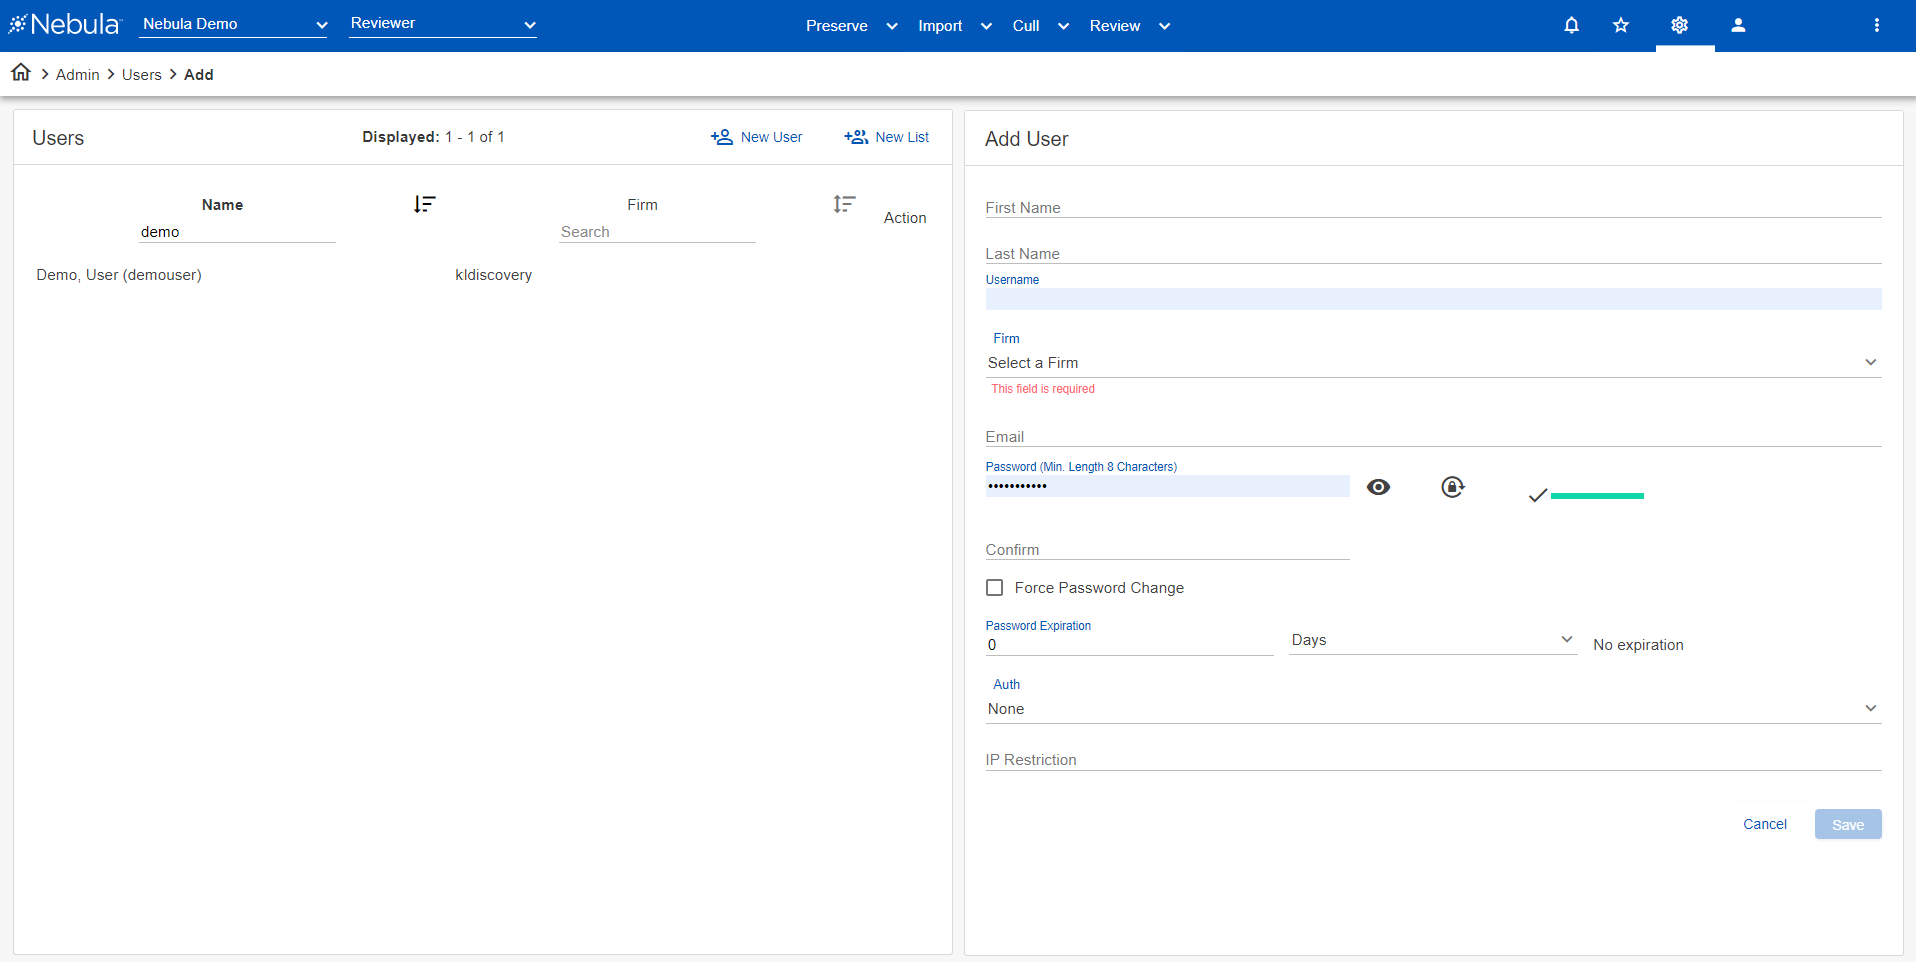
. - In the Add User section, enter the following:
- 12 characters
- 1 special character
- 1 number
- 1 capital letter
- 1 lowercase letter
- Click Save.
| Field | Description |
|---|---|
The users email address in this format: name@domain.extension. Click Verify to ensure the user exists in the global Aegis. |
|
| First Name | The user's first name. |
| Last Name | The user's last name. |
| Username | The user's identification. |
| Region | Select the region where the user information is physically stored. |
| IP Restriction | The allowable IP addresses that a user’s computer must be originating from when logging in to Nebula. |
| Firm | The company or organization the user will be assigned. |
| Single Sign-On |
This is only present if the SSO option is enabled for the selected Firm. If SSO is setup as If available, select to enable SSO for the user and enter the Single Sign-On Id. |
| Use Two-Factor Authentication |
This is only present if the email two-factor authentication option is enabled for the selected Firm. If two-factor authentication is setup as If available, select to enable for the user and in the 2FA Method list, view the method designated in setup or select between |
| New Password |
The string of characters used to access Nebula. Password must contain at least: To automatically create a password for this user, click |
| Confirm | Confirmation of the password. |
| Force Password Change | Select to require user to change password on next login (This can be used when first providing credentials so user must change from the original password.) |
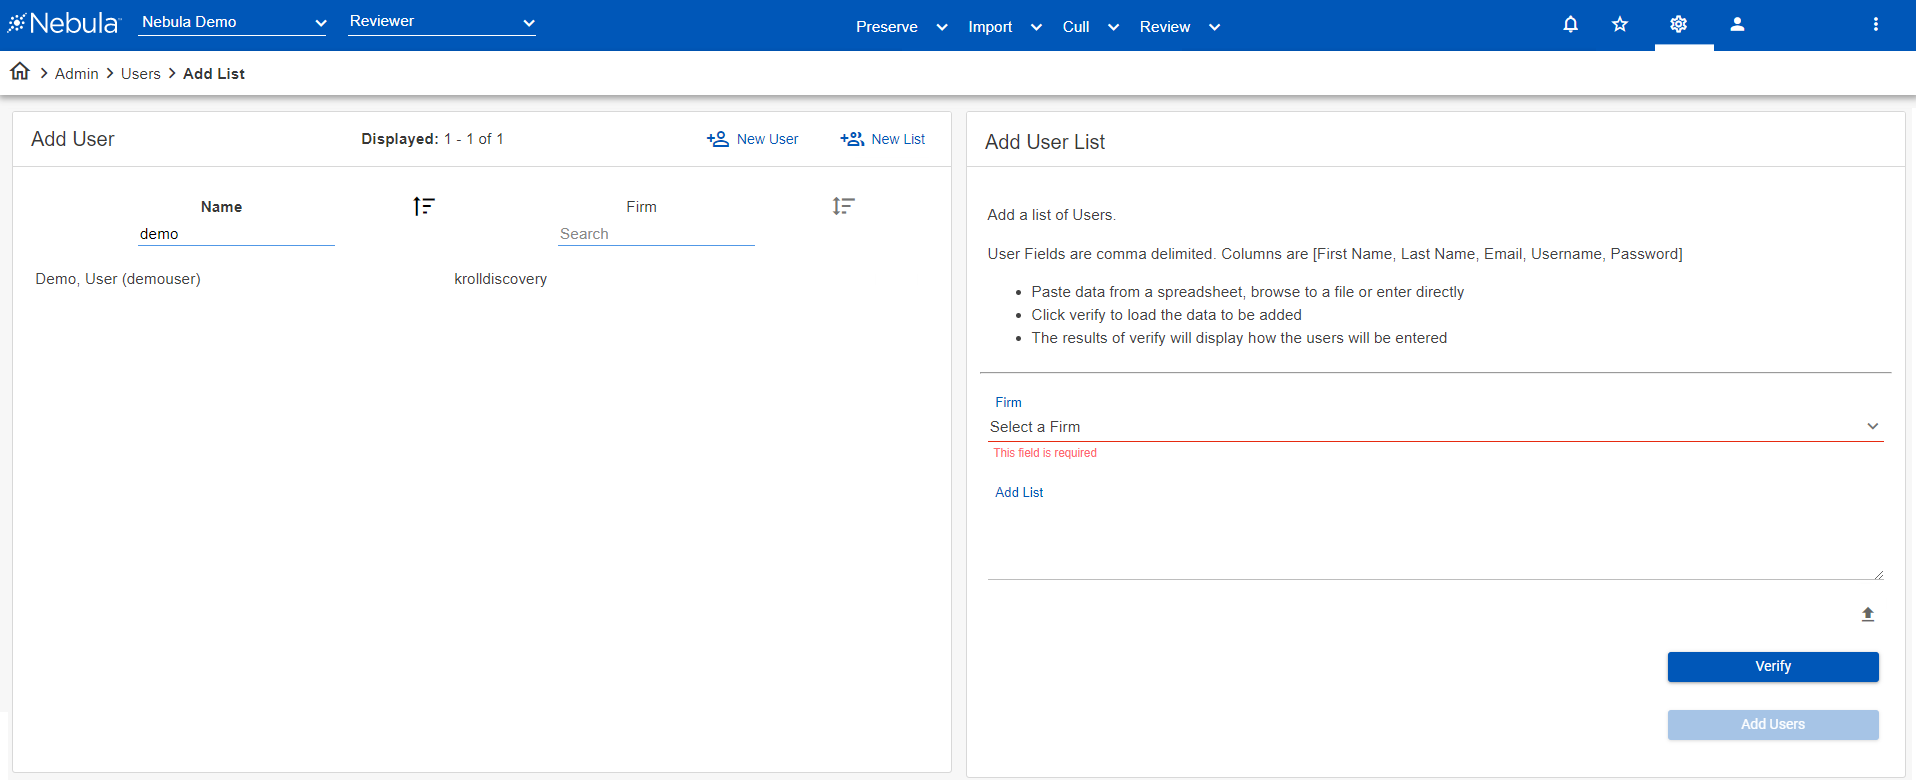
To add a list of users
- In the Users menu bar, click the Action icon
 and select New List.
 - In the Add User list section, select the Firm you want the users assigned.
- Select the Region you want the users assigned.
- In Add List, do one of the following:
- Enter the list of user directly. (User fields are comma delimited with the following columns: First Name, Last Name, Email, Username, Password.)
- Paste user data from a spread sheet.
- Click the Choose File icon
 , browse to the File name, and click Open.
 - Click Verify, then click one of the following:
- Download as CSV: Download a CSV report of the users in the Add User List section.
- Download as Tab: Download a tab delimited text document of the users in the Add User List section.
- Add Users: Add the users and view them on the Users page.
To view a user's assigned user groups
- In the Users list, select the user you want to work with.
- In the User Groups - [selected user] list, view the user's assigned user groups.
- Double-click a user group to view details about the User Group, including Assignments and Users. (Requires User Group Edit permission).
- In the Users list, select the user you want to edit, click its Action icon and select Edit.
- In the Edit User section, edit the existing user information and click Save.
- In the Users list, select the user with the password to change, click its Action icon and select Change Password.
- On the Change Password list, do one of the following:
- To manually create a password, enter a new Password, then Confirm it.
- To automatically create a password, click the Generate Password icon
 .
. - To force a user to change their password on log in, select Force Password Change.
- Click Save.
- In the Users list, locate the user you want to lock, click its Action icon and select Lock.
- On the Lock User dialog box, click Lock.
Note: When a user is locked, a lock icon  appears next to it in the Users list.
- In the Users list, locate the user you want to unlock, click its Action icon and select Unlock.
- On the Unlock User dialog box, click Unlock.
- In the Users list, locate the user you want to delete, click its Action icon and select Delete.
- On the Delete User dialog box, click Delete.
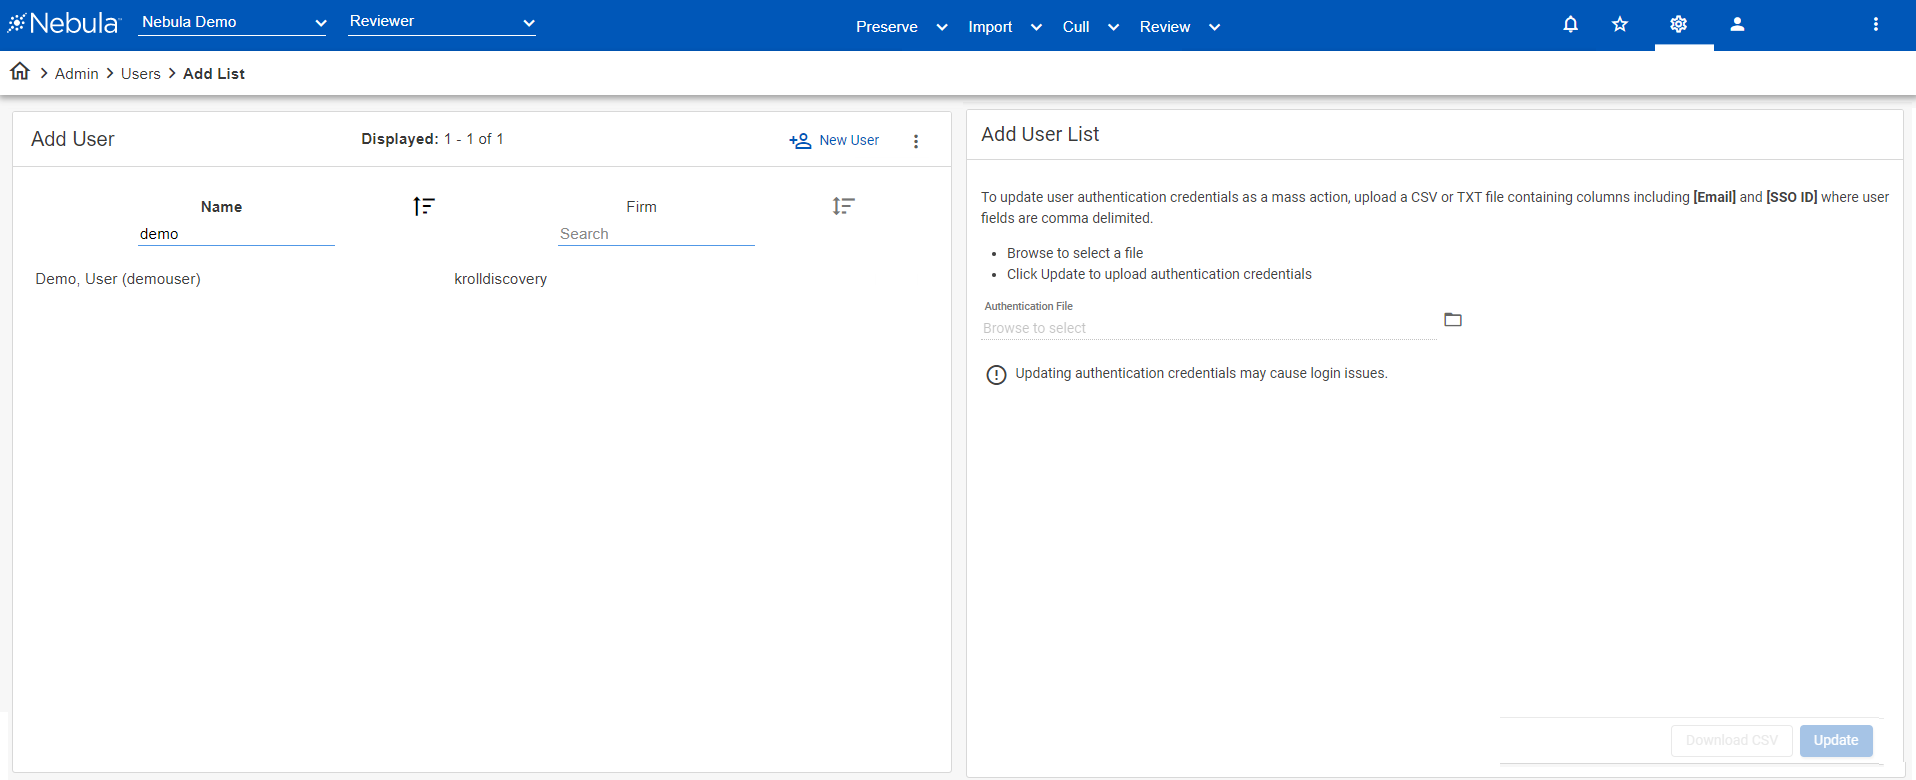
To update user authentication credentials as a mass action
User authentication credentials within a firm can be updated as a mass action by uploading a CSV or TXT file.
- In the Users menu bar, click the Action icon and select Update Authentication.
- In the Update Authentication section, select the Authentication Method (
DUO 2FA,Nebula Email 2FA, orSSO). - Click the folder icon and browse to a CSV or TXT Authentication File.
- [
Enable Duo 2FA] column values are Enable or Disable. - [
Enable Nebula Email 2FA] column values are Enable or Disable. - Click Update.
- To download a CSV of the authentication credentials, click Download CSV.
Note: The file should not contain any header.
| Authentication Method | Columns (where user fields are comma delimited) |
|---|---|
| DUO 2FA |
[ |
| Nebula Email 2FA |
[ |
| SSO |
[ |