Workflow Stage Settings
Workflow stage settings are the settings applied for each phase of the review process.
There are three types of stages: Standard, Quality Control, and Active Learning.
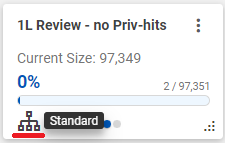
- Standard: These stages display a Standard icon. Batches from the Standard stages may include all of the documents that meet the entry router criteria.
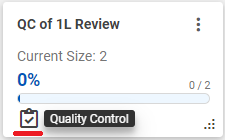
- Quality Control: These stages display a Quality Control icon. Batches from the Quality Control stages include a sample of the documents that meet the selection criteria. The remaining files are handled according to the stage settings – either (a) if the document is neither a sample document nor a family member of sample document, it is routed to the next eligible stage, or (b) if the document is family member of a sample document, it waits until the quality control review of the sample document is completed.
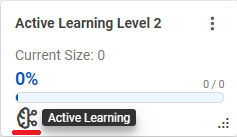
- Active Learning: These stages display an Active Learning icon. Batches from Active Learning stages include documents selected for their use in Predictive Coding. Depending on the stage settings that have been defined for the Active Learning stage, batches may include a mixture of documents from the Control Set and additional Active Learning documents selected for Predictive Coding training. Active Learning documents are selected based on their current probabity score. The proportion of Control Set documents in the batch is dependent on the stage settings.
Control Set documents that are not currently reviewed and not currently tagged as Include in Training will be included in the batch.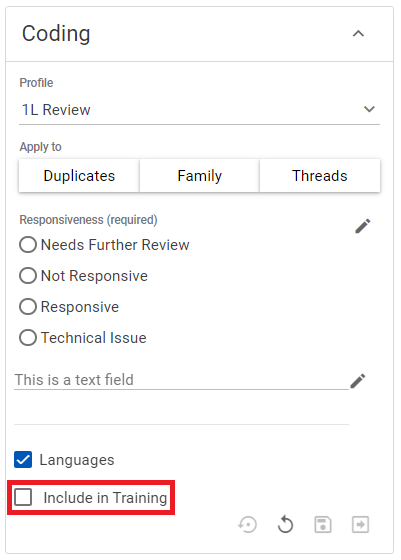
If there are no eligible Control Set documents available, the batch will contain only non-Control Set documents. Nebula then adds documents based on the stage's uncertainty rank in ascending order.
To add a Standard stage to a level
- On the Workflow page (Review > Review Management > Workflow), select the workflow.
- Locate the level where you want the Standard stage included and click its
 icon.
icon. - On the New stage dialog box, enter the Name of the stage.
- In the Type section, select
Standard. - Select the Entry Router for the stage. (For more information, see Workflow Entry Routers.)
- Select the Check-In Criteria for the stage. (For more information, see Workfow Check-in Criteria.)
- In the Batch Size, enter the maximum number of documents you want to include in a batch for this stage.
- In the Batch Keep Together droplist, select the level of related documents to include in a batch from the following:
- None: Documents are routed individually.
- Family: Documents are kept together with attachments and/or embedded items (using the Family Members field).
- Select the Batch Sort to order a batch according a particular field. The select the Sort method (

Descendingplaces the higher scoring documents at the top of the list,
Ascendingat the bottom). - Select the User Group to have access to batches at this level. Workflow uses user groups created at the matter level to control permissions and access to stages. Users can be a part of multiple user groups and have access to all or selected stages. Work with an Administrator to create new user groups for each unique set of reviewers that will review one or more stages in your workflow.
- Click Create.
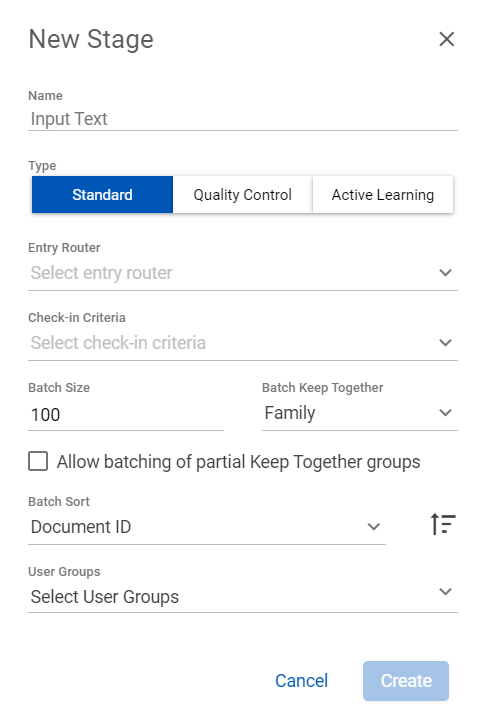
Note: If you selected Family and want to enable the batching of partial families, select Allow batching of partial keep together groups.
Repeat this process until you have added all required stages each level of your workflow.
To add a Quality Control stage to a level
- On the Workflow page (Review > Review Management > Workflow), select the workflow.
- Locate the level where you want the stage included and click its icon.
- On the New stage dialog box, enter the Name of the stage.
- In the Type section, select
Quality Control. - Select the Entry Router for the stage. (For more information, see Workflow Entry Routers.)
- Enter the Entry Sample % between
1and100. - In the Entry Keep Together droplist, select the level of related documents to include in a batch from the following:
- None: Documents are routed individually.
- Family: Documents are kept together with attachments and/or embedded items (using the Family Members field).
- Select the Check-In Criteria for the stage. (For more information, see Workfow Check-in Criteria.)
- In the Batch Size, enter the maximum number of documents you want to include in a batch for this stage.
- In the Batch Keep Together, select the level of related documents to include in a batch from the following:
- None: Documents are routed individually.
- Family: Documents are kept together with attachments and/or embedded items (using the Family Members field).
- Select the Batch Sort to order a batch according a particular field. The select the Sort method (
Descendingplaces the higher scoring documents at the top of the list,Ascendingat the bottom). - Select the User Group to have access to batches at this level. Workflow uses user groups created at the matter level to control permissions and access to stages. Users can be a part of multiple user groups and have access to all or selected stages. Work with an Administrator to create new user groups for each unique set of reviewers that will review one or more stages in your workflow.
- Click Create.
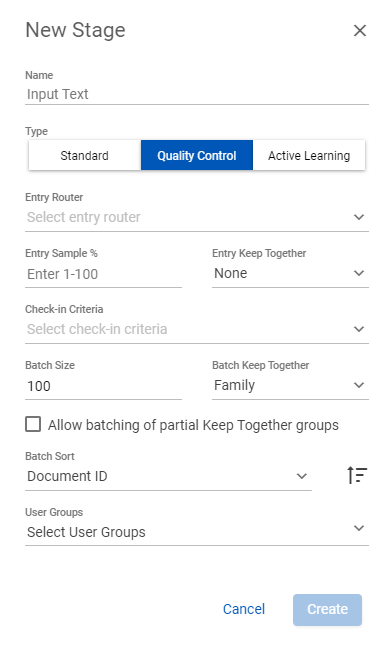
Note: If you selected Family and want to enable the batching of partial families, select Allow batching of partial keep together groups.
Repeat this process until you have added all required stages each level of your workflow.
To add an Active Learning stage to a level
- On the Workflow page (Review > Review Management > Workflow), select the workflow.
- Locate the level where you want the stage included and click its icon.
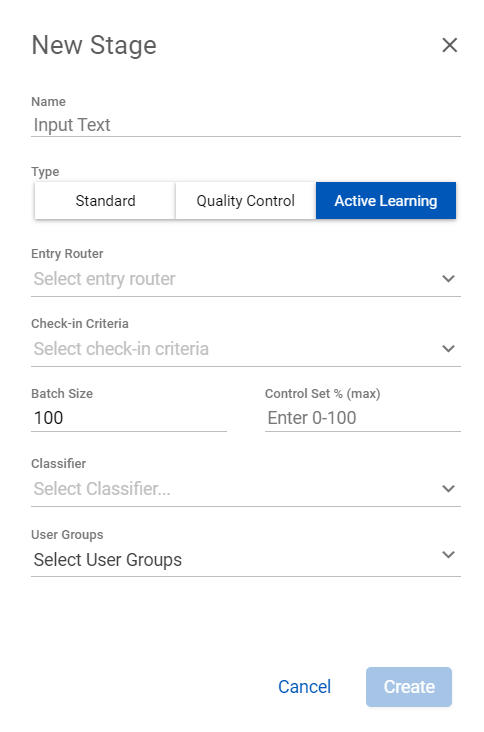
- On the New stage dialog box, enter the Name of the stage.
- In the Type section, select
Active Learning. - Select the Entry Router for the stage. (For more information, see Workflow Entry Routers.)
- Select the Check-In Criteria for the stage. (For more information, see Workfow Check-in Criteria.)
- In the Batch Size, enter the maximum number of documents you want to include in a batch for this stage.
- In the Control Set % (max), select the maximum percentage of control set documents to be included in the batch.
- Select the Classifier to be used in the batch.
- Select the User Group to have access to batches at this level. Workflow uses user groups created at the matter level to control permissions and access to stages. Users can be a part of multiple user groups and have access to all or selected stages. Work with an Administrator to create new user groups for each unique set of reviewers that will review one or more stages in your workflow.
- Click Create.
Repeat this process until you have added all required stages each level of your workflow.
- On the Workflow page (Review > Review Management > Workflow), select the workflow with the stage you want to edit.
- Locate the stage you want to edit, click its Action icon
 and select Edit.
 - On the Edit Stage dialog box, update the stage's information as necessary.
- Click Save.