Promoting Documents
A promotion is the data that has been processed during import, culled (for example, by using a filter or a search), and is now available for transfer into a Review matter or Relativity.
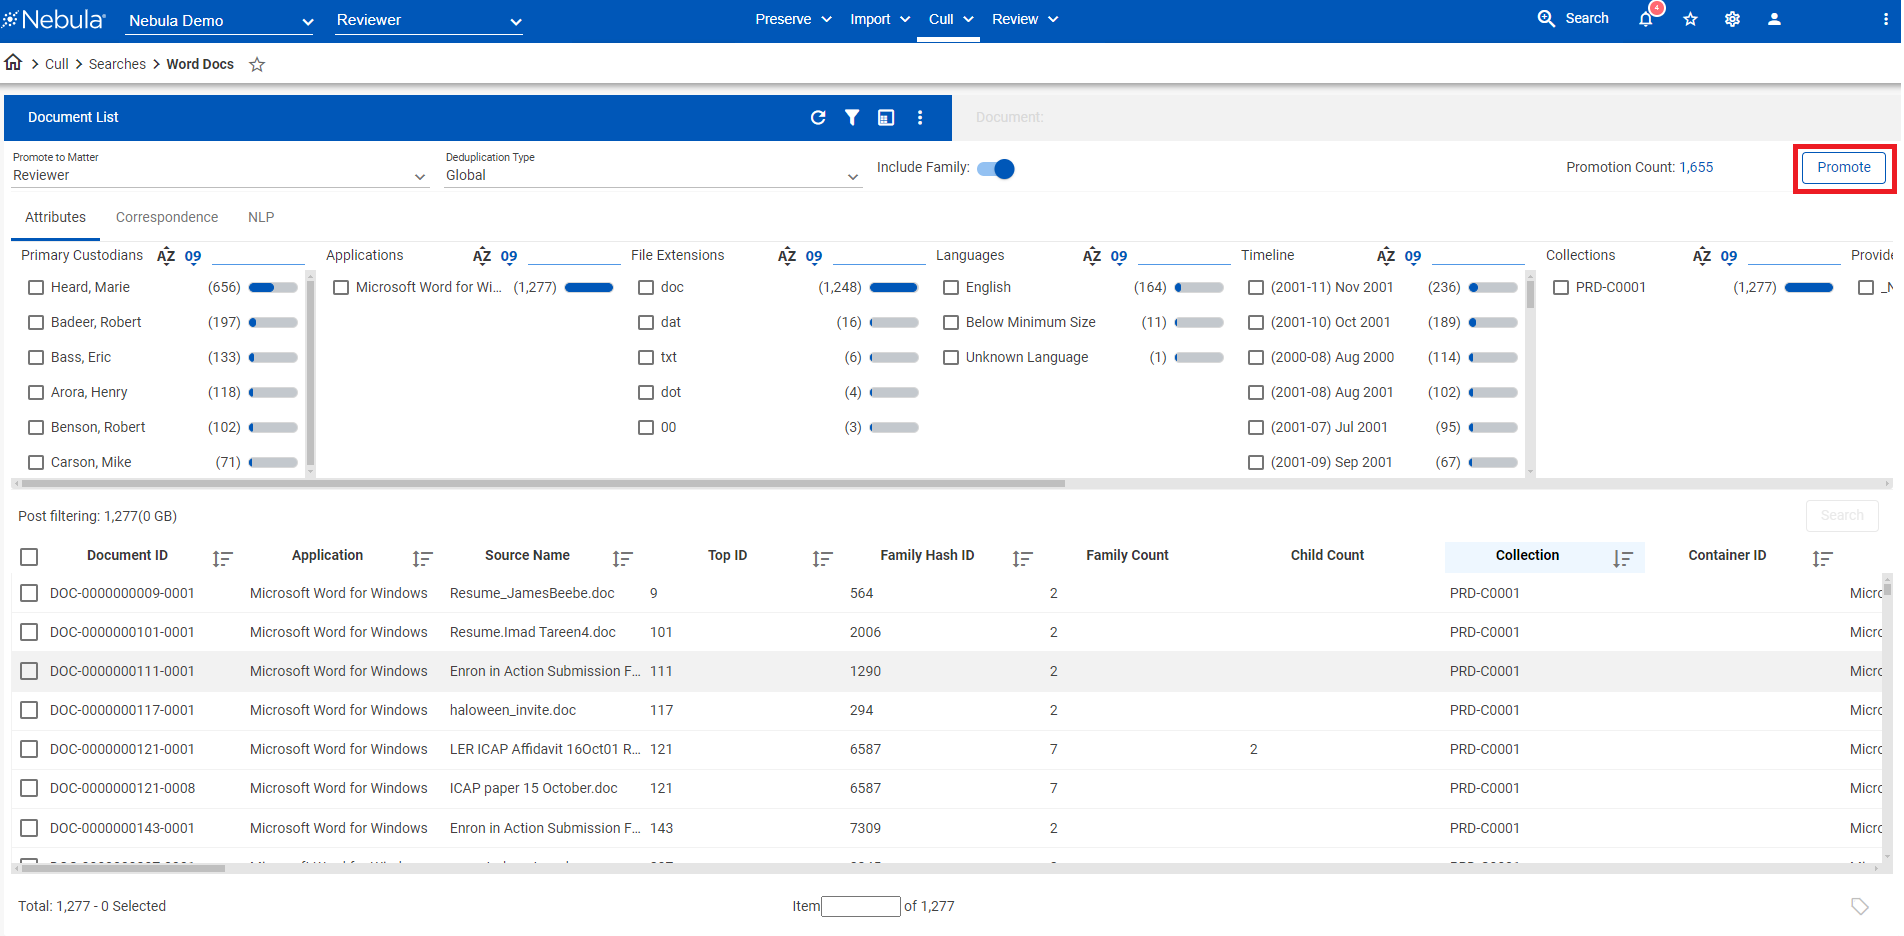
To promote documents from Cull to Nebula Review
- On Cull Document List, select the documents you want to promote to Nebula Review.
- In the Promote to Matter list, select the Review matter you want the documents promoted to.
- Select the Deduplication Type you want applied to the promotion (
None,Global, orCustodian). - If you choose, select to Include Family.
- Click Promote.
- On the Promote dialog box, in the Configuration section, enter a Name for the promotion.
- Select a Loadfile Format from the following:
- Review
- CSV
- Concordance
- Summation
- To view the total file size of the documents that will be promoted, click Get Size.
- Click Promote and view the status of the promotion.


To promote documents from Cull to Relativity
- On Cull Document List, select the documents you want to promote to Relativity.
- In the Promote to Matter list, select the Relativity matter you want the documents promoted to.
- Select the Deduplication Type you want applied to the promotion (
None,Global, orCustodian). - If you choose, select to Include Family.
- Click Promote.
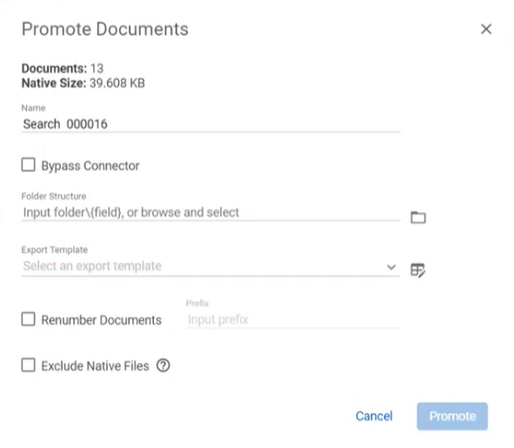
- On the Promote Documents dialog box, enter a Name for the promotion. This is used as a correlation id.
- To promote to Nebula Review (but not Relativity), select Bypass Connector (and then click Promote).
To promote to Relativity, clear Bypass Connector - Browse to the Folder Structure within Relativity where the promotion is to be located. ( To select from the folders in Relativity, click the Browse Folder icon
 to open the Browse Folders dialog box.)
 - Select the Export Template to be used for mapping fields during the promotion. (To edit the an export template, click the Export Table Mapping icon
 to open the Export Template Mapping dialog box and make the desired changes.)
 - To use the current numbering, clear Renumber Documents .
To add a Prefix to the current numbering, select Renumber Documents . - Select Excluded Native Files to exclude native files in the promotion. Native files cannot be added later to the same promotion.
- Click Promote and view the Status of the promotion, as well as the Destination and Connector.
Note: You can also enter a folder\field path to create a new location in Relativity.