Permission Templates
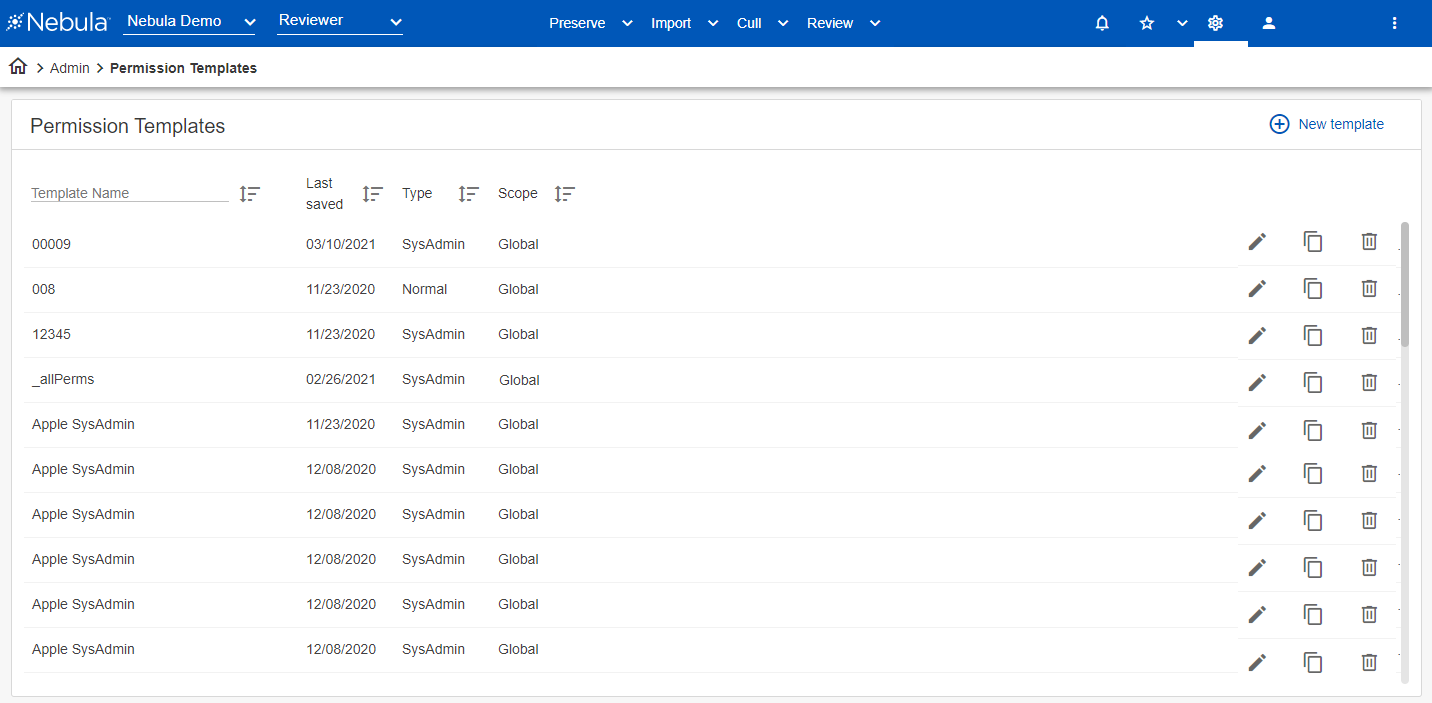
The Permission Templates page enables you to create templates of permission settings which can be used when creating user groups or editing user group permissions.
Permission Templates can be edited, cloned, and deleted.

To open the Permission Templates page
- In the Nebula menu bar, click the Admin icon
 > Permission Templates.
To create a new permission template
- In the Permission Templates menu bar, click
 .
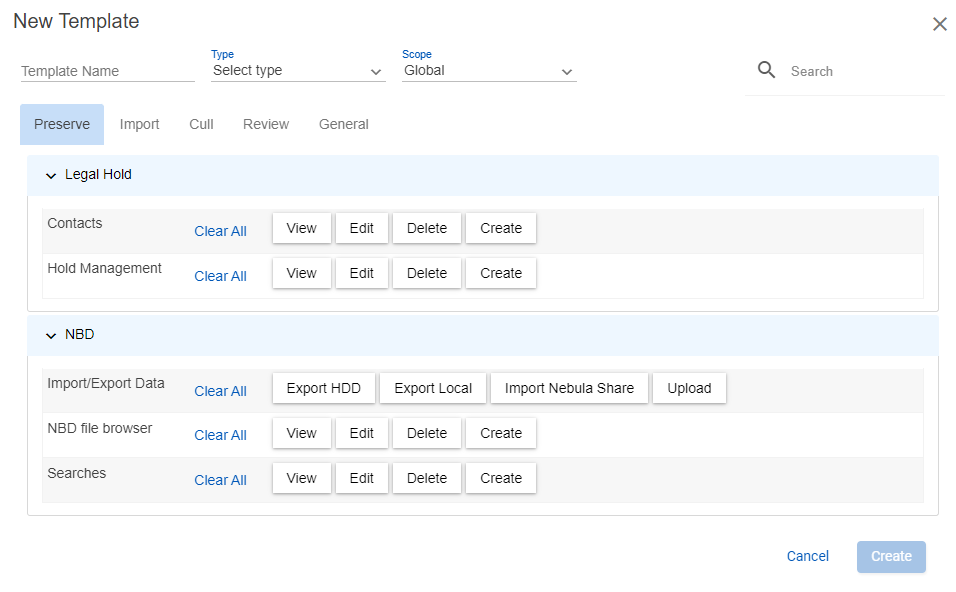
. - On the New Template dialog box, enter the Template Name for the new template.
- Select the Type of the new template from the following:
- Normal: Users who do not require FirmAdmin or SysAdmin permissions.
- FirmAdmin: Recommended for users who manage repositories and matters (creating repositories and matters generally require at least one group of this type to be assigned).
- SysAdmin: Users who manage the entire system (recommended to be used sparingly).
- Select the Scope the of the new template.
- Set the permissions for the user using the Preserve, Import, Cull, Review, General, and Admin tabs.
- To clear selected permissions for a specific row, click Clear All.
- Click Create.

Note: Interdependencies exist between some permissions. For example, View must be selected to enable subsequent permissions, such as Edit, Delete, and Create.
Note: Editing a template will NOT change permissions in any user groups created using the template.
- In the Permission Templates list, locate the template you want to edit and click its Edit Template icon
 .
. - On the Edit Template dialog box, update the Template Name and permission tabs as desired.
- Click Save & Close.
- In the Permission Templates list, locate the template you want to clone and click bar, click the copy template icon
 .
. - On the Clone Template dialog box, enter a Template Name for the cloned template.
- Update the Type and Scope selections as well as the permissions tabs as desired.
- Click Clone.
To delete a permission template
- In the Permission Templates list, locate the template you want to delete and click its Delete Template icon
 .
. - On the Delete Confirmation dialog box, click Delete.